Home/
Registry/
Ford/
Bronco/
1992–1996/
“Money pit”/
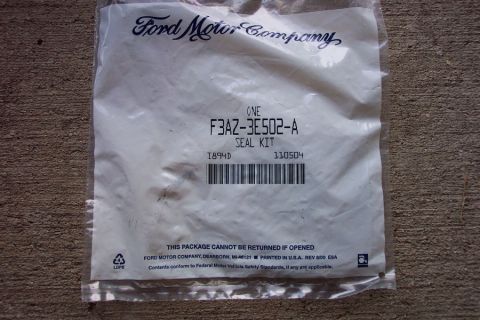
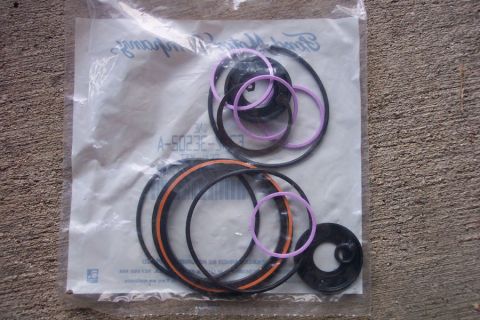
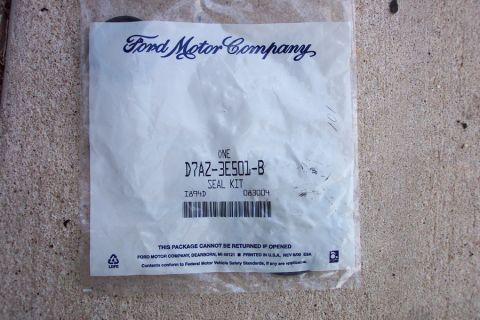
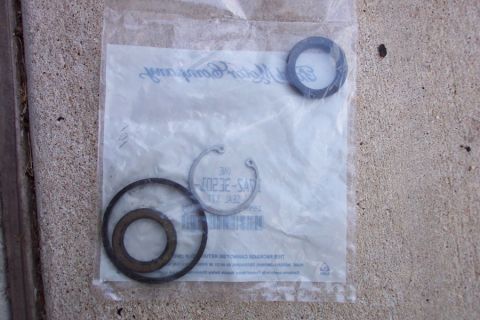
Steering gearbox reseal
supermotors.net/registry/4584/27329
Album section
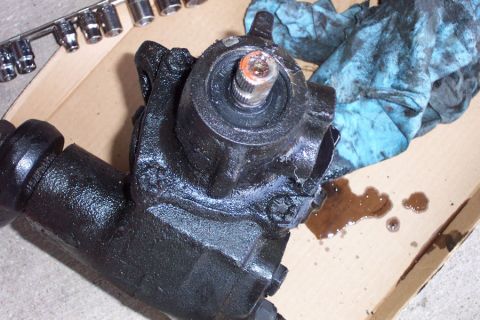
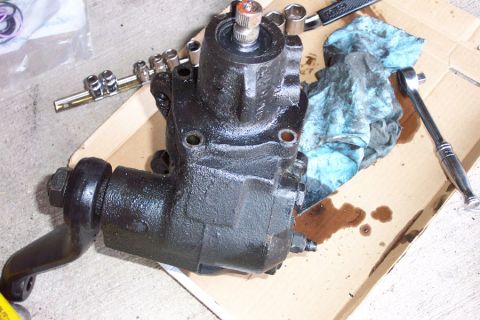
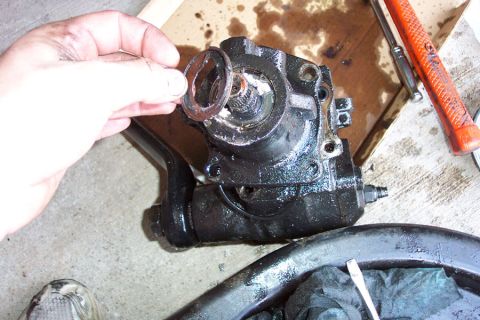
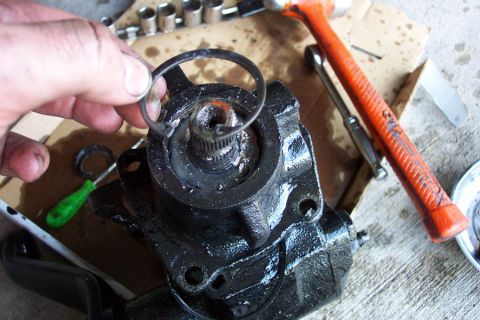
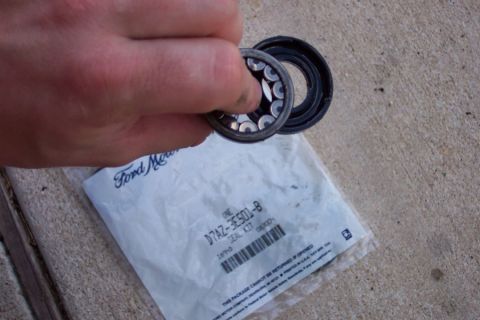
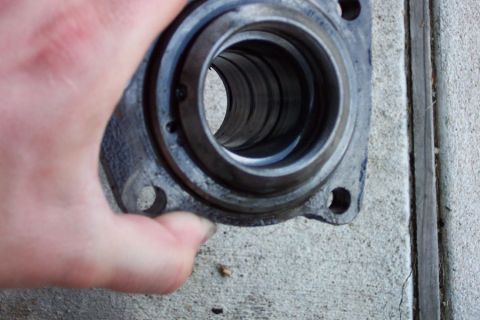
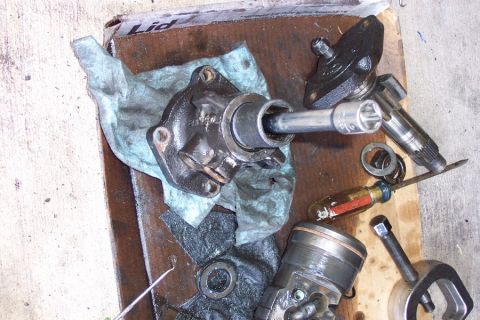
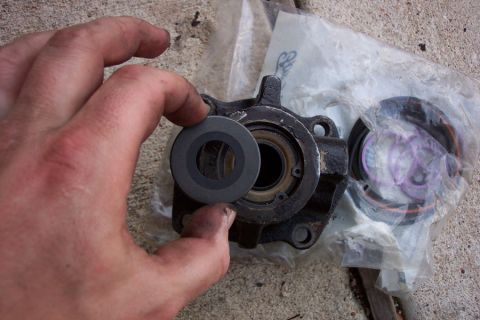
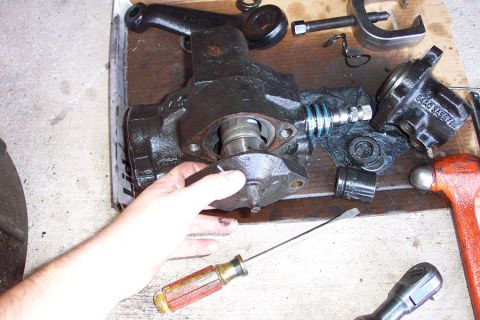
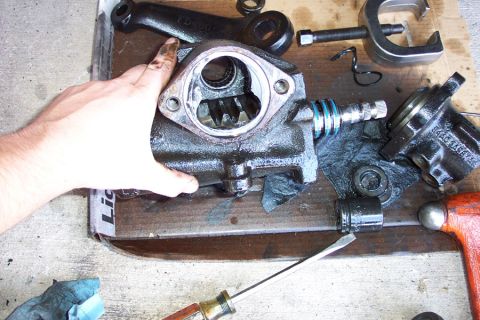
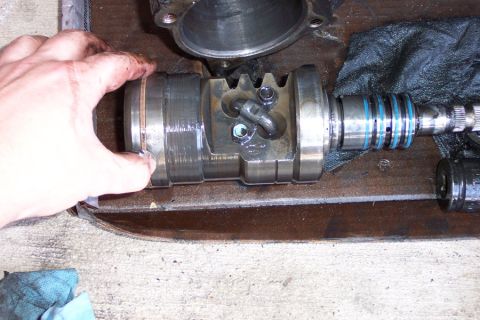
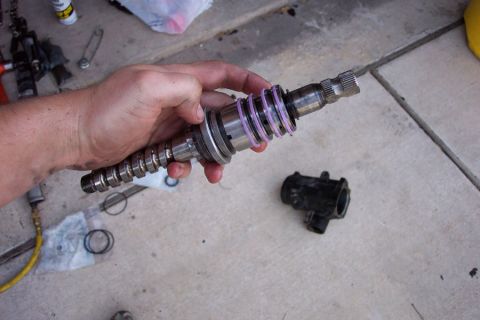
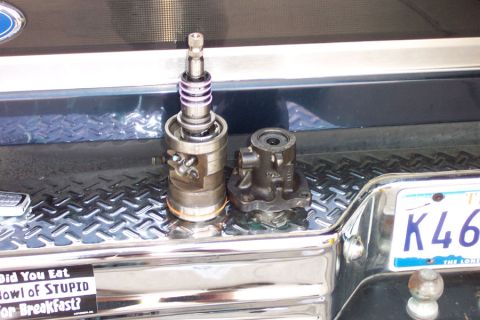
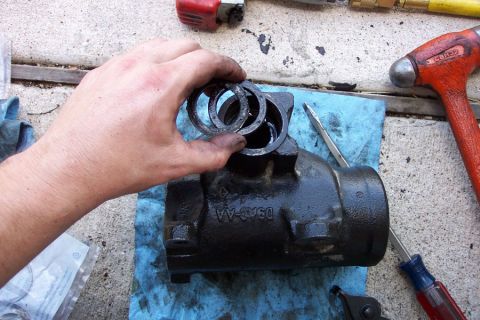
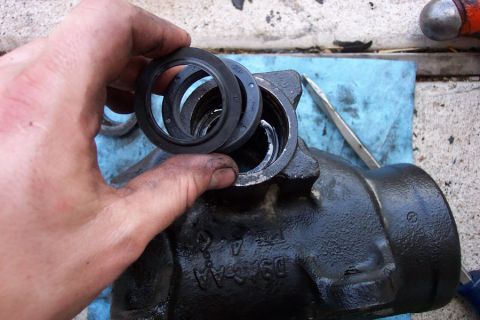
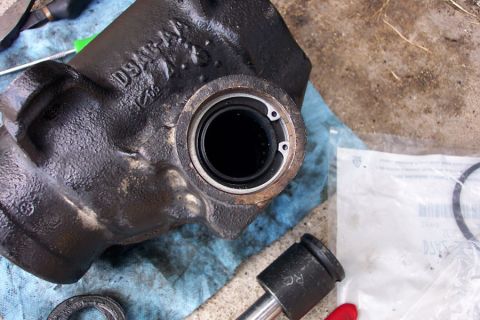
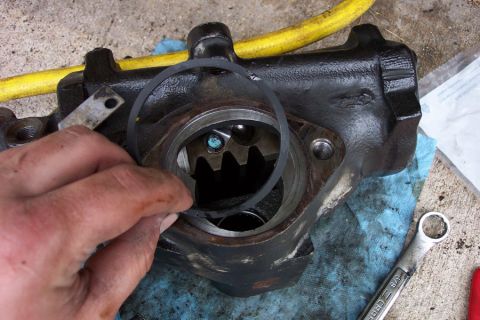
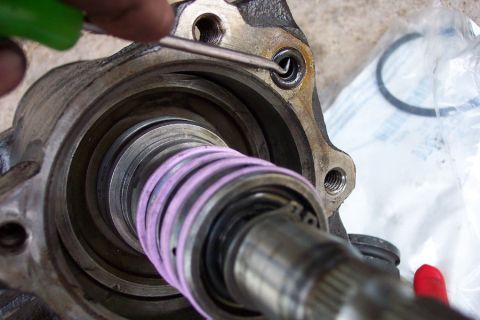
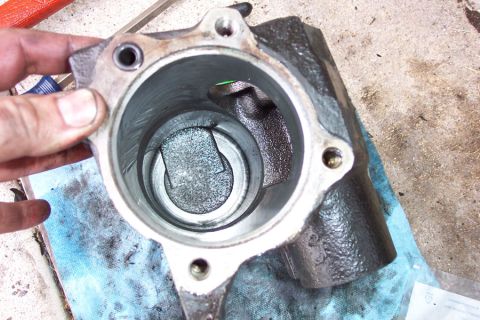
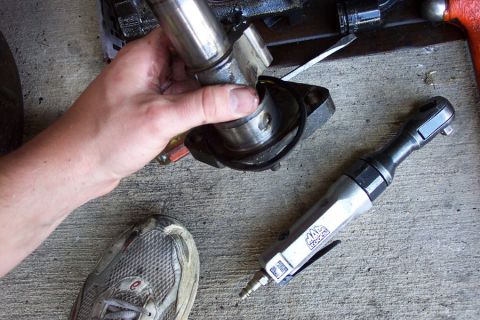
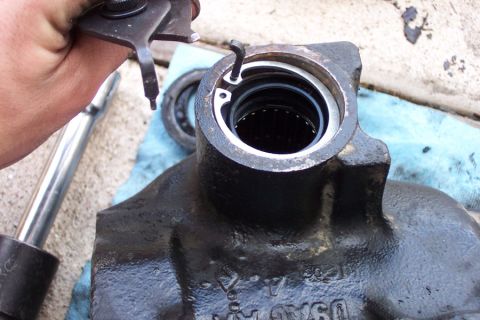
Steering gearbox reseal
From 1992 Ford Bronco “Money pit” — documented by Richard Cherico.
27 photos