Home/
Registry/
Lincoln/
Town Car/
1990–1997/
“Mileage Master”/
3rd Generation 130 amp alternator
supermotors.net/registry/9371/27285
Album section
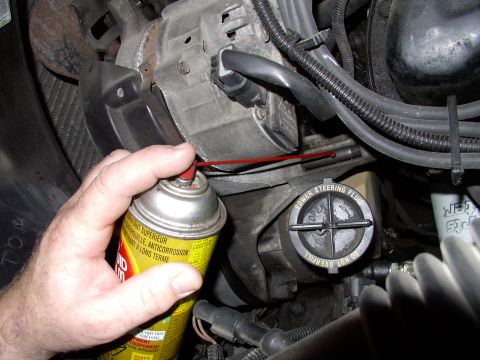
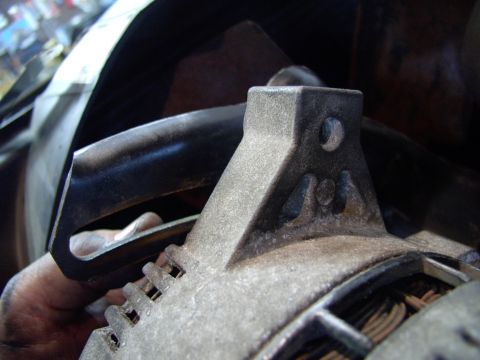
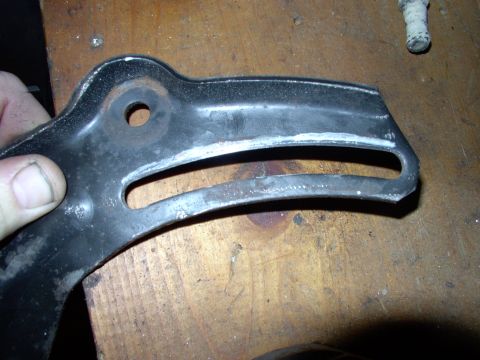
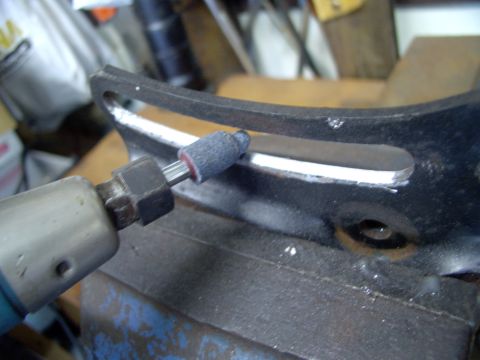
3rd Generation 130 amp alternator
From 1990 Lincoln Town Car “Mileage Master” — documented by Sixlitre.
10 photos