The story
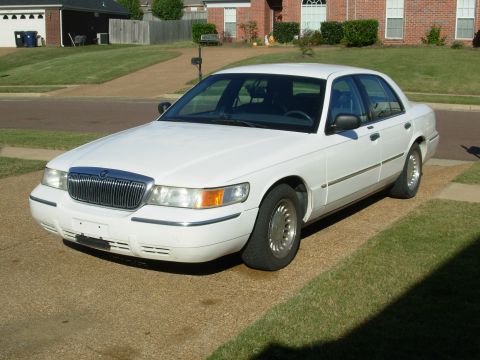
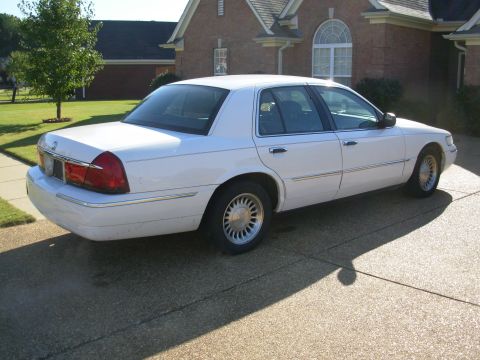
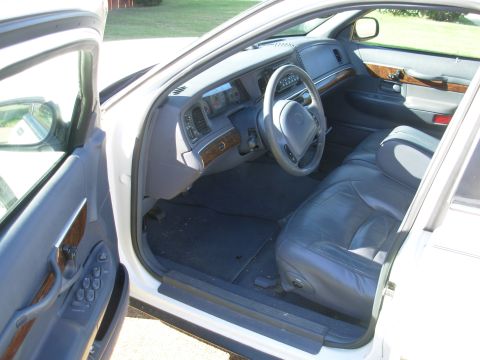
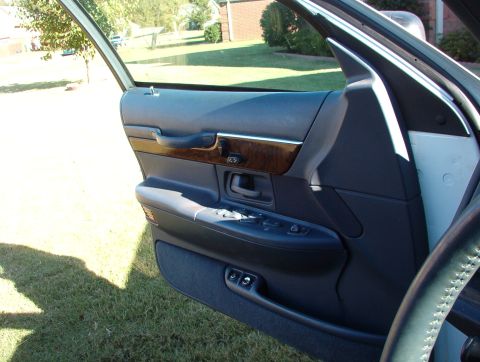
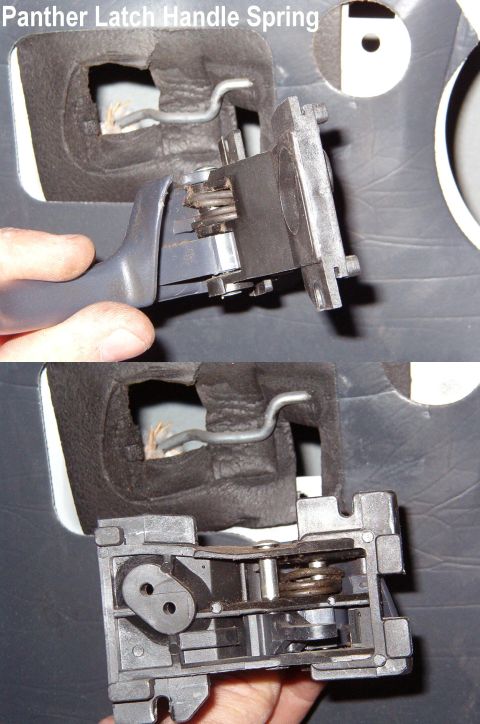
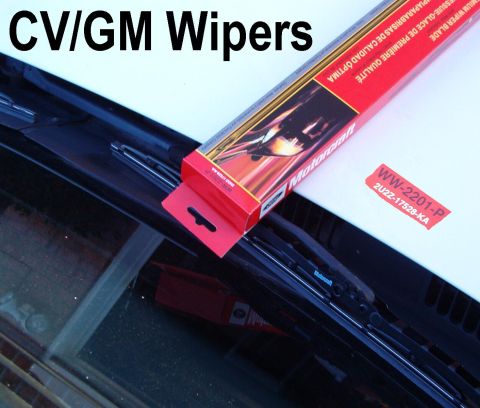
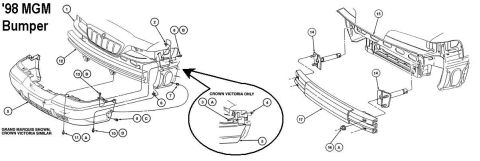
Bought used from a neighbor. Added: heated side mirrors, power pedals, power fuel door, dual visors, power inverter, AM/FM/CD... Fixed: oil dipstick tube, door panels damaged, carpet filthy, battery terminals corroded, fuel filter, remotes replaced, 1 key, driver's seat cushion, tied up EVAPS hose, air filter box straightened, body paint scuffs & chips, upper ball joints replaced & aligned, front pads replaced, front rotors turned, alternator regulator & rectifier, new Ford belt, dash trim panels for pedals switch, engine cover bracket, rear bumper cover, new headlights. Sold to mom to get her out of a POS Continental right after I bought it. Tires are matched Pirellis smooth & holding air with good tread. Wiper motor replaced in 2017. Bought it back from her when I sold her an '04 CV. SOLD on Marketplace 4-26-20.
Things that don't work right:
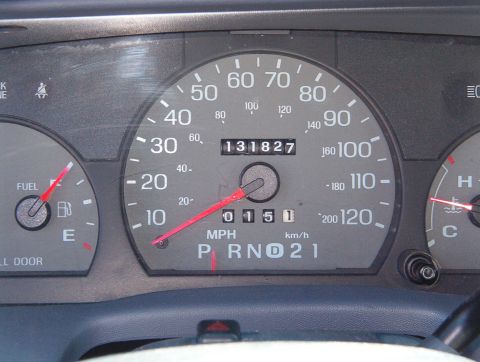
- CEL on (EGR flow)
- CD player inop, but the JVC radio works fine
- w/s chips & cracks don't interfere with the driver's view
- headlights fogged out
- shocks worn; land yacht
- minor oil & coolant leaks that you'd expect on a 300Kmi engine
- brake pedal gear cracked (like all of them), so it doesn't adjust now
- lots of minor scuffs & dents
- driver's visor hanger broke, so it now has a black steel hook — Steve83
Day one vs. today
Drag to compare 2008 against 2018.


Photo history
59 photos across 4 years — drag the dot to travel through this vehicle’s life. Captions are the owner’s; where there isn’t one, the AI caption fills in.
2008
51 photos added — showing 8

2009
1 photo added
2013
2 photos added

2018
2 photos added
The peanut gallery
Spotted in the wild
Seen this vehicle at a show or on the trail? Add your shot — the owner approves it onto the record.
No comments yet — be the first to add to the record.