Home/
Registry/
Ford/
Crown Victoria/
1998–2011/
“EmbassyVic”/
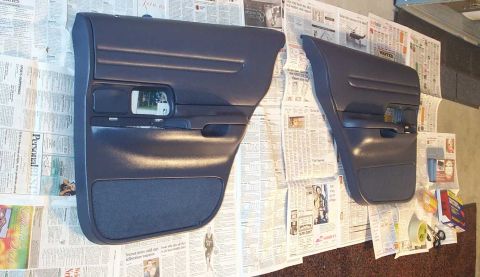
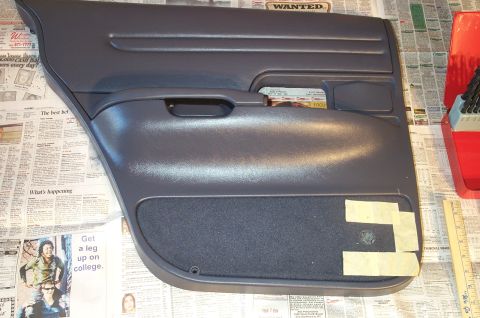
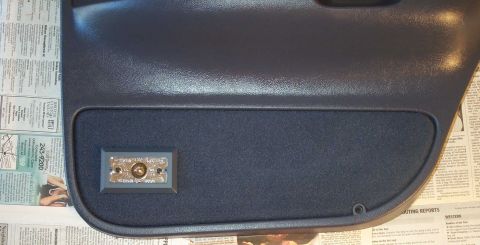
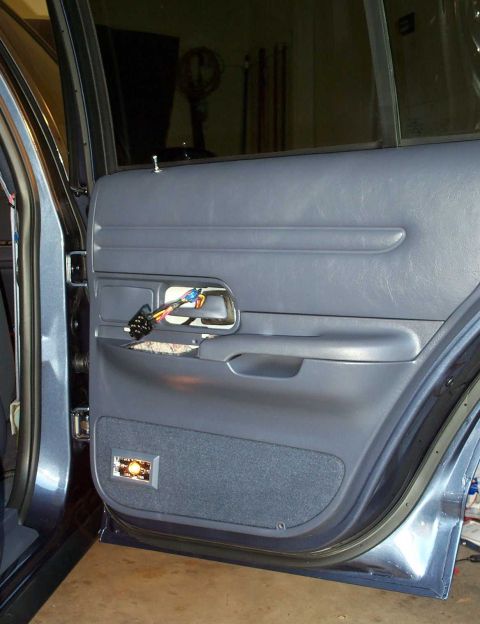
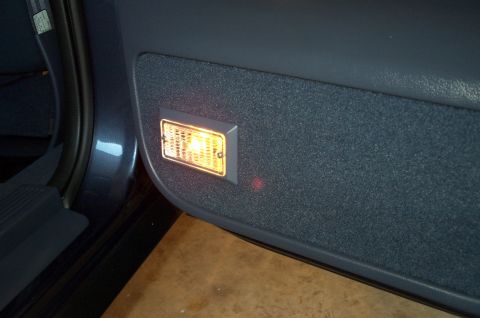
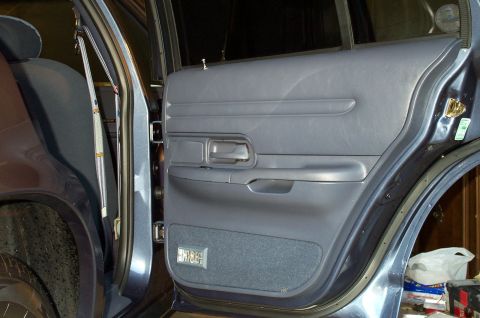
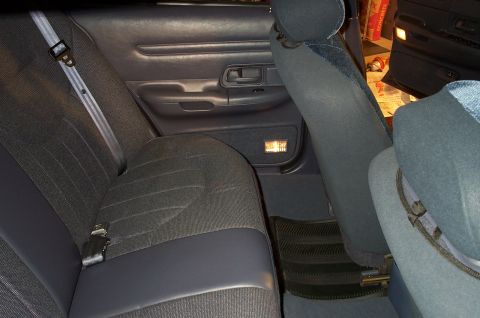
Rear Door Courtesy Lamps
supermotors.net/registry/588/21109
Album section
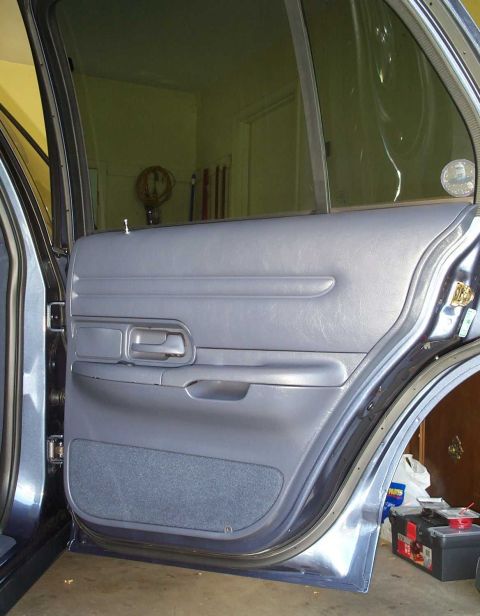
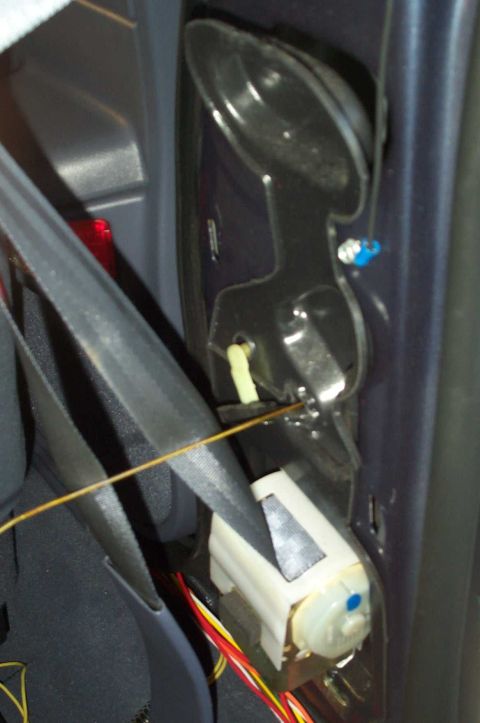
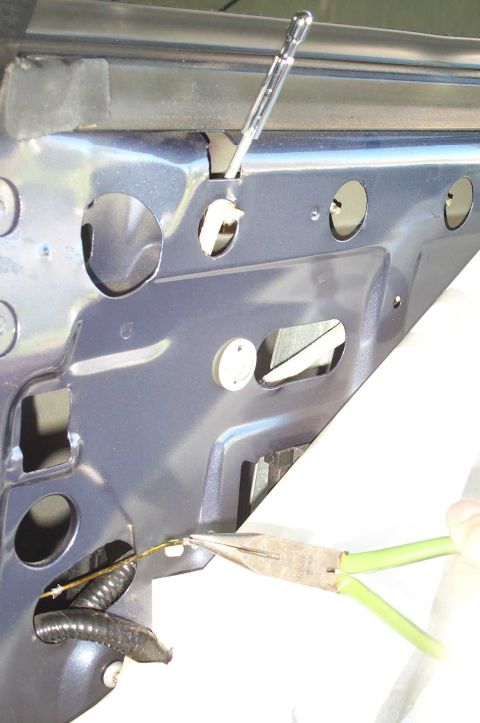
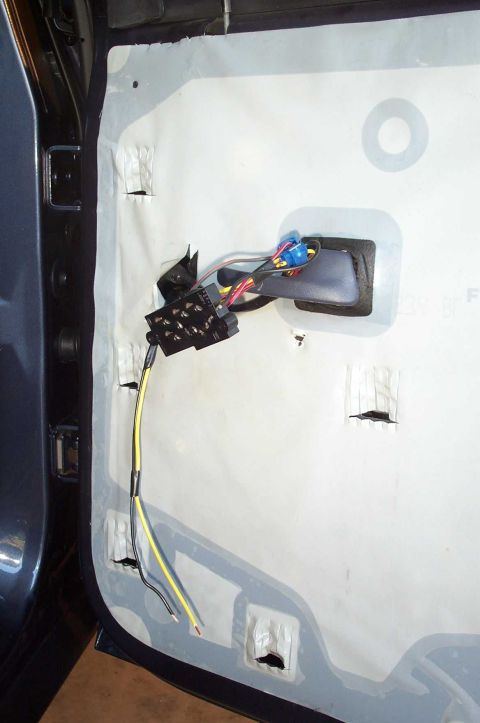
Rear Door Courtesy Lamps
From 1998 Ford Crown Victoria “EmbassyVic” — documented by Embassy Vic.
18 photos