Home/
Registry/
Ford/
Crown Victoria/
1992–1997/
“Vicky (totalled & shredded)”/
Seats & Belts
supermotors.net/registry/6098/31152
Album section
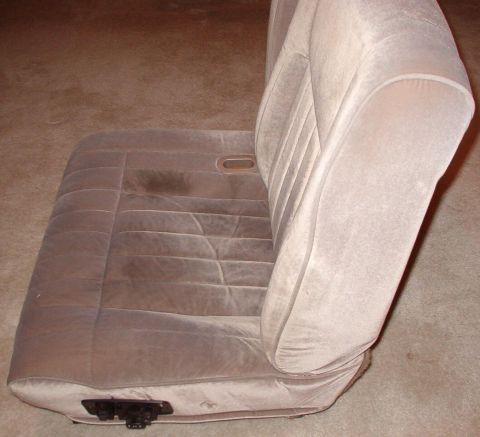
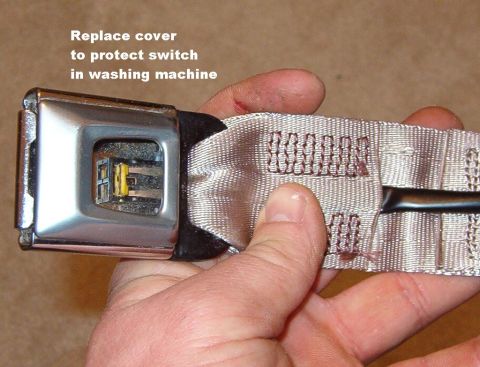
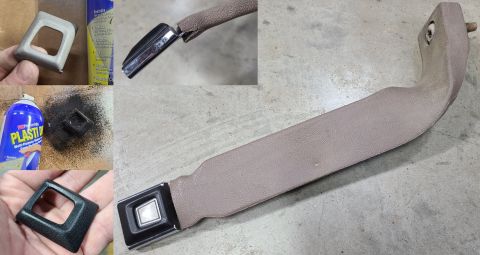
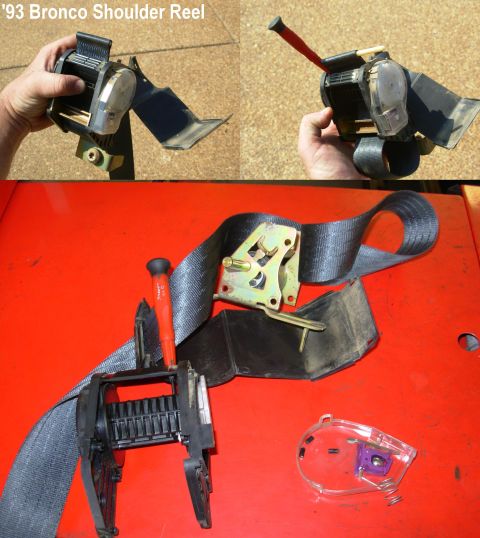
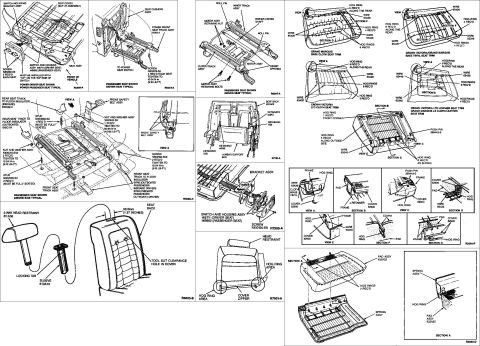
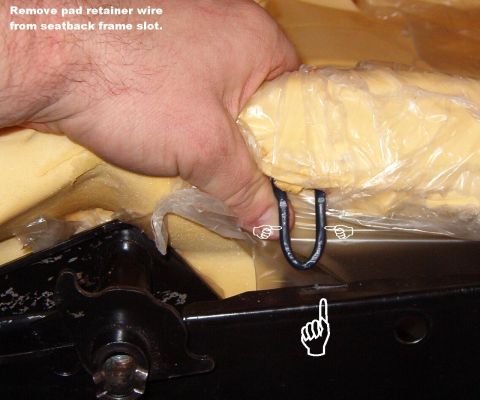
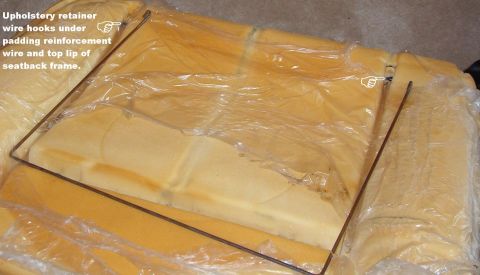
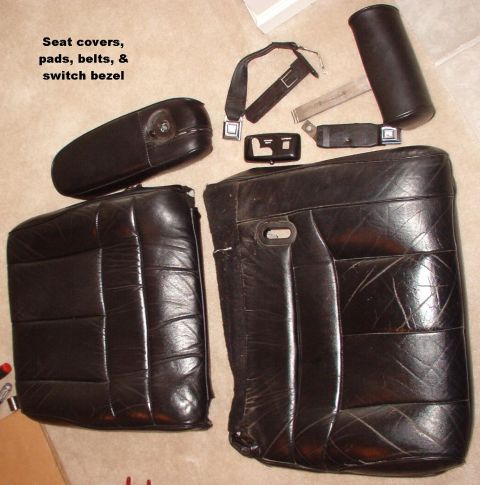
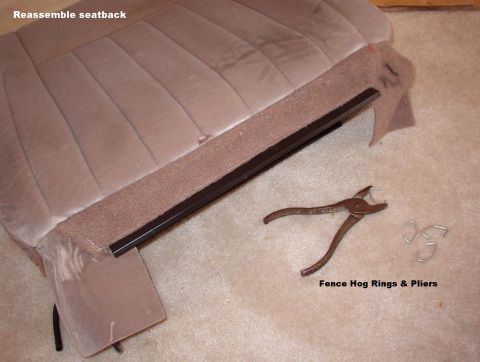
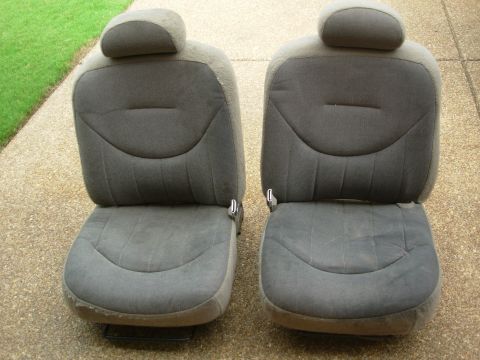
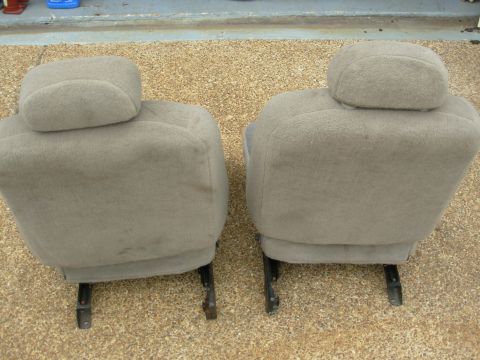
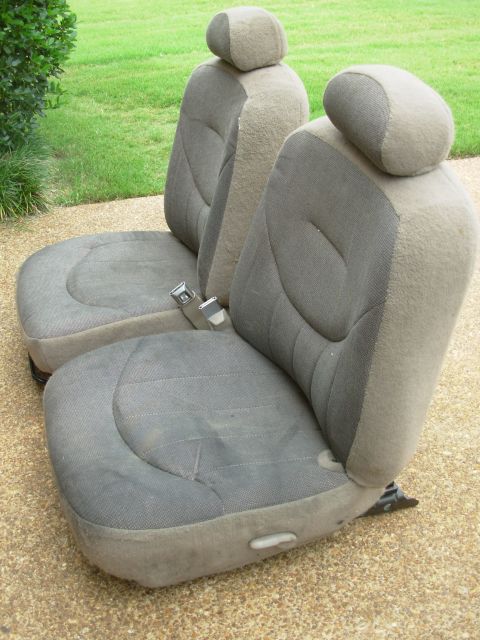
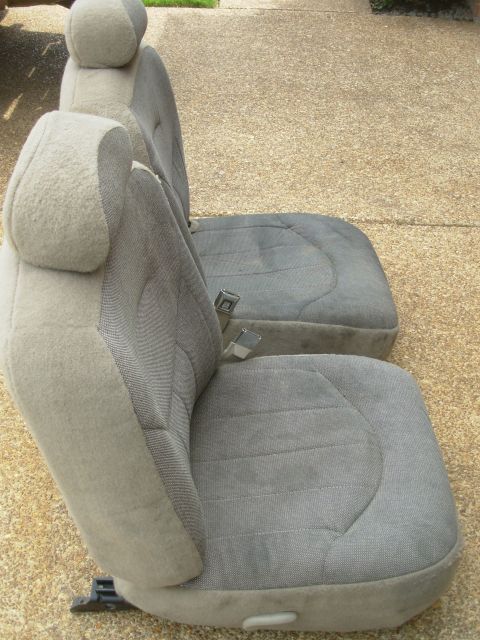
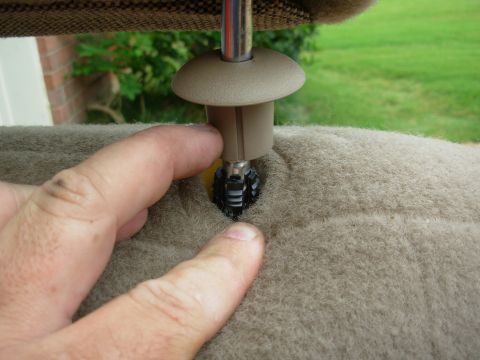
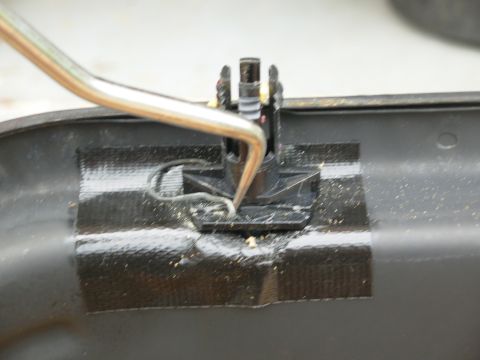
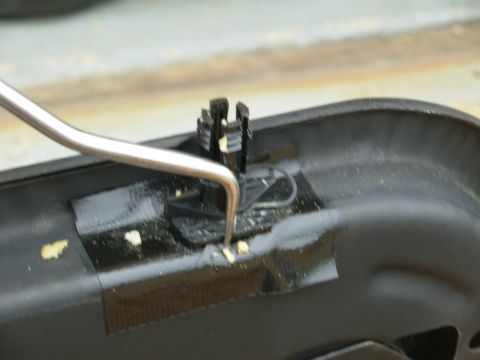
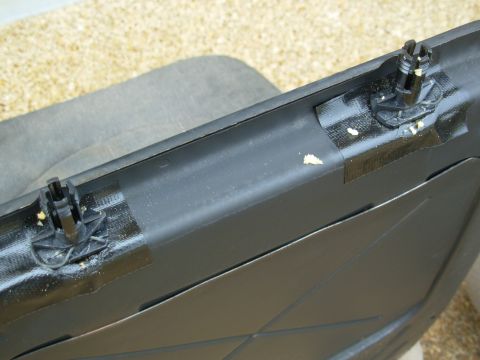
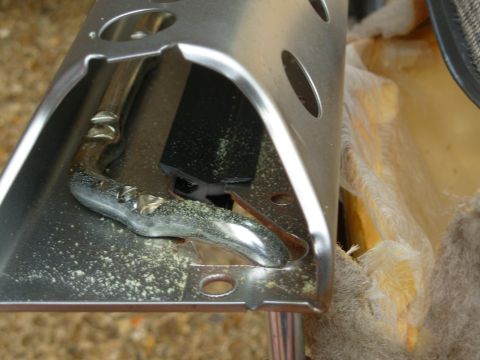
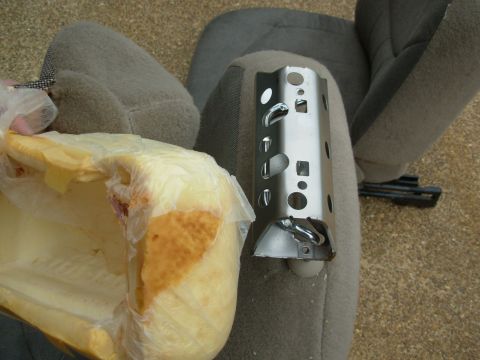
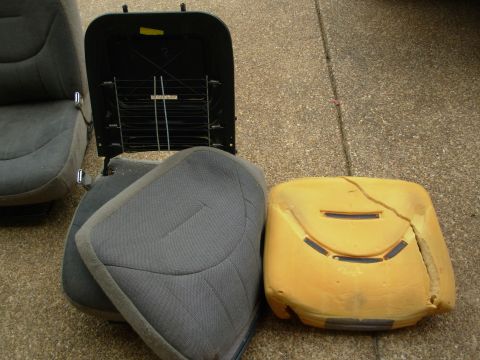
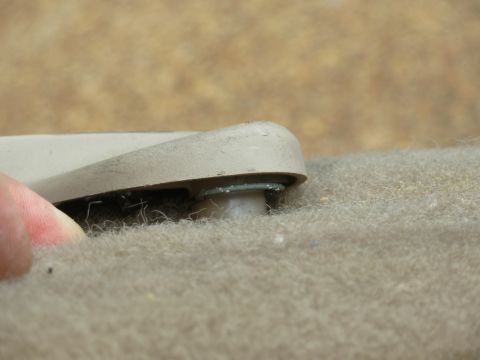
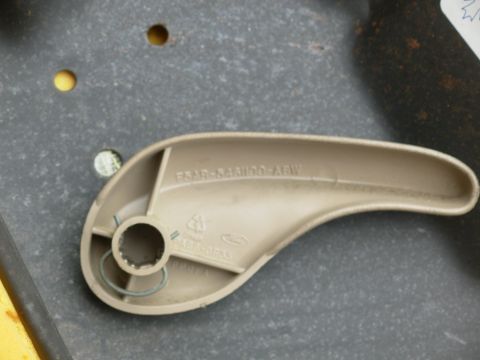
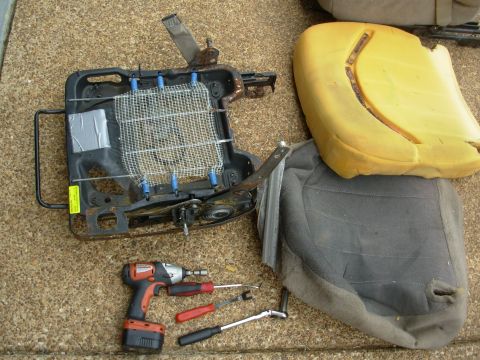
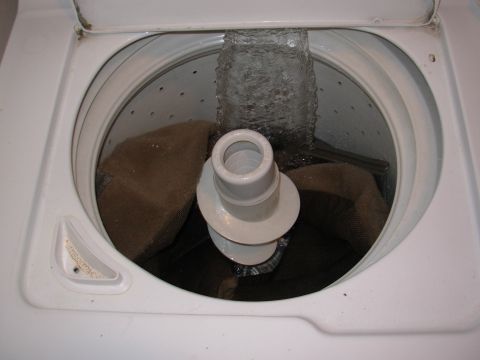
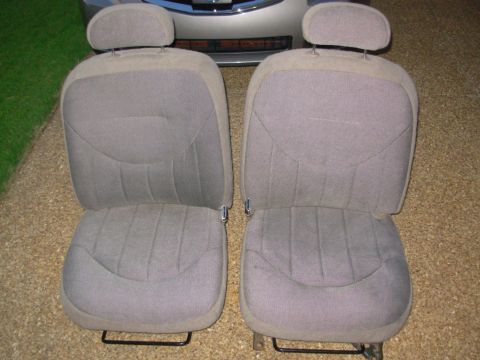
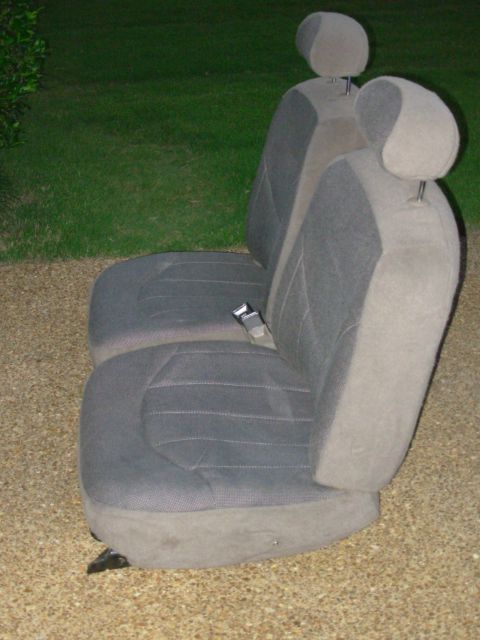
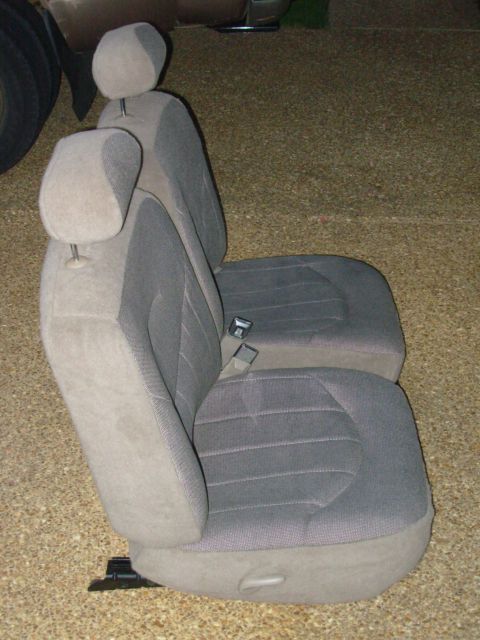
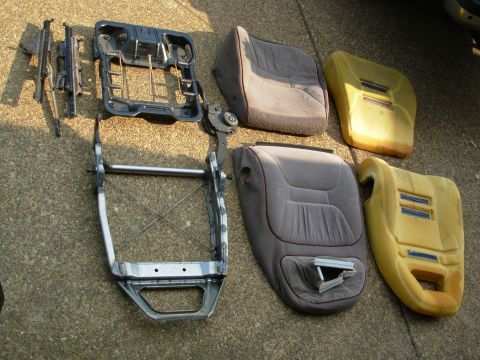
Seats & Belts
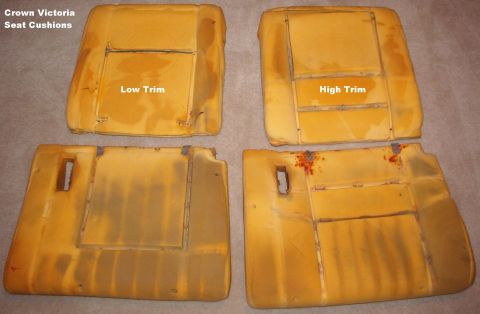
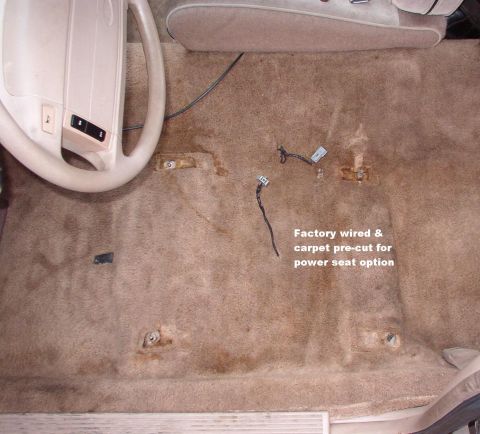
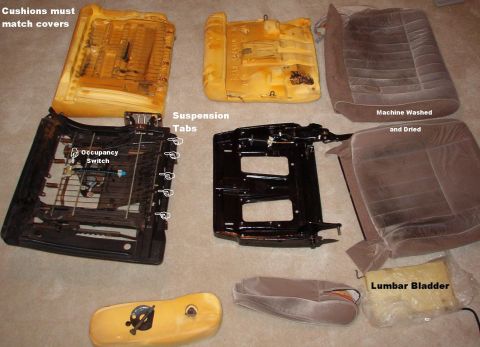
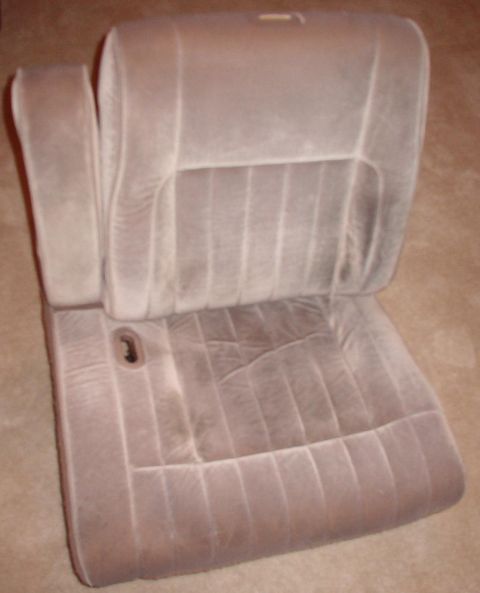
From 1994 Ford Crown Victoria “Vicky (totalled & shredded)” — documented by Steve83.
75 photos