
The story
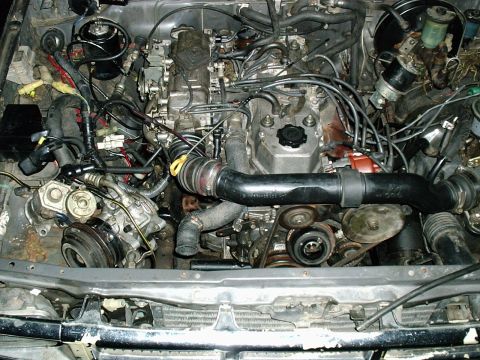
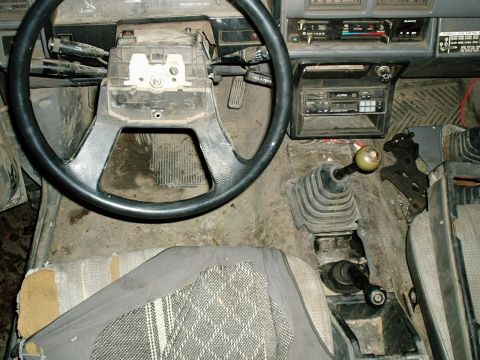
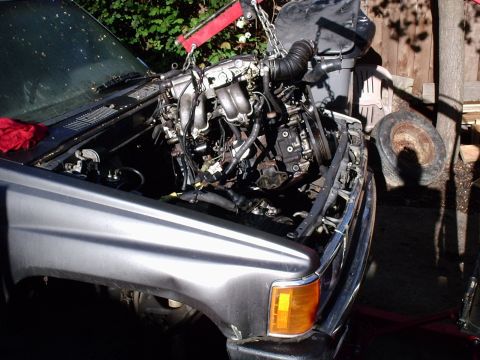
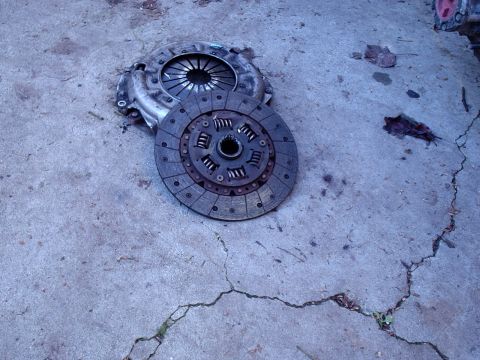
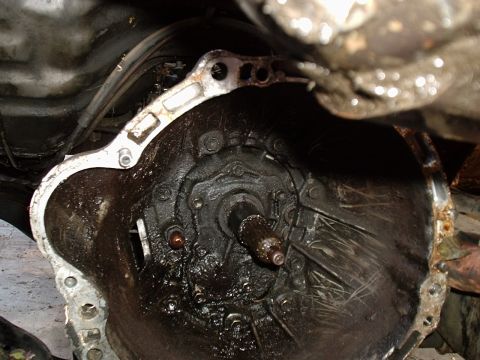
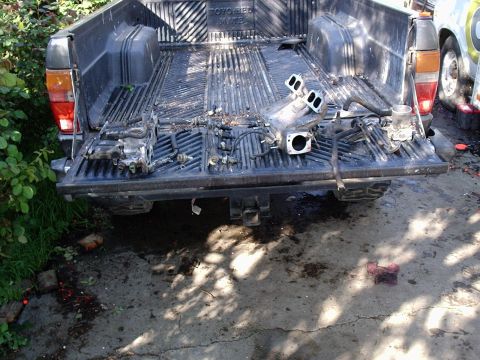
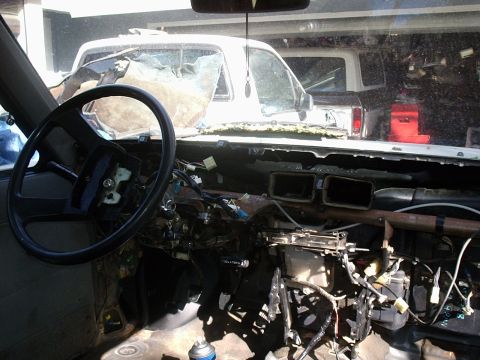
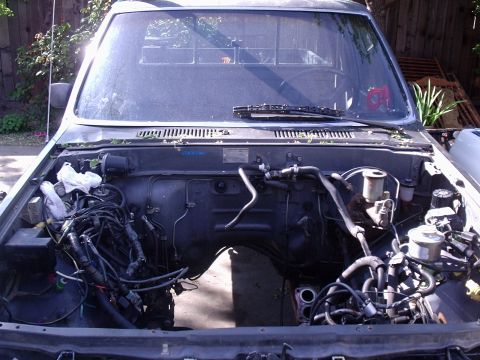
Bought this in 05, sat while I drove my 91 till it finaly blew it's engine. Reconditioning it for a daily driver and weekend hunting/fishing/trailrunning trips. Engine is from TAP in Rancho Cordova, Everthing else from Napa The Parts Store in Natomas, and Toyota of Davis for the parts that arn't avialable from TAP or Napa. Misc parts, transmisson and Tcase and some electronics are salvaged from the 91. I'm starting to get impatient,
Tired of working on shit, I just want to drive around and have fun!
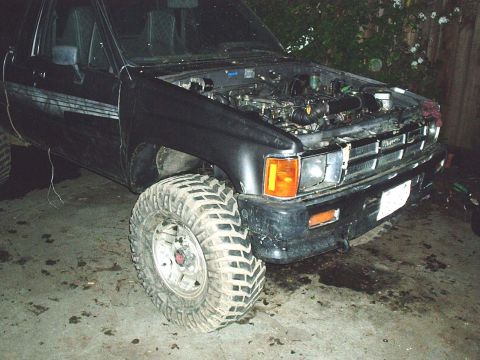
86 Bought in 05 for 1100$
91 Bought in 06 for 1500$
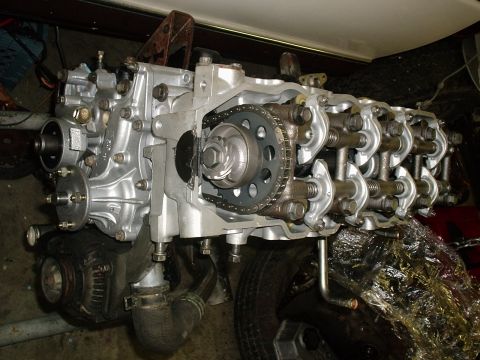
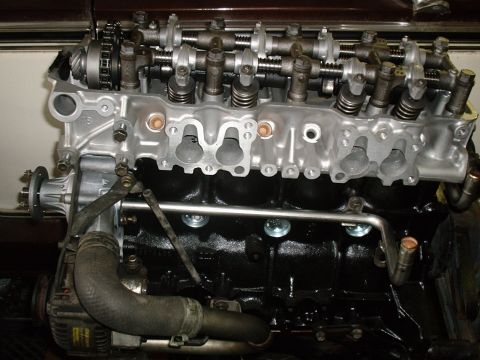
Reman 22R 1100$
This vechicle is now a runner. — Roger Coleman
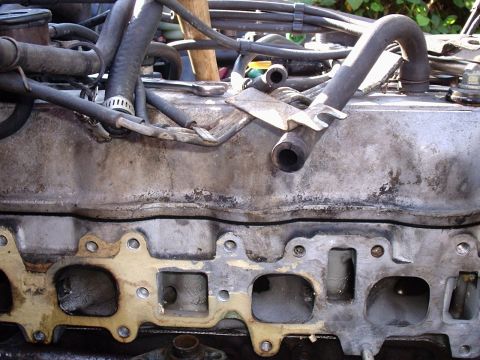
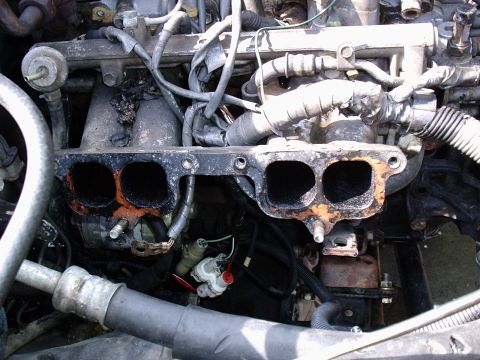
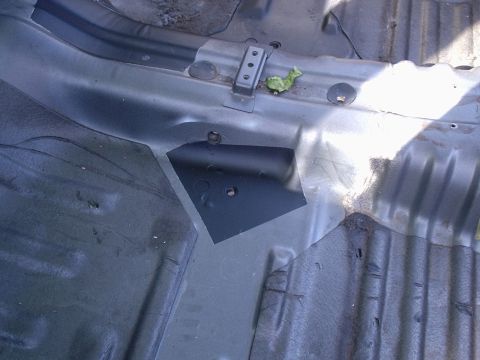
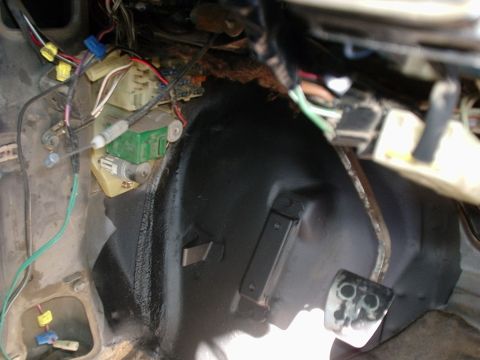
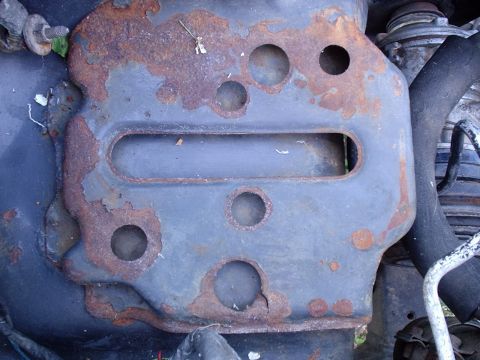
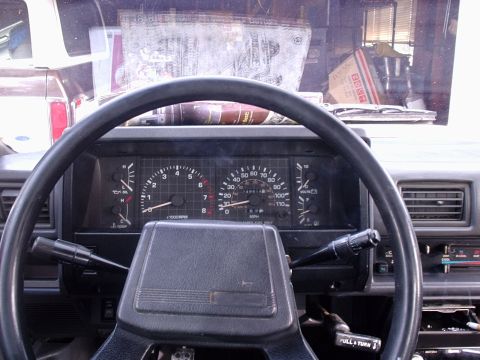
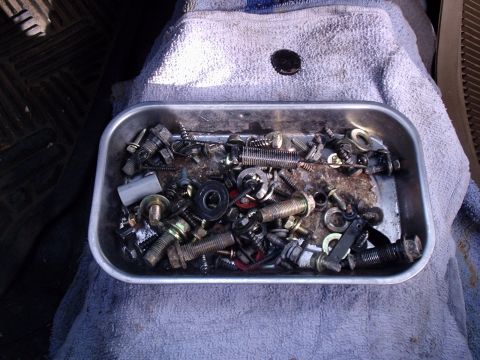
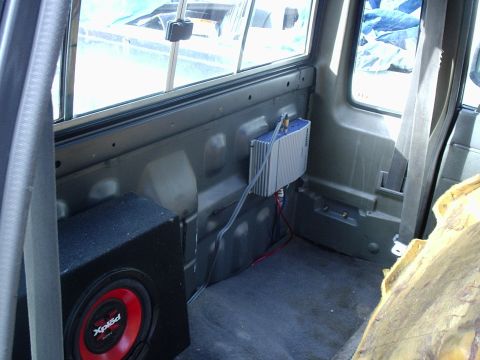
Photos


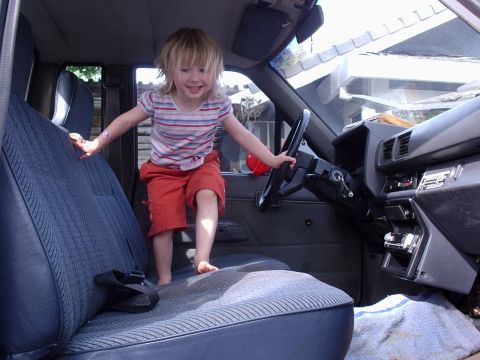
The peanut gallery
Spotted in the wild
Seen this vehicle at a show or on the trail? Add your shot — the owner approves it onto the record.
Spotted this vehicle somewhere? Sign in to submit your shot.
Sign in
No comments yet — be the first to add to the record.