Home/
Registry/
“'Busa”/
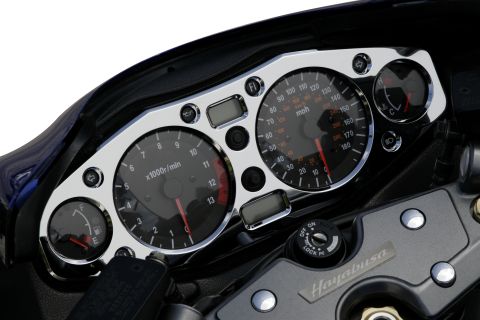
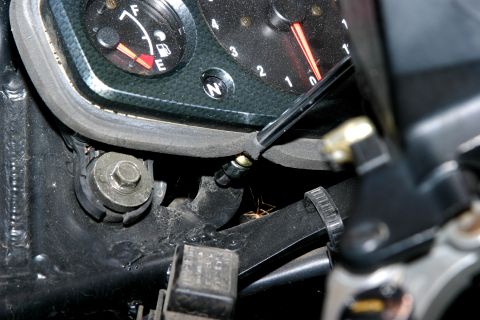
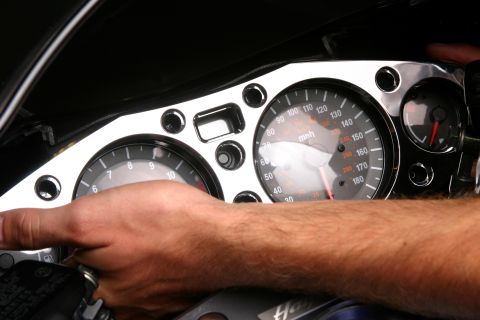
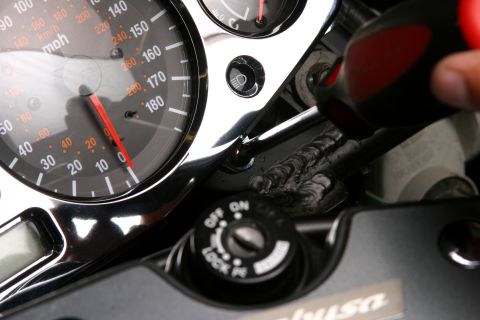
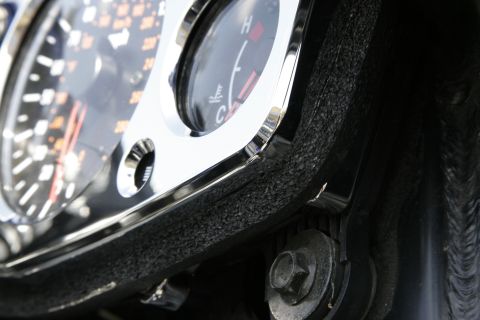
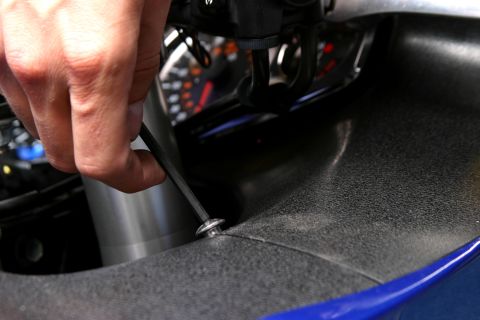
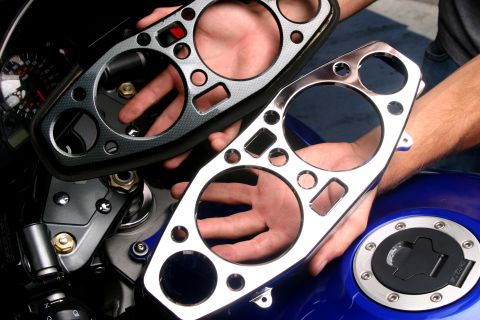
PPM Custom's Chrome Billet Hayabusa Gauge Bezel
supermotors.net/registry/15505/52003
Album section
PPM Custom's Chrome Billet Hayabusa Gauge Bezel
From 2006 Suzuki Hayabusa 1300 “'Busa” — documented by SuperMotors.
15 photos