How-to
1990 Lincoln Town Car 3G 130 Amp Alternator Upgrade
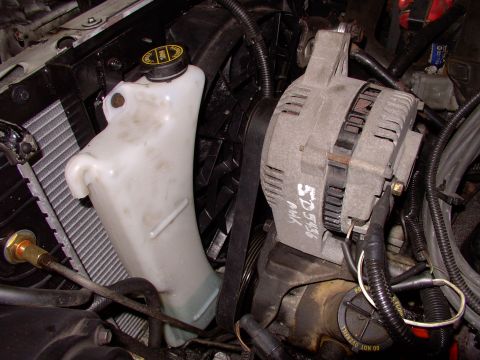
The old 2G alternator was replaced with a large case Taurus 3rd generation 130 amp alternator on a 1990 Lincoln Town Car. Because the stock adjustment bracket did not line up with the larger alternator, the bracket was straightened, ground for clearance and spaced out with washers before the alternator was mounted and wired.
-
Step 1
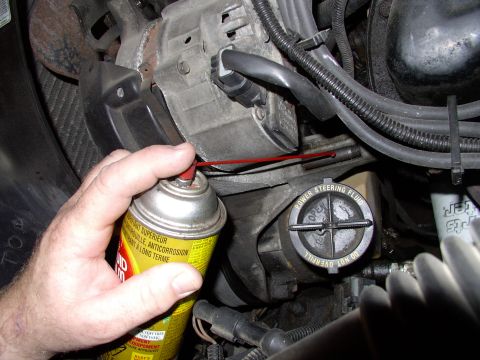
Soak the bolt threads on the old 2G alternator and its brackets with penetrating oil well ahead of the job. This was started weeks before the 3G 130 amp alternator went on.
-
Step 2
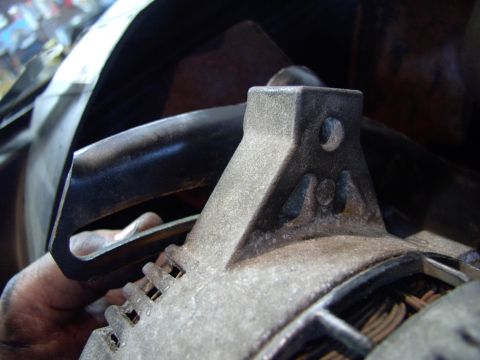
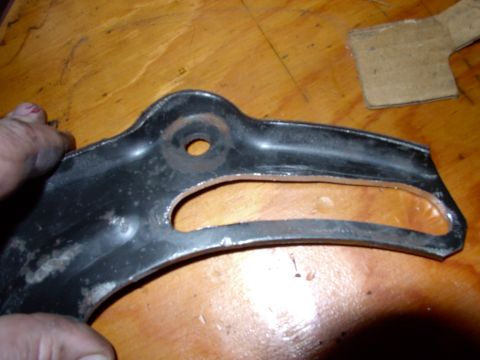
Compare the adjustment slot in the bracket with the bolt hole on the 3G alternator. The slot sits about 1" too low for the 3G alternator's bolt hole.
-
Step 3
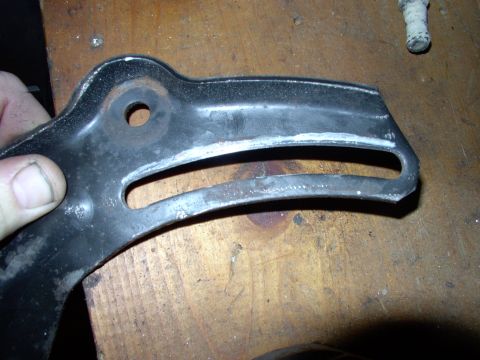
Straighten the bracket by beating on it until it is nearly tall enough for the large case 3G alternator. This was done on a cheap spare bracket, so beating on an original bracket is at your own discretion.

-
Step 4
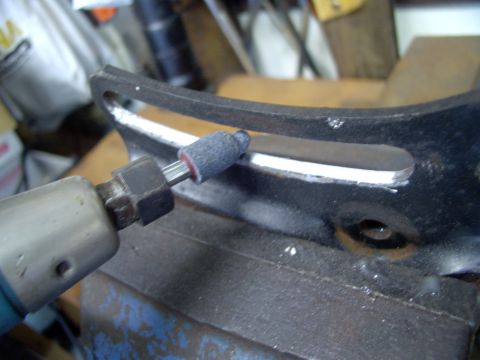
Mark the remaining 1/8" of clearance that still has to come off the straightened bracket, then grind to the mark with a die grinder. Check that the 3G alternator's adjustment bolt now runs freely in the modified slot.
-
Step 5
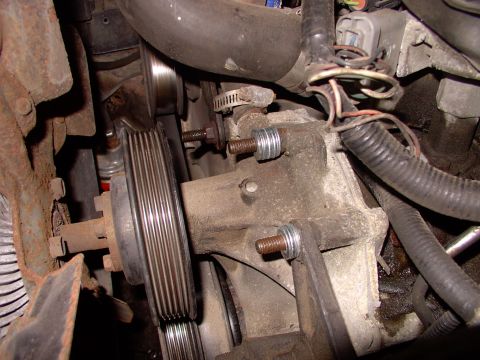
Add washers to the water pump studs behind the bracket to space the bracket out far enough for the large case 3G alternator.
-
Step 6
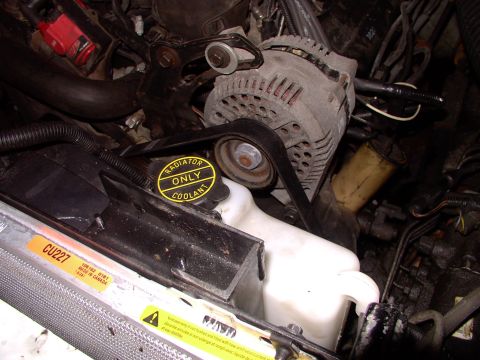
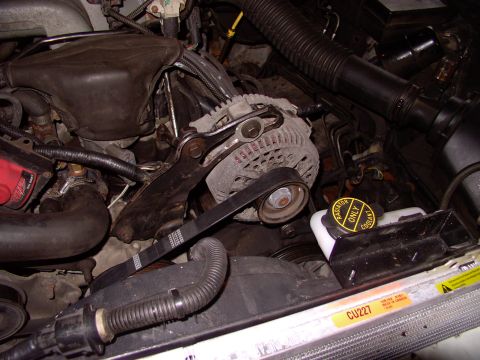
Mount the large case Taurus 3rd generation 130 amp alternator and fit a larger washer at the widened adjustment slot. The larger alternator called for a serpentine belt exactly one inch longer.
-
Step 7
Run the 4 gauge feed wire off the alternator stud over to the battery. The Taurus fan, visible in the background, is part of the reason for going to a 3G 130 amp alternator. The photos end here.
Some product links go to the supplier the owner bought from. SuperMotors does not earn a commission today; if that changes, this line will say so and creators will be paid from it.