How-to
1990 Lincoln Town Car Thermostat Replacement
The thermostat in a 1990 Lincoln Town Car is replaced with a Stant 205 degree unit. The photos cover clearing access, removing the two housing bolts, sealing the housing and gasket, and setting the new thermostat in place.
-
Step 1
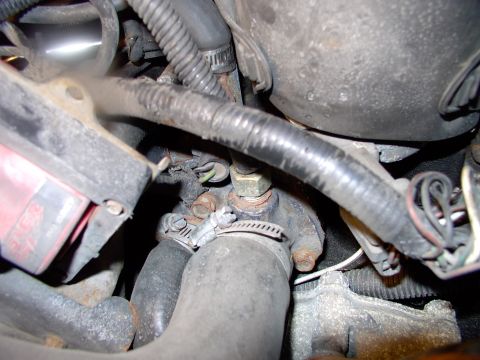
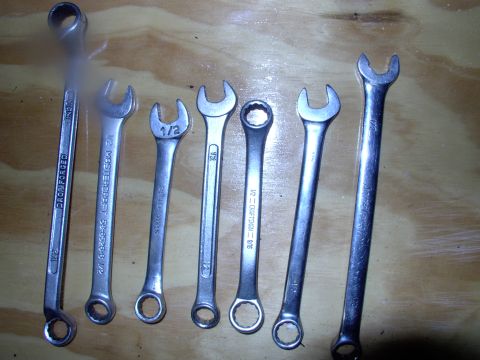
Locate the two 1/2 inch bolts that hold the thermostat housing and have the 1/2 inch wrenches ready, since the bolts back out about a 1/16 of a turn at a time. Sixlitre shortened the lower bolt by 1/4 inch with a hacksaw on an earlier job to make removal and installation easier.
-
Step 2
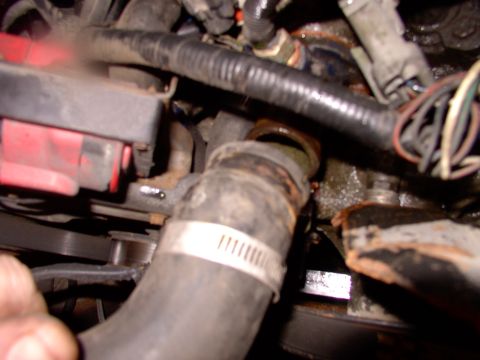
Pull the upper radiator hose off for better access. Sixlitre leaves the smaller bypass hose connected until later but slacks off its hose clamp at this point, while it is still reachable.
-
Step 3
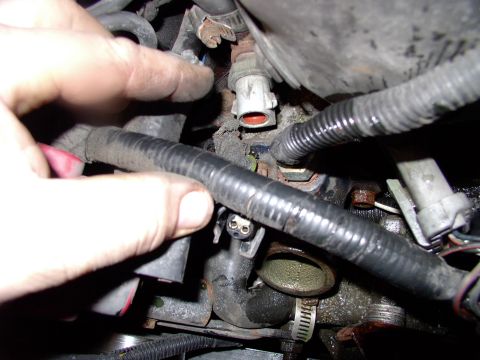
Unplug the coolant temp sensor to open up more access. Sixlitre clocked the sensor slightly differently from stock so an extra temp sensor would fit into the aftermarket thermostat housing, which feeds a Taurus electric fan.
-
Step 4
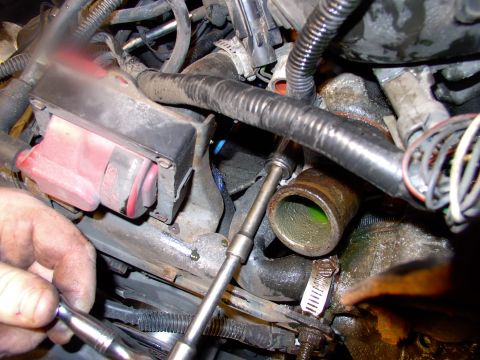
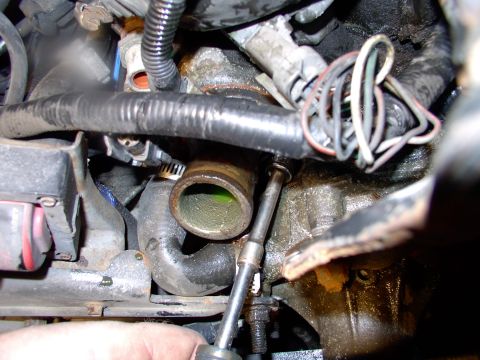
Break each bolt loose with a wrench first, then take out the upper passenger's side bolt with a 1/4 inch drive 1/2 inch socket, extension and ratchet. The lower driver's side bolt can be caught and teased off the same way with great effort. Sixlitre always re-coats the bolt threads with anti-seize.
-
Step 5
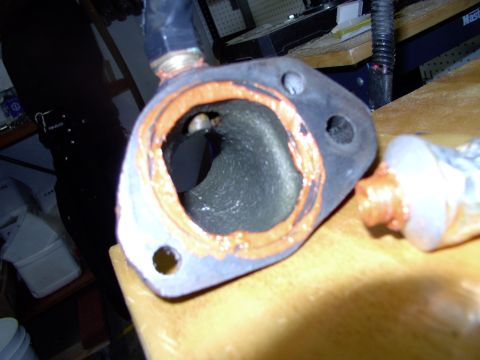
Clean the thermostat housing and lay a bit of sealant inside the locating indent. Sixlitre uses Permatex Ultra-Copper under the hood because it is high heat and sensor safe.
-
Step 6
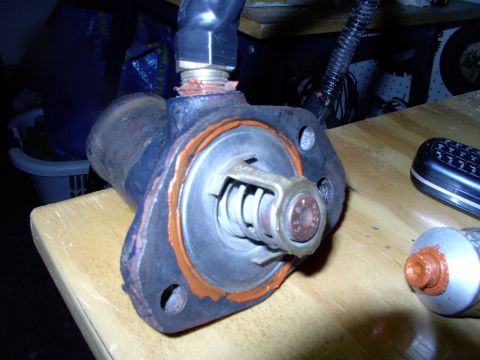
Set the Stant 205 degree thermostat into the housing. Sixlitre chose the 205 degree unit for winter use, reporting that it warms the car up much faster and keeps the engine in the most efficient range for mileage and emissions.
-
Step 7
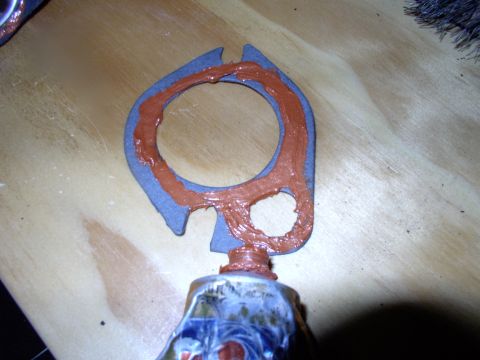
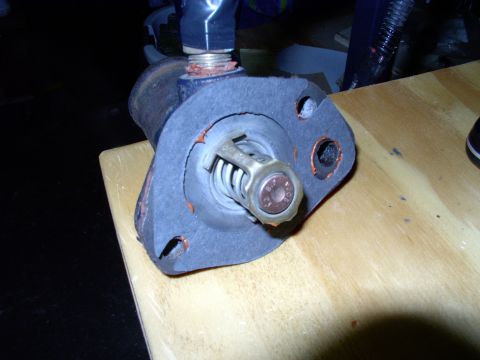
Apply more sealant to the gasket and fit the ROL gasket over it, which Sixlitre rates as poor quality. The numbers 205 are visible in the middle of the thermostat.
-
Step 8
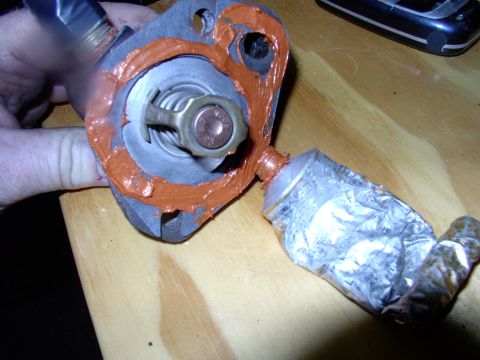
Add more sealant over the gasket and put the housing back together. The photos end here, with no further reassembly or refill shown.
Some product links go to the supplier the owner bought from. SuperMotors does not earn a commission today; if that changes, this line will say so and creators will be paid from it.