Super
Motors
Super
Motors
SUPER
MOTORS
Registry
Photos
Members
Reference
Clubs
Search — try “orange Bronco on 35s”
Sign in
Join
Home
/
Members
/
WizardPC
supermotors.net/users/WizardPC
WI
Member profile
WizardPC
47
photos
1
vehicle
member since
2005
Atlanta, GA, U.S.A.
✉ E-mail WizardPC
The garage · 1
WizardPC’s vehicles on the registry.
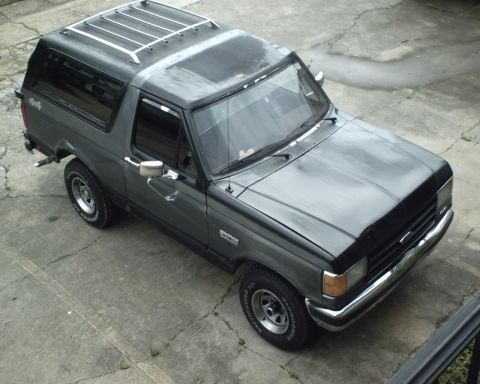
1987 Ford Bronco
“BondoBuggy”
47 photos
Latest photos
The newest 12 uploads from WizardPC’s garage.
Clubs
FC
FullSizeBronco.com