Home/
Registry/
Ford/
Crown Victoria/
1998–2011/
“Gone to the great parking lot in the sky”/
Spark Plug
supermotors.net/registry/15812/53268
Album section
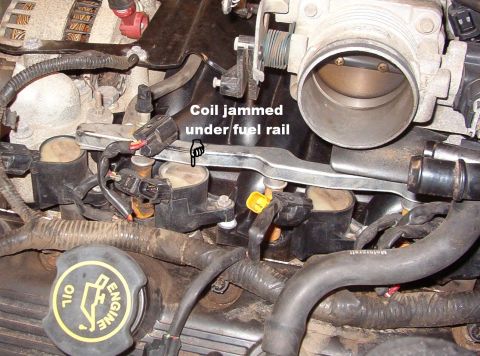
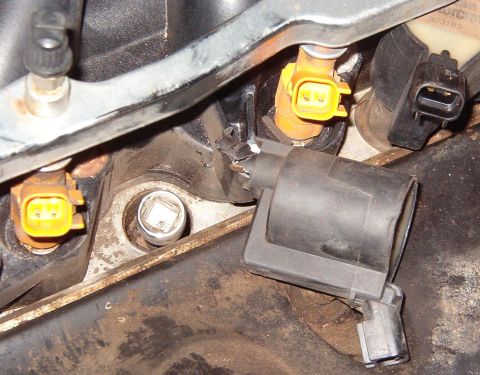
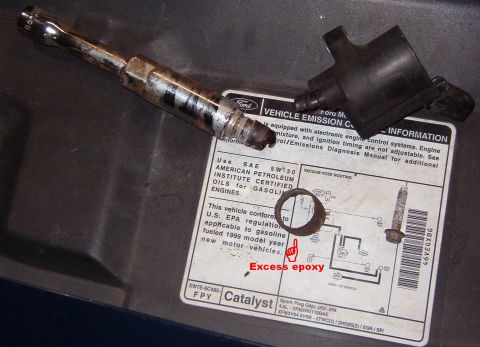
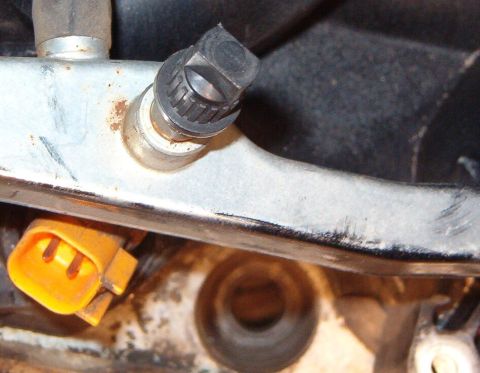
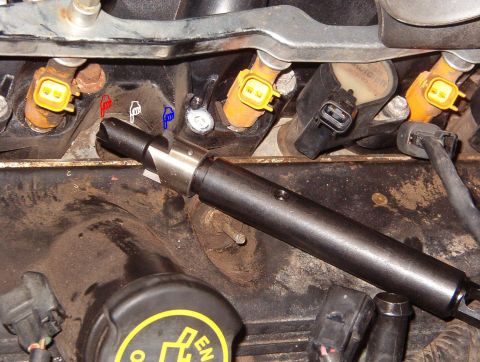
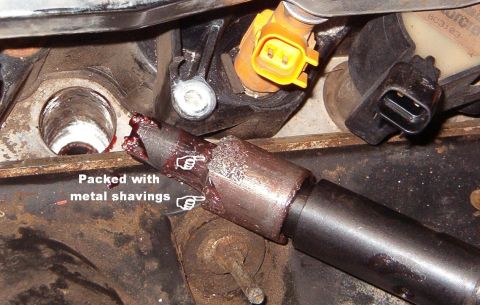
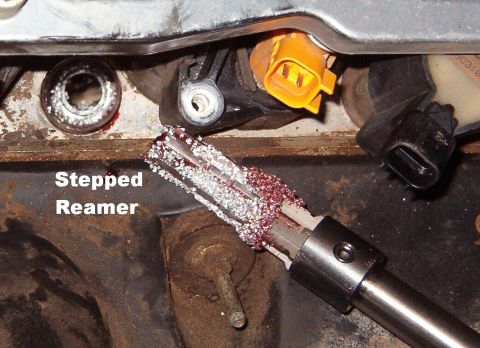
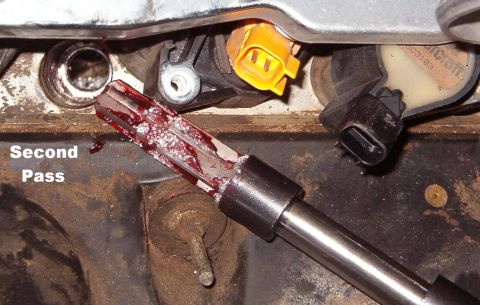
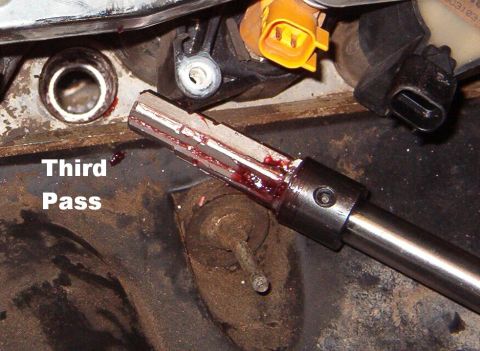
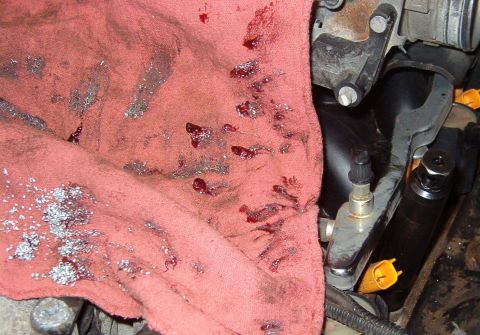
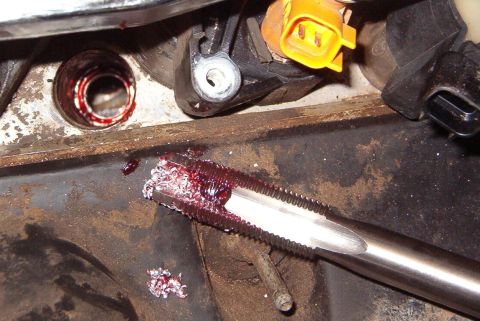
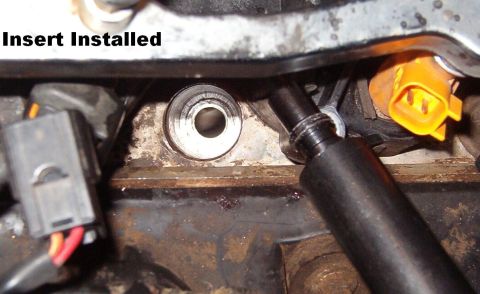
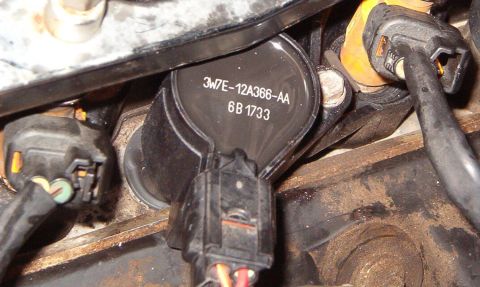
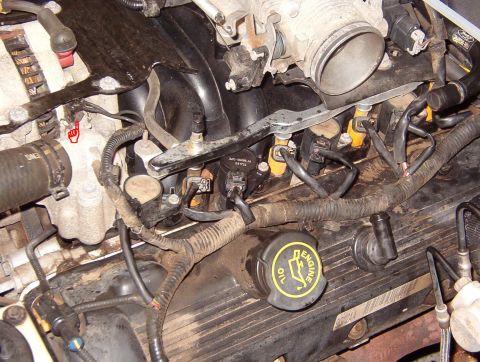
Spark Plug
From 1999 Ford Crown Victoria “Gone to the great parking lot in the sky” — documented by Steve83.
22 photos