How-to
1978 Ford Bronco 460 EFI Swap: Engine Hoist and Wiring Photos
Tony Eaton's photos of a 460 EFI swap into a 1978 Ford Bronco. They show the engine harness and ECM wiring pulled out for isolation, the front end stripped, the V8 handled on a hydraulic engine hoist and positioned at the bay, close-ups of the accessory side, underside lines and wiring, and the computer location. Only three photos carry the owner's own captions, and there are no photos of the fuel system, the finished wiring or a first start, so this is not a complete procedure.
-
Step 1
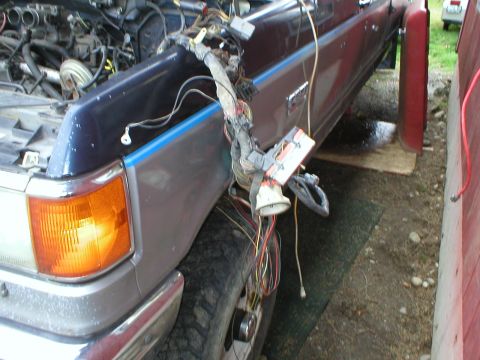
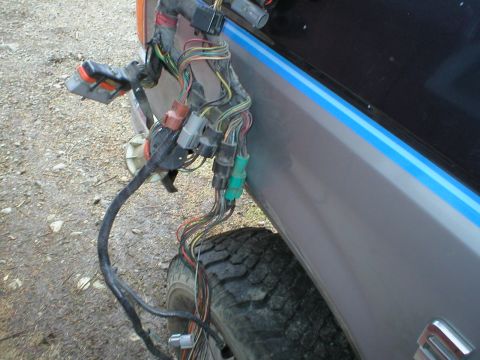
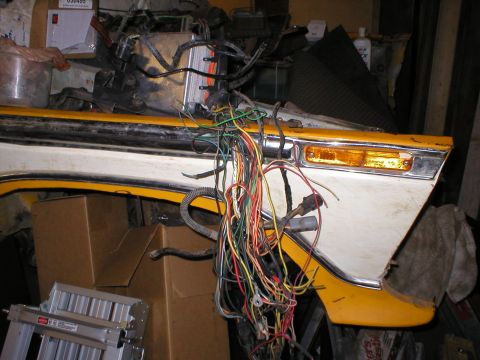
Isolate the engine harness and ECM wiring from the rest of the loom. Tony Eaton describes this harness, together with the fuel system and the charging system, as what has to be integrated into the Bronco. The photos show the harness pulled out and hanging over a fender.
-
Step 2
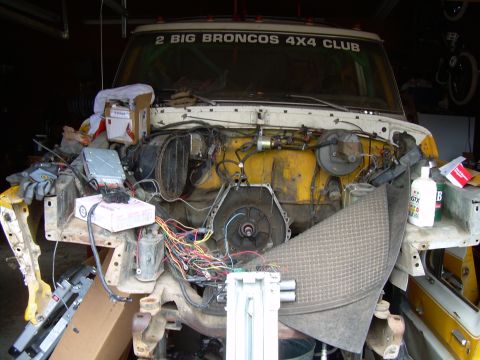
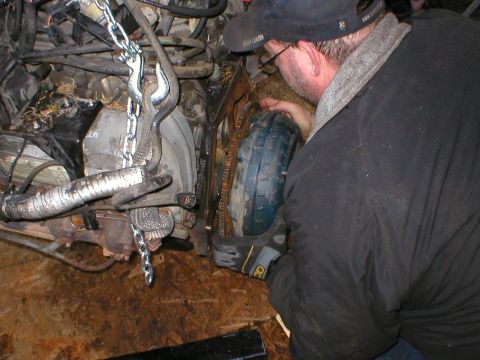
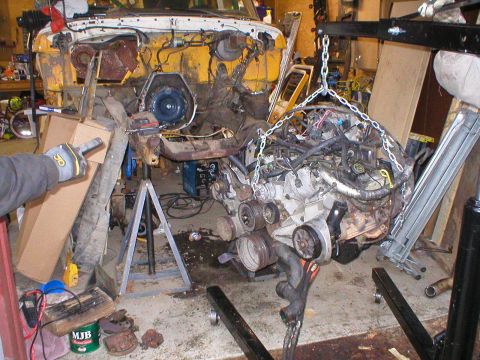
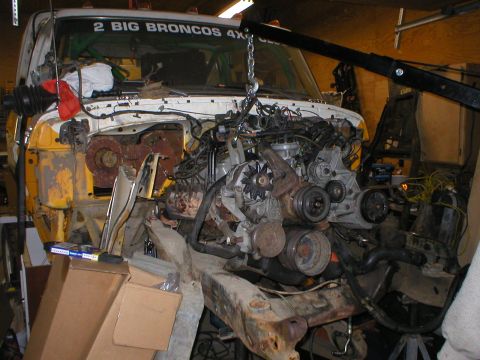
Strip the front of the Bronco: grille and front sheet metal off, engine out, with the transmission bell housing exposed. The photo shows loose wiring and a computer sitting on the radiator support.
-
Step 3
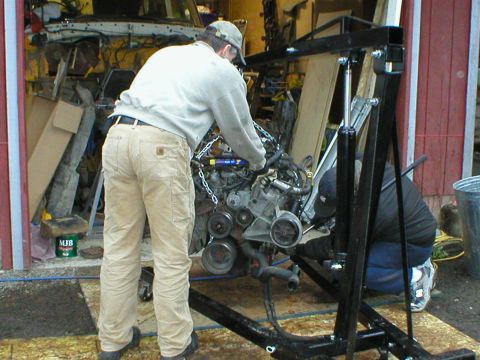
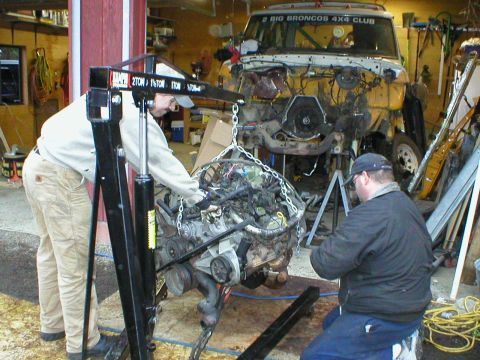
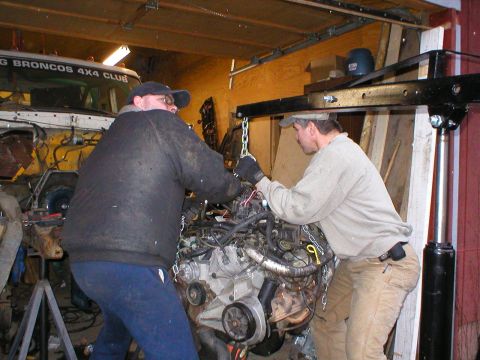
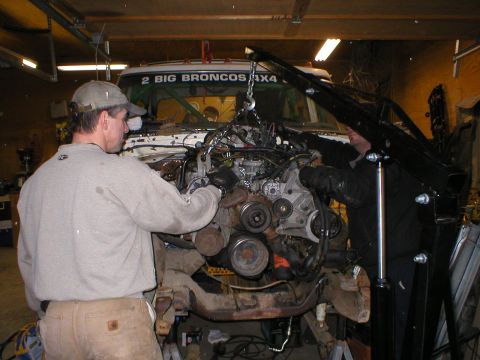
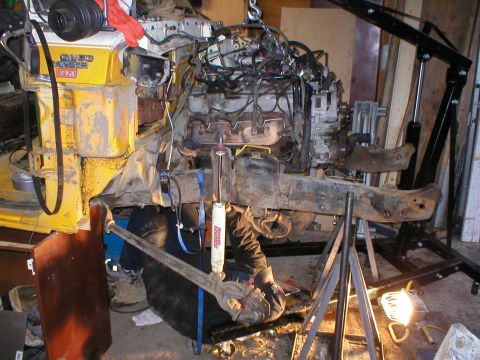
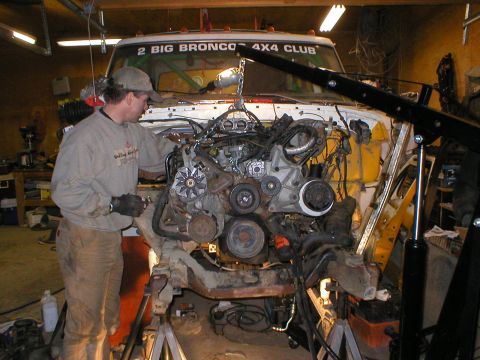
Hang the V8 from chains on a hydraulic engine hoist, with two people steadying it and the front of the Bronco up on jack stands.
-
Step 4
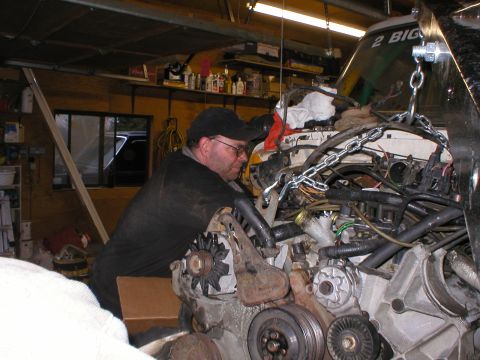
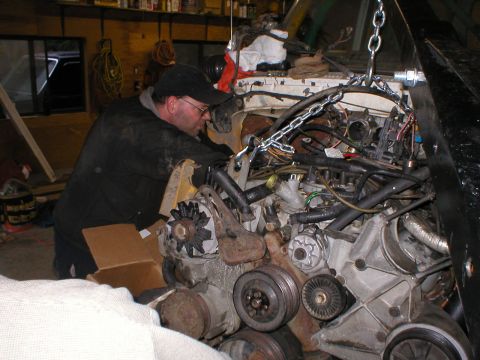
Move the engine on the hoist toward the open engine bay, with a person on each side guiding it. The engine still carries its accessories, hoses and wiring.
-
Step 5
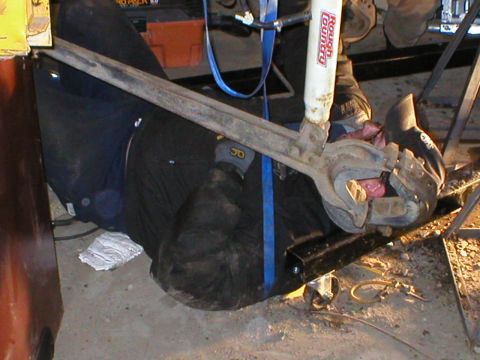
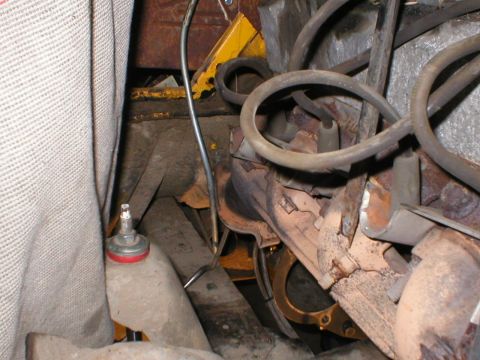
Work under the front end on the Rough Country shock and its mount at the frame while the engine hangs on the hoist. The photos do not show exactly what was changed.
-
Step 6
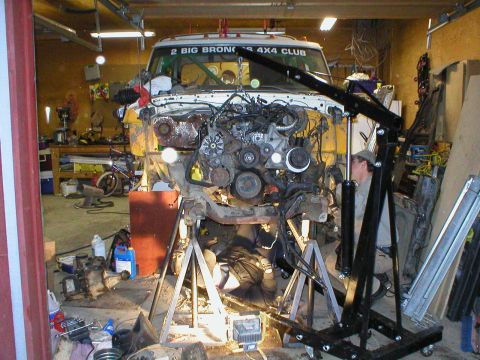
Bring the engine toward the bay with the hood and fenders off, a person at the front of the truck guiding it.
-
Step 7
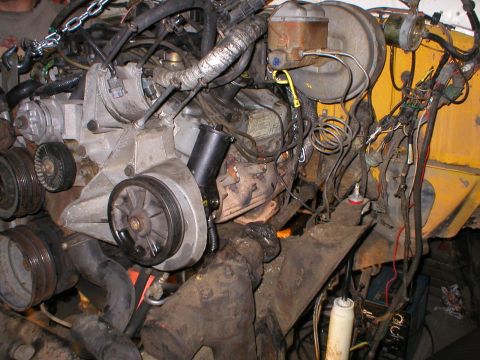
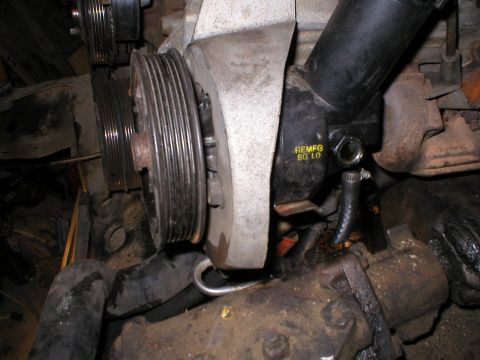
Check the accessory side of the engine at the firewall: the remanufactured power steering pump (stamped REMFG) with its multi-groove serpentine pulley, and the brake booster above it.
-
Step 8
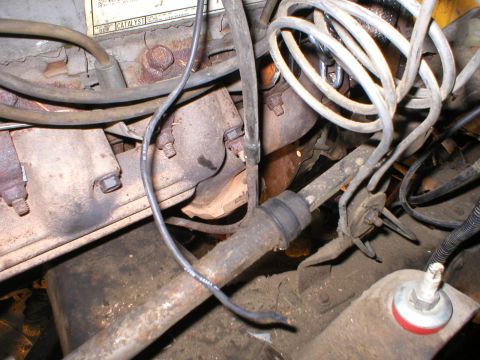
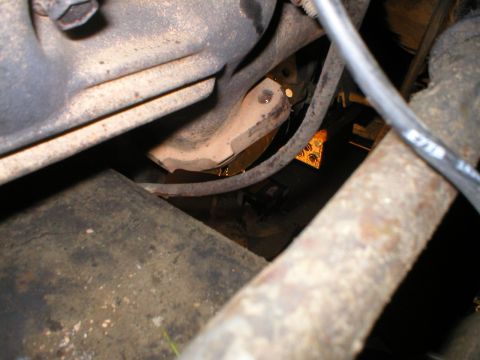
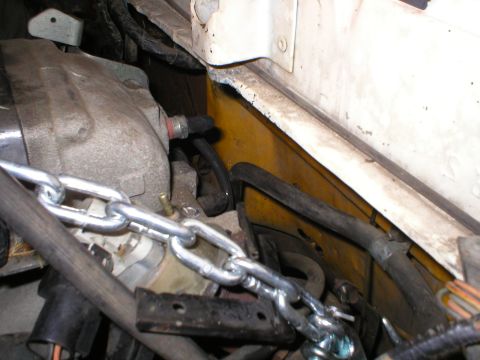
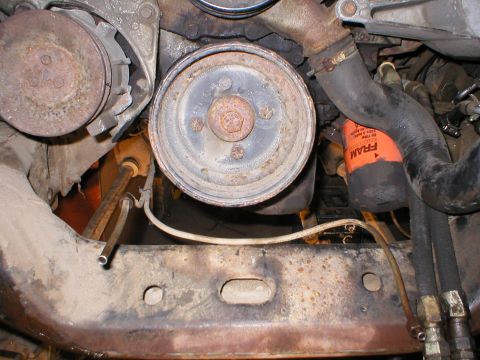
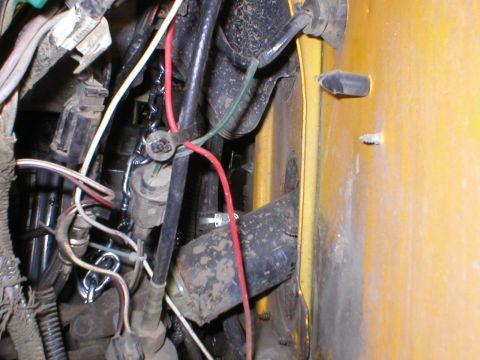
Check the lines, hoses and wiring around and under the engine: the front crossmember, the crankshaft pulley and oil filter, and the harness along the inner fender. These are uncaptioned close-ups, so the routing is not described.
-
Step 9
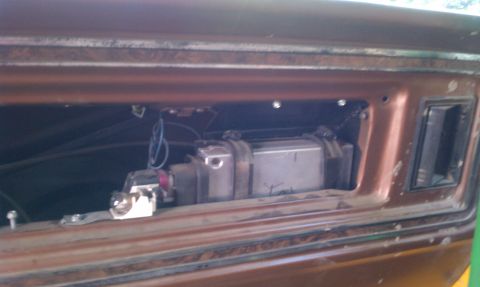
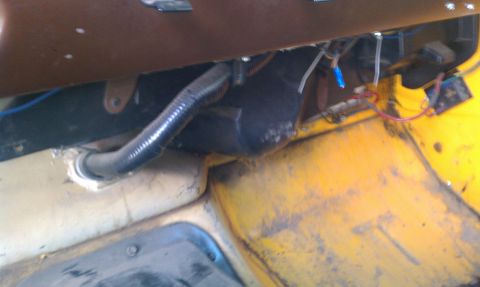
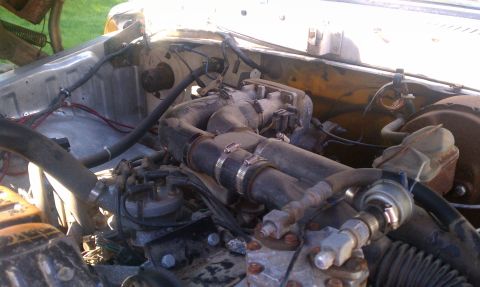
Locate the computer in a panel opening and run the wiring under the dash, then see the engine bay with its intake plumbing. The album's photos end here, with no first start or road test shown.
Some product links go to the supplier the owner bought from. SuperMotors does not earn a commission today; if that changes, this line will say so and creators will be paid from it.