How-to
1994 Ford Bronco Transmission Cooler Install With Temp Sender
A B&M transmission cooler with a puller fan was mounted ahead of the radiator on home-made brackets on a 1994 Ford Bronco. The stock cooler lines were cut and re-plumbed through the new cooler, and a transmission temperature sender was added at a pressure port on the E40D for a pillar gauge.
-
Step 1
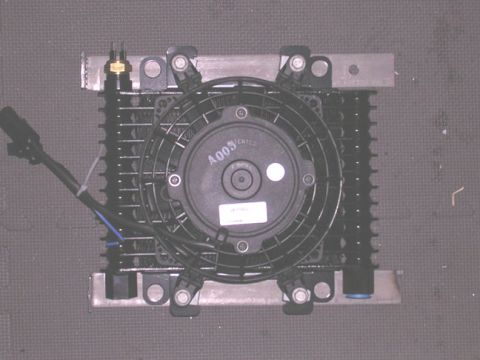
Start with the B&M cooler and its puller fan, chosen to address transmission overheating. Damon Haas notes it was expensive.
-
Step 2
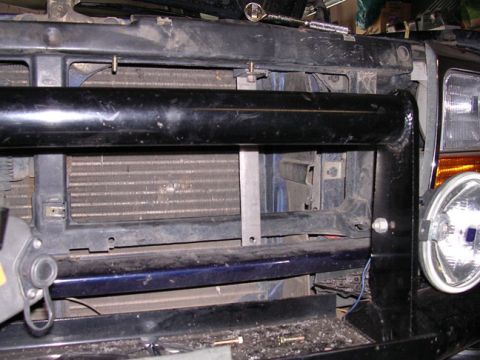
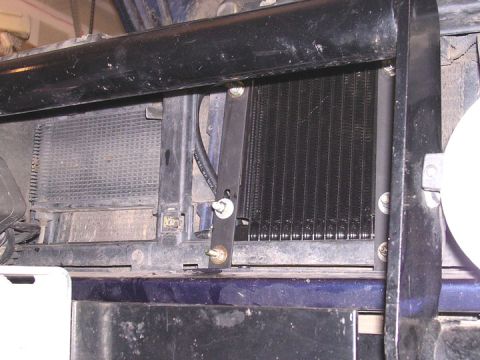
Fabricate the mounting brackets and test fit one on the driver's side. Damon Haas made the brackets from 1/4 by 1.5 inch flat stock, bent the top of each one, and mounted them to the plastic behind the grill piece.
-
Step 3
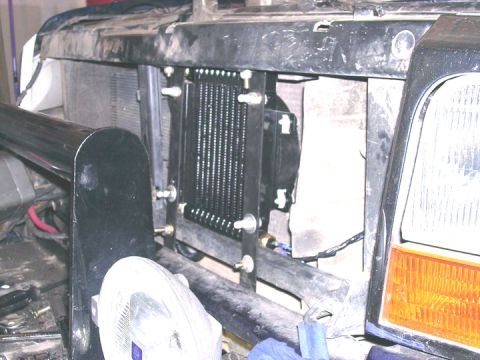
Paint the brackets, then install the cooler on them.
-
Step 4
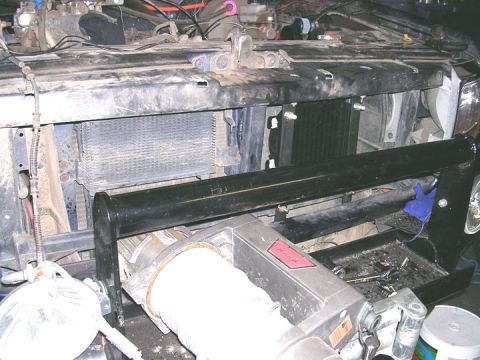
Check the installed cooler from the front and side before plumbing the lines.
-
Step 5
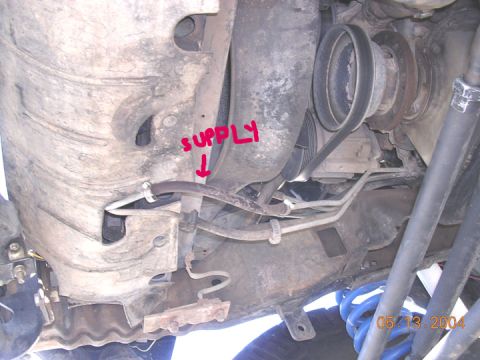
Cut the stock cooler lines at the front of the vehicle, where the soft return section from the auxiliary cooler runs on the left and the hard line to the radiator cooler runs on the right. Damon Haas cut the hard line, ran a soft line and a piece of hard line to the bottom input of the new cooler, then ran a soft hose from the top port of the new cooler to the input side of the stock auxiliary cooler.
-
Step 6
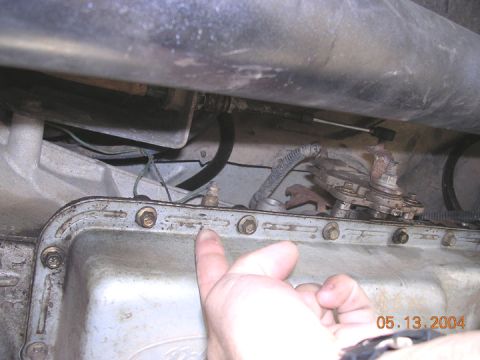
Install the transmission temperature sender for the pillar gauge at a pressure port on the E40D. Damon Haas reports the sender probably reads about 5 to 10 degrees hot from radiant heat but gives a good idea of transmission temperature, and that the cooler fan switches on at 160, which is close to the readings on the gauge.
-
Step 7
The album's photos end here, with the cooler plumbed and the temperature sender installed. No further stages are documented.
Some product links go to the supplier the owner bought from. SuperMotors does not earn a commission today; if that changes, this line will say so and creators will be paid from it.