How-to
1989 Ford Bronco Water Pump Replacement
A leaking water pump on a 1989 Ford Bronco is removed and replaced, with the fan, belt, pulley, accessory mount and pump bracket moved out of the way first. Brahma502 traced the coolant loss to the water pump weep hole after a new serpentine belt squeak and slightly higher running temperatures.
-
Step 1
Remove the fan shroud, air intake and air hoses to clear the front of the engine. Open the radiator drain to empty the rest of the system, then pull the upper and lower radiator hoses. Brahma502 traced the coolant loss to the water pump weep hole, after a squeak from the serpentine belt and slightly hotter running had already signalled failing pump seals and a wobbling pulley.

-
Step 2
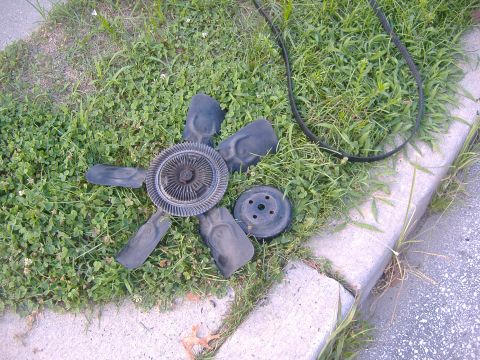
Leave the serpentine belt on while cracking the fan bolts, since belt tension plus hand pressure holds the fan against rotation. Take the fan off, then the belt, then slide the belt pulley off.

-
Step 3
Clean the hardware and hoses that have come out so far. Brahma502 used a degreaser on everything and Armor All on the plastics such as the fan shroud.
-
Step 4
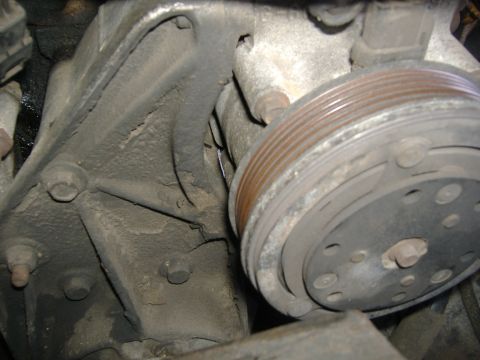
Free the mount carrying the power steering pump and the AC compressor by removing its three bolts and the nut on the left. Have wire ready first, because the mount is heavy and awkward and the pressurized AC lines must not be strained: Brahma502 rested the power steering pulley on the steering box and frame below and wrapped a clothes hanger around the top of the AC compressor to a rail, which held it still for the rest of the job.
-
Step 5
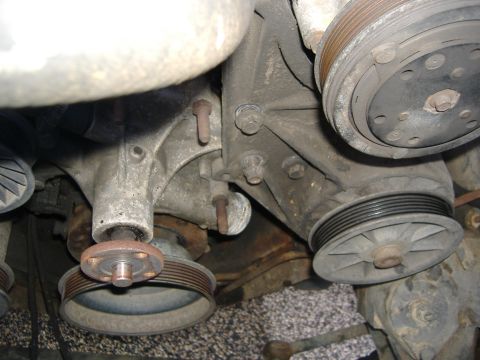
Move the pump bracket out of the way. One of its bolts passes through a hole in the bracket mount and threads into the water pump, which is why the bracket has to come off before the pump can; note where that bolt belongs before removing it.
-
Step 6
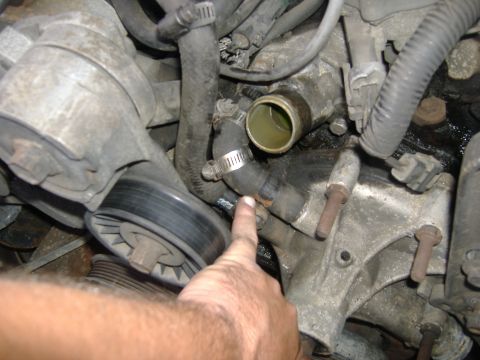
Leave the two heater hoses attached for now, since there is enough slack to remove the pump bolts and pull the pump forward off the mounting block. With the pump pulled clear, rotate each hose with pliers to break the seal, then twist and pull it off the pump.
-
Step 7
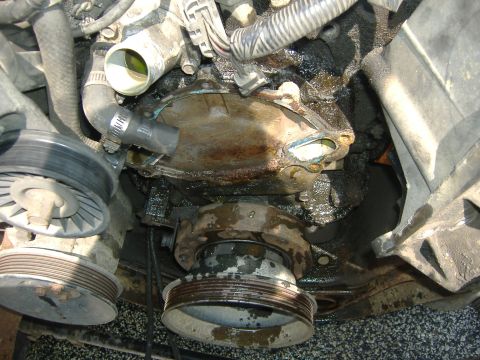
With the old pump out, scrape the old gasket off the mounting block with a scraper and razor blades. Clean the whole area while access is open.
-
Step 8
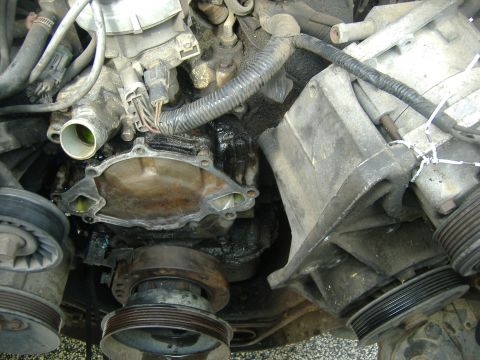
Check that the gasket supplied with the new pump is in the box and obtain one if it is not. Run RTV around the edge of the new pump, set the gasket on, then RTV the back half of the gasket, keeping the sealant thin near the port holes so it cannot block a passage or break off into the system.
-
Step 9
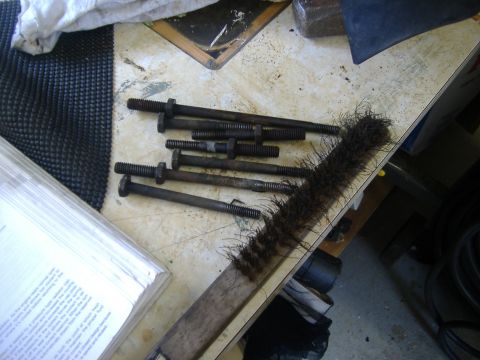
Clean up the pump bolts before reinstalling them. Brahma502 soaked them in WD40, then held them in a vise and scrubbed them with a wire brush.
-
Step 10
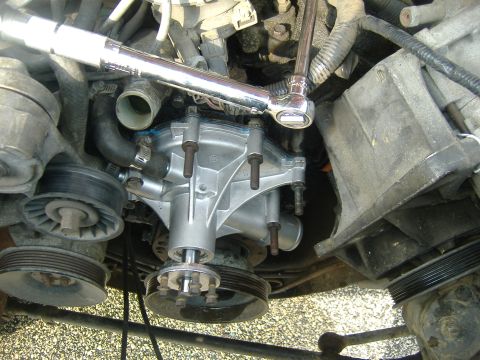
Fit the short heater hose to the new pump first, leave the longer lower hose aside, and guide the pump into place without disturbing the sealed gasket, starting the top two bolts and then two bottom bolts. Snug all the bolts in a star pattern with a ratchet, then torque them down; the specification is 12 to 18 ft/lbs and Brahma502 set the wrench to 15, using the same figure for the fan bolts.
-
Step 11
Brahma502's notes describe the reassembly rather than photographing it: remount the two-pump bracket, fit the belt pulley to the water pump spindle, install the serpentine belt before tightening the fan bolts, then refit the hoses and fan shroud and refill the coolant (the notes mention 3 bottles). The notes add that the engine was left overnight for the RTV to cure and tested about 24 hours later, idling to normal temperature with no leak. The photos end with the new pump bolted on.
Some product links go to the supplier the owner bought from. SuperMotors does not earn a commission today; if that changes, this line will say so and creators will be paid from it.