How-to
1996 Ford Bronco Fuel Pump Upgrade: In-Tank Pump Swap
An in-tank electric fuel pump on a 1996 Ford Bronco is replaced by dropping the fuel tank and rebuilding the sending unit assembly around a new pump. bossind's photos cover the teardown, the comparison between the old and new pumps, and the assembly of the pump onto its bracket.
-
Step 1
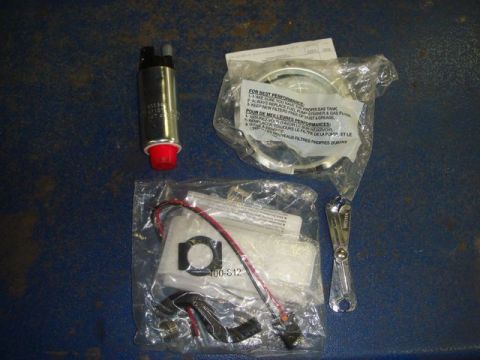
Lay out the fuel pump kit before starting. The photos show the new electric fuel pump, a bagged part with an instruction sheet, and a bagged wiring harness with red and black wires and a rubber mounting piece.
-
Step 2
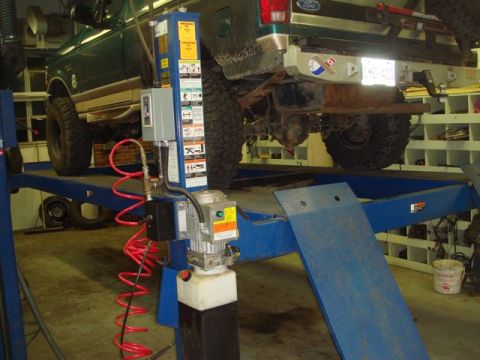
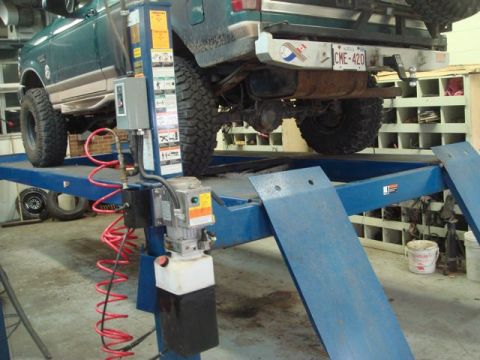
Raise the truck on a lift to reach the undercarriage, the solid front axle, and the fuel tank. bossind worked on a four-post hydraulic lift.
-
Step 3
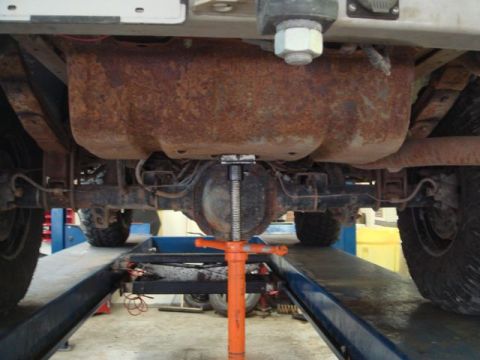
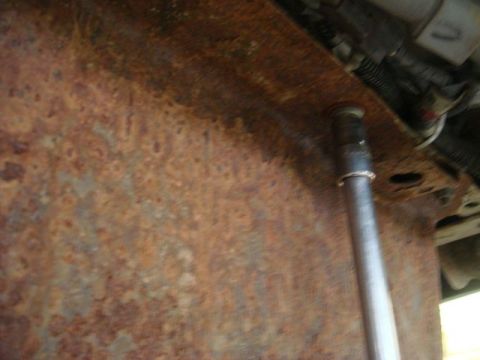
With the truck on the lift, look over the fuel tank and its mounting hardware from below. The tank is heavily rusted. An orange jack stand sits under the rear axle, and a socket wrench on an extension is shown on the tank hardware.
-
Step 4
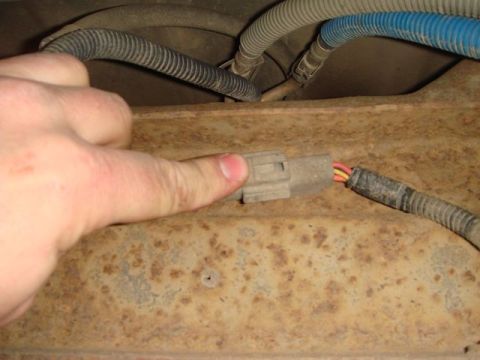
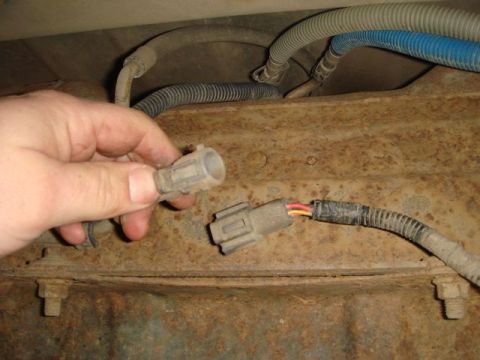
Unplug the electrical connector from its mating harness at the tank. The mating plug carries red and yellow wires and sits against the rusted underbody.
-
Step 5
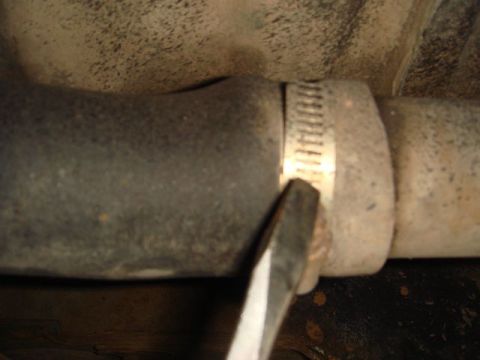
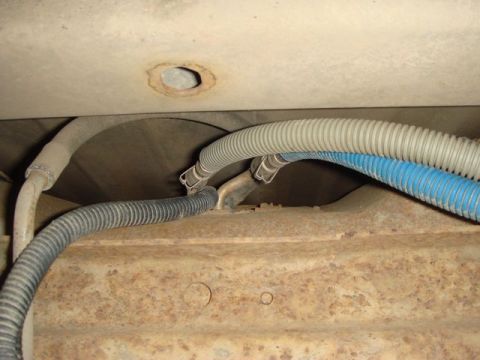
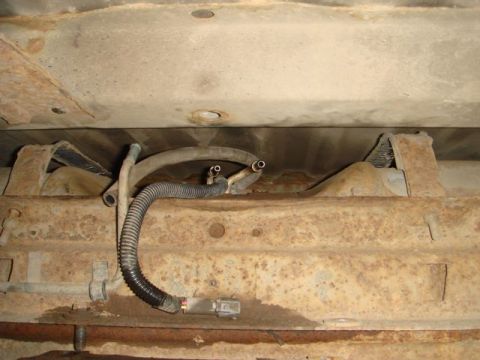
Loosen the worm-gear hose clamp at the rubber boot with a flathead screwdriver, then free the fuel and vent lines running along the frame rail in their corrugated conduit.
-
Step 6
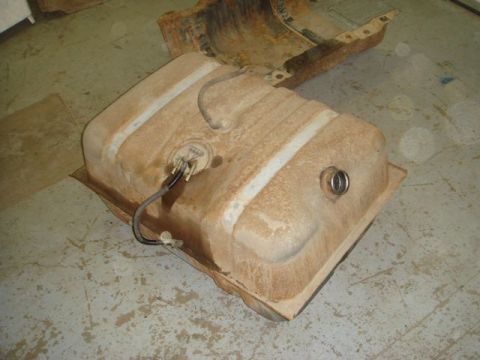
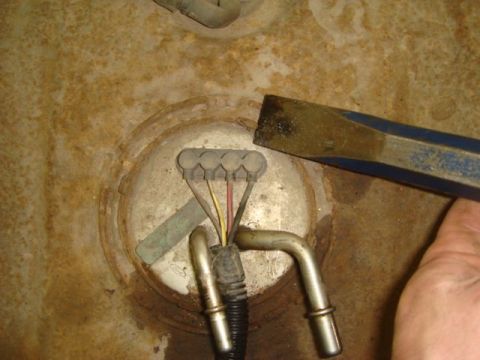
Lower the tank and set it on cardboard on the floor with the sending unit and fuel line hose still on top. Work the lock ring loose around the pump and sending unit assembly with a flat pry tool.
-
Step 7
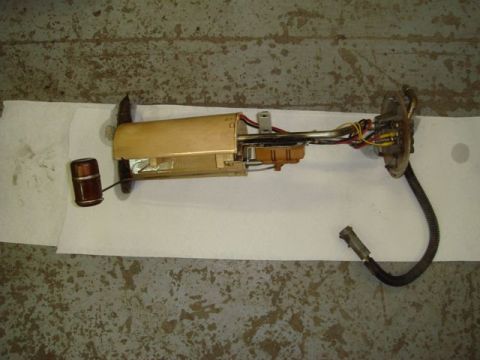
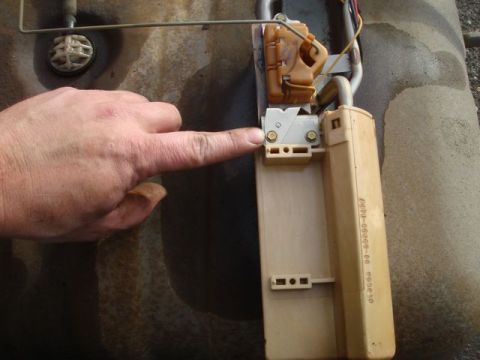
Lift the sending unit assembly out of the tank and set it on clean paper. The photos show the tan plastic pump housing, the float rod and the electrical connector.
-
Step 8
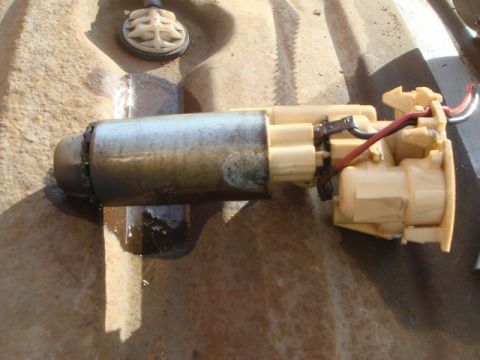
Separate the old electric fuel pump from the assembly. The used pump comes out with its metal motor body, tan plastic housing, and red and black wiring connectors intact.
-
Step 9
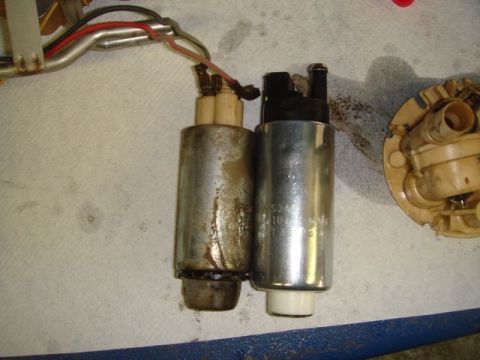
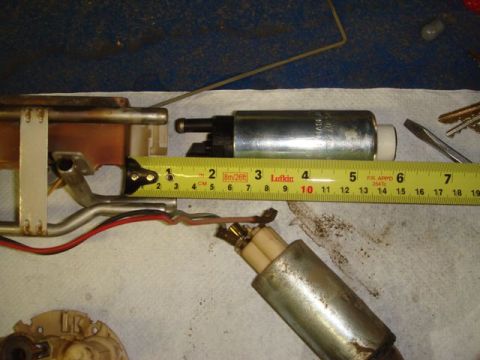
Set the old and new pumps side by side and compare them before fitting the new one. bossind also held a tape measure against the old pump and its bracket.
-
Step 10
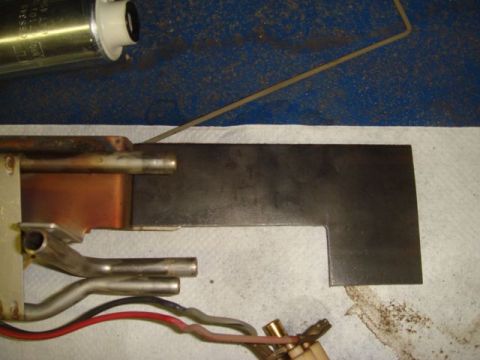
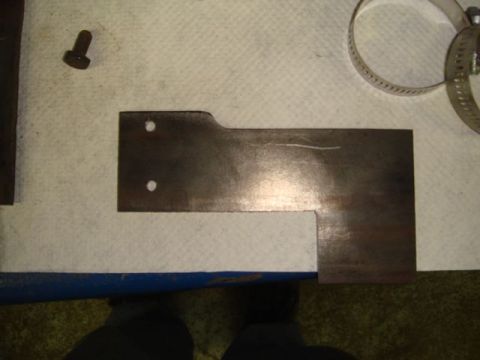
Lay out the bracket parts on the bench. bossind used a flat steel plate with an L-shaped cutout and two drilled holes, a hex-head bolt, and two stainless hose clamps.
-
Step 11
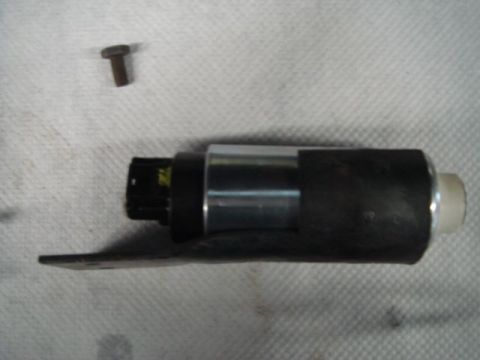
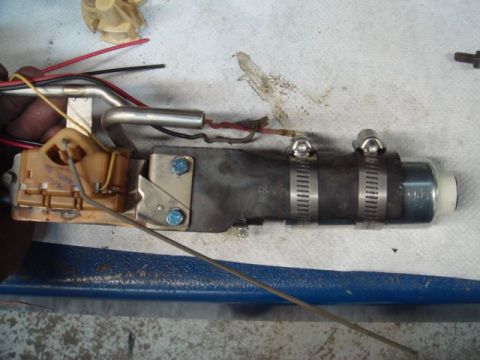
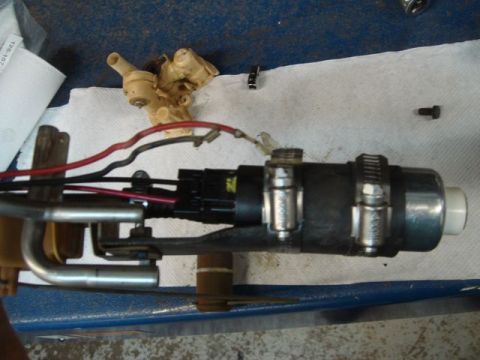
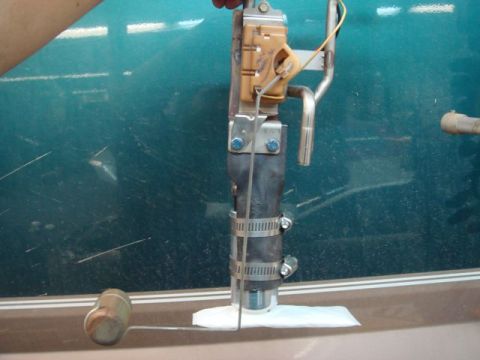
Mount the new pump to the sending unit bracket. bossind held the pump to a rubber coupling with the two hose clamps and secured the mounting bracket with two blue-headed bolts, routing the metal fuel line and the red and black wiring back to the top-mounted connector.
-
Step 12
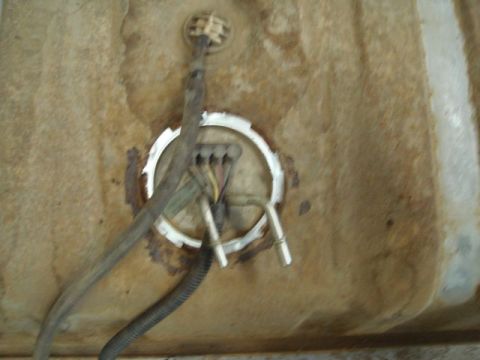
The album ends with the sending unit lock ring and wiring at the rusty tank opening. bossind's photos stop here, so no reassembly or refitting steps are documented.
Some product links go to the supplier the owner bought from. SuperMotors does not earn a commission today; if that changes, this line will say so and creators will be paid from it.