How-to
1997 Mercury Grand Marquis Water Leak Diagnosis and Seal
This job traces a water leak that was soaking the interior of a 1997 Mercury Grand Marquis. The seats and carpet come out, the coolant bottle and blower are removed, and the leak is found at the blower box drain and sealed with RTV.
-
Step 1
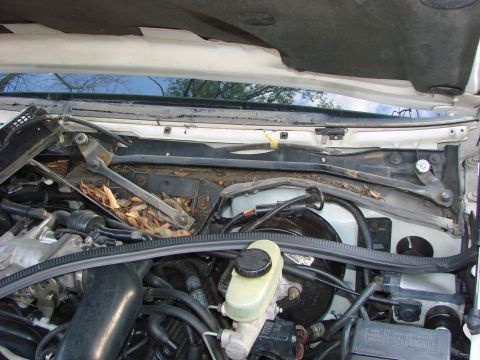
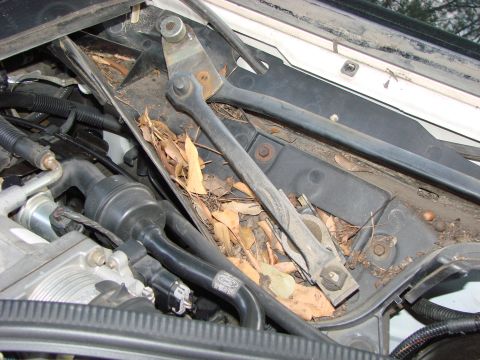
Start by clearing out the debris that collects in the area ahead of the interior, in case it is feeding water inside. jpanther reports clearing 11 years of leaves and debris here and finding that it was not the cause of the leak.
-
Step 2
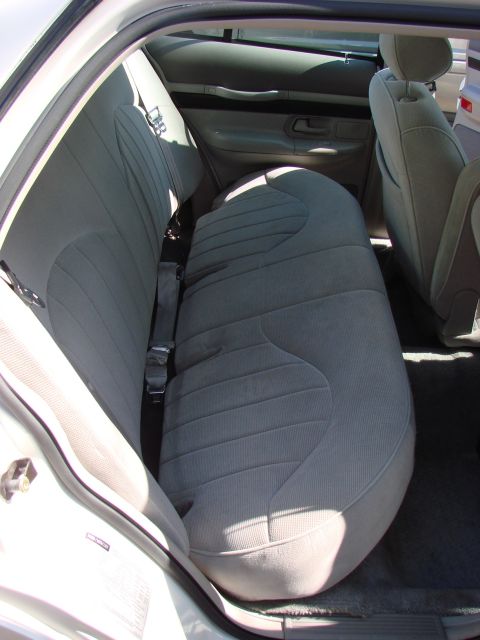
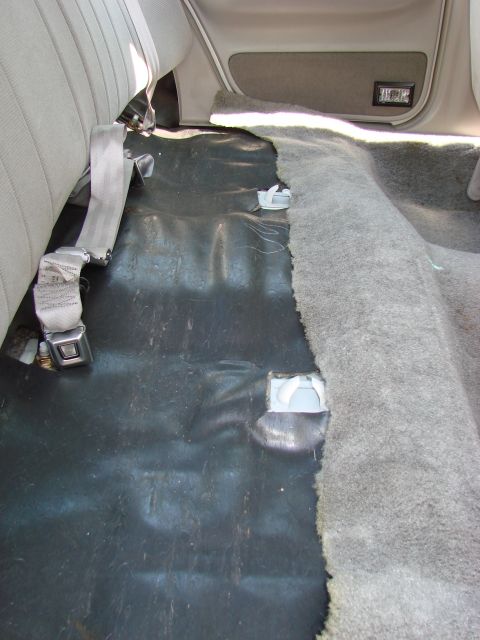
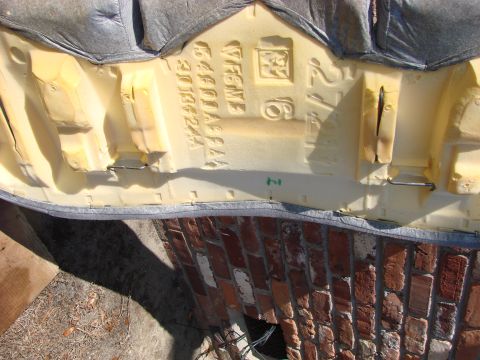
Remove the rear seat bottom cushion by pushing the front of the cushion toward the trunk and then lifting it up. Note the white hooks in the floor and the wire on the underside of the cushion that engages them.
-
Step 3
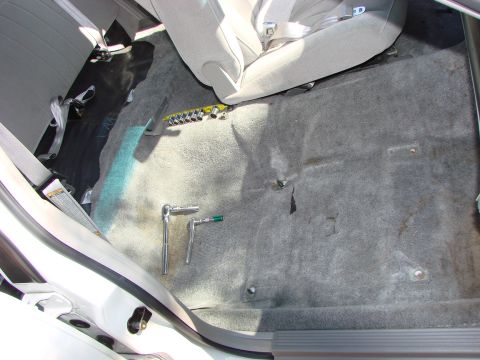
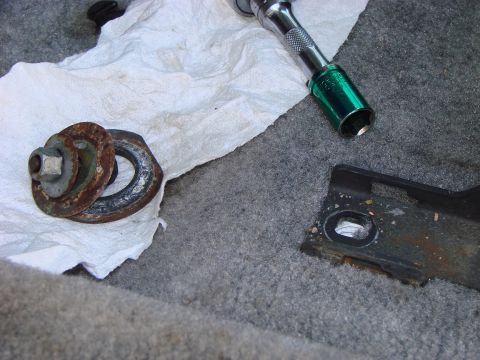
Remove the front seats. The outboard front fastener on the driver seat is a bolt that takes a 13 mm socket, and jpanther notes it threads into the floor against a loose nut and two large washers on the underside of the car, so hold that nut with a 13 mm wrench.
-
Step 4
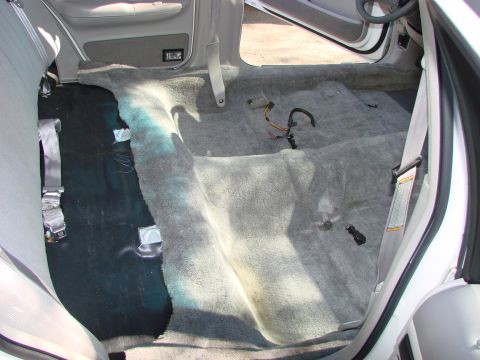
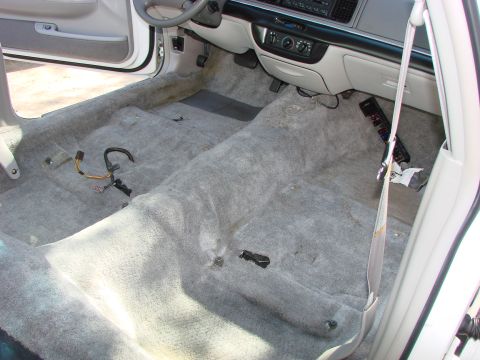
With the seats out, the carpet comes loose and the floor is exposed front and rear.
-
Step 5
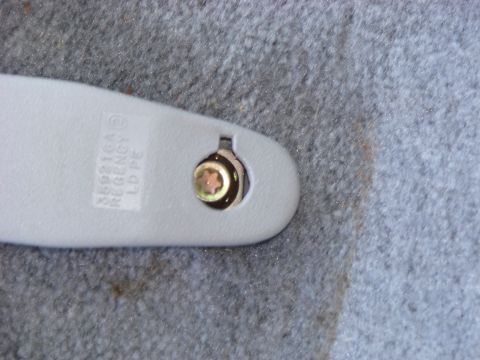
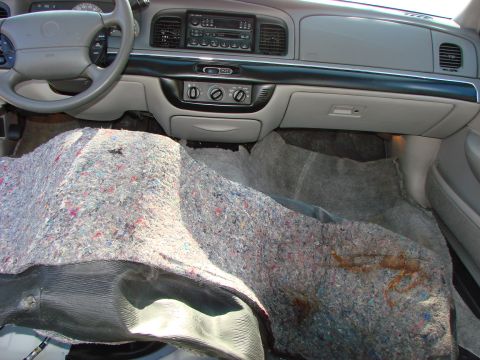
Remove the seatbelt anchor bolts with a Torx #47 wrench, then pull the carpet out of the car. jpanther found the carpet still damp when it came out.
-
Step 6
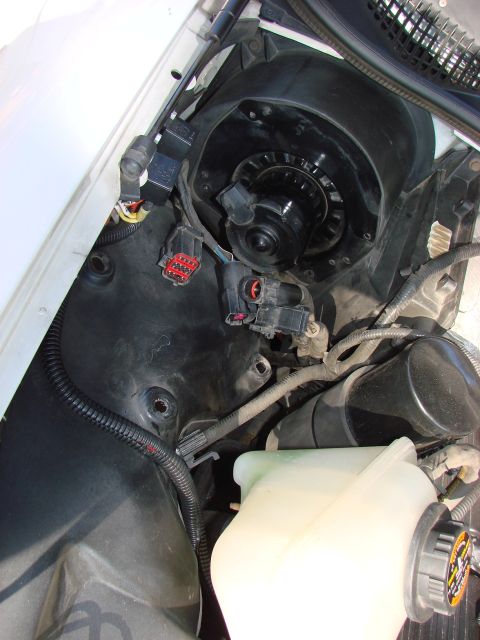
Remove the coolant bottle, held by three 11 mm nuts reached inside the fender liner, disconnect the blower fan wiring, and remove the blower, held by four 8 mm bolts. jpanther opened this up in order to spray water into the blower box and isolate where the leak was coming from, and to rule out a source higher up.
-
Step 7
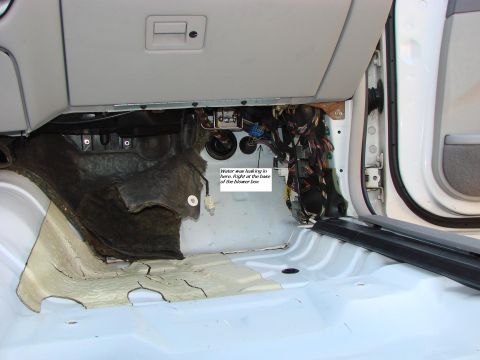
Inspect the area that was getting wet. jpanther notes the sound insulation there runs up to the base of the windshield and cannot be removed without removing the dashboard. A note written in the photo says water leaks in at the base of the blower box.
-
Step 8
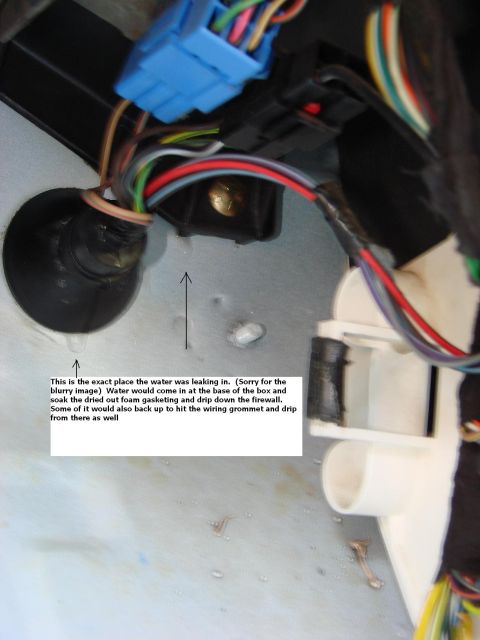
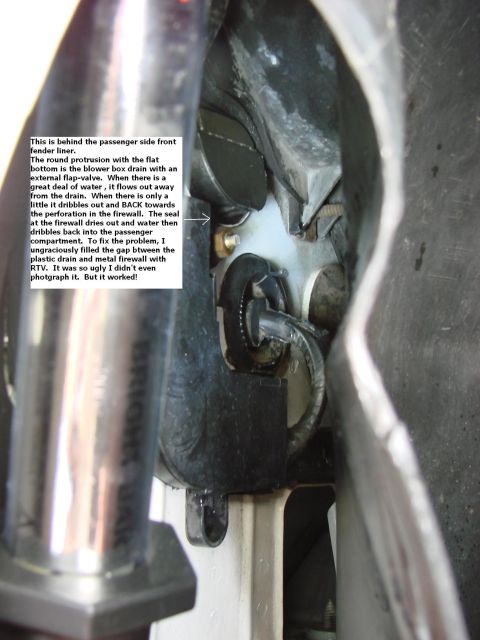
Find the cause. Behind the passenger side front fender liner, the blower box drain has an external flap valve. jpanther found that with a lot of water it flows out away from the drain, but with only a little it dribbles back toward the firewall perforation, dries out the seal and drips into the passenger compartment. The close-up of the leak from inside shows the foam gasketing soaking up water and water backing up to the wiring grommet. The leak took hours to find. The fix was to fill the gap between the plastic drain and the metal firewall with RTV, which jpanther says worked. The photos end here, so reassembly is not shown.
Some product links go to the supplier the owner bought from. SuperMotors does not earn a commission today; if that changes, this line will say so and creators will be paid from it.