How-to
1985 Ford Bronco Tailgate Window Roller Replacement
The worn and rusted window rollers in the tailgate of a 1985 Ford Bronco were replaced with universal Dorman rollers. Reaching the passenger side roller required cutting a new access panel, because the cross beam support on that side cannot be removed.
-
Step 1
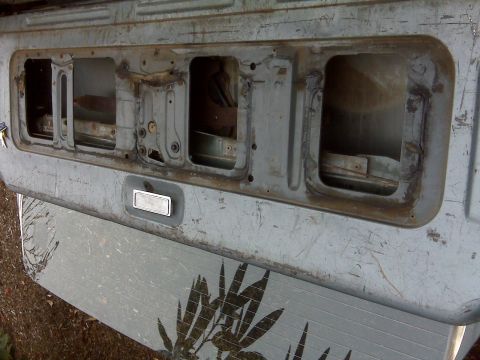
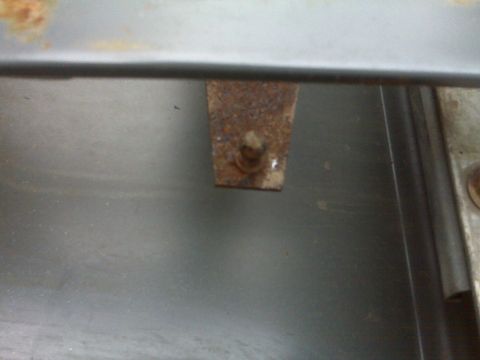
Remove the tailgate access panel to expose the window hardware. Inspect the original rollers; spikedzombies reports that the originals were worn down and rusted.
-
Step 2
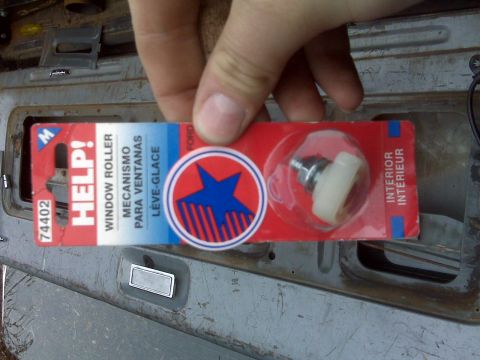
Obtain replacement rollers. spikedzombies used a 74402 Dorman Universal Window Roller purchased from Shucks Auto Supply.
-
Step 3
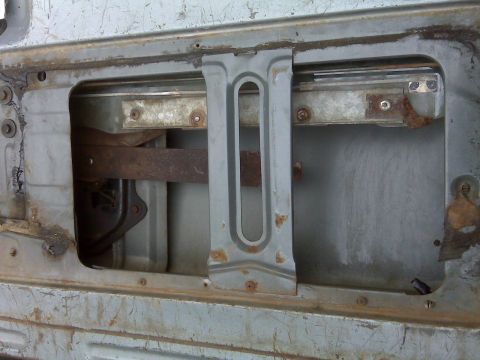
Check access on the passenger side before starting. spikedzombies notes that the difficulty on that side is that there is no way to remove the cross beam.
-
Step 4
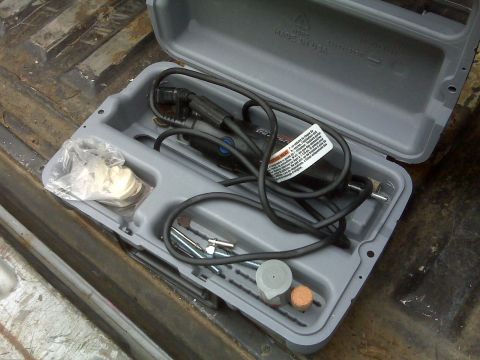
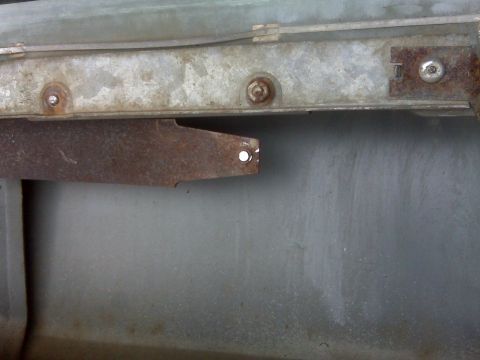
Drill out the rivets holding the old roller and cut the roller free. spikedzombies used a Dremel in place of a cutoff tool, along with a drill, and removed the top of the old roller so it could be drilled out.
-
Step 5
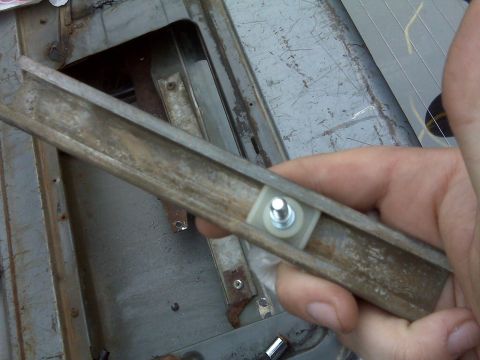
Fit the new roller into the window track. spikedzombies removed the track from the window only to show that the new roller fits; removing the track is not necessary.
-
Step 6
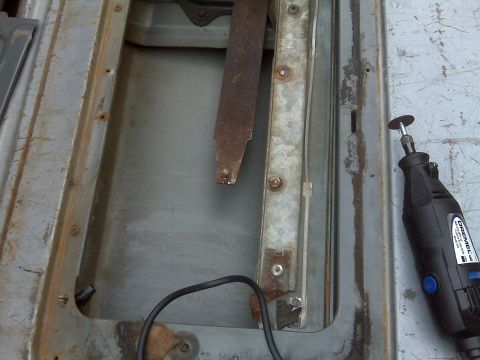
Tip for the driver side: take out the small Phillips screw and remove the beam, which spikedzombies says makes the work easier to reach. The owner advises doing this before you start, even though the photo comes late in the album.
-
Step 7
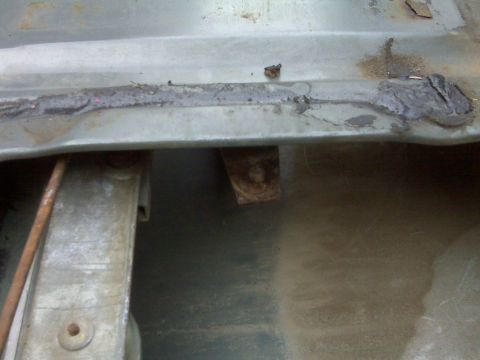
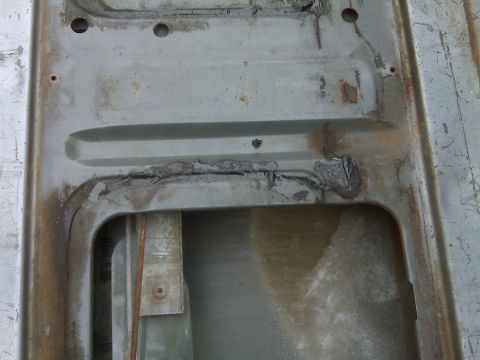
Work the passenger side next, where the non removable cross beam support blocks the roller from view and from reach.
-
Step 8
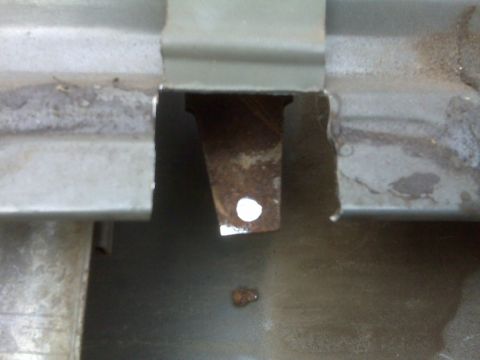
Cut a small access panel to reach the passenger side roller. spikedzombies made the panel with a Dremel and a drill rather than working around the cross beam.
-
Step 9
The album ends here, so no further photos of the roller installation or reassembly are shown.
Some product links go to the supplier the owner bought from. SuperMotors does not earn a commission today; if that changes, this line will say so and creators will be paid from it.