SuperMotors SuperMotors SUPERMOTORS Search: try “orange Bronco on 35s”
Home/ Registry/ Ford/ “RED WAGON”/ How-to

How-to

1985 Ford Bronco Front Aussie Locker Install

1985 Ford Bronco · Install · Expert

Documented by SuperMotors from TIM OLIVA’s photos

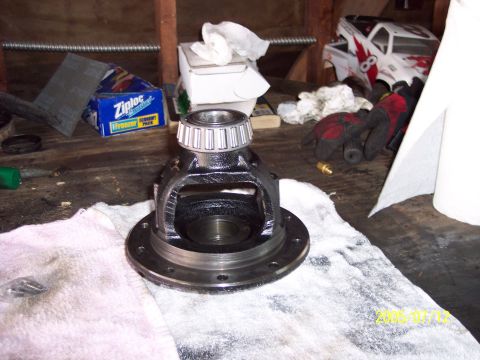
The front hubs and rotors were pulled from a 1985 Ford Bronco and the third member was removed so an Aussie locker could be fitted to the carrier. TIM OLIVA cleaned and repainted the parts and set the carrier back in the housing, with the front axles held back for new u-joints, bearings and seals.

  1. Step 1

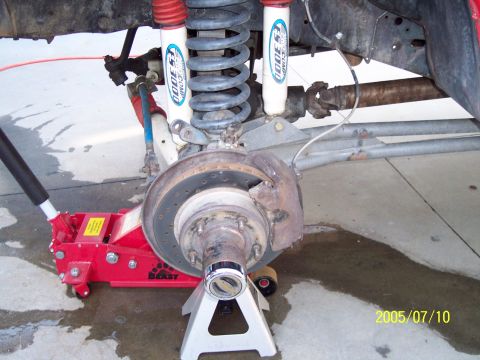
    Place the vehicle on jack stands.
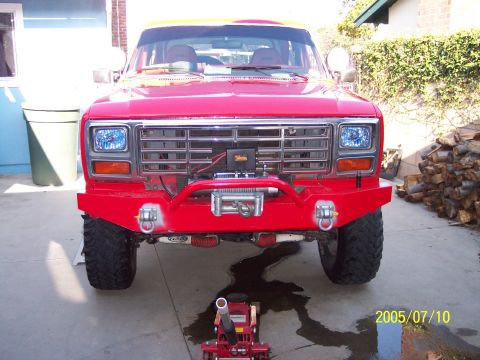
    step 1: place vehicle on jack stands. (1985 Ford Bronco)
  2. Step 2

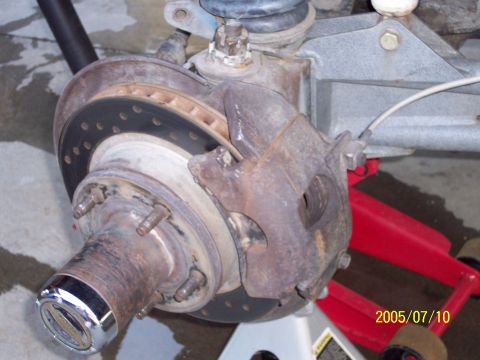
    Photograph the right and left front hubs and rotors before any disassembly.
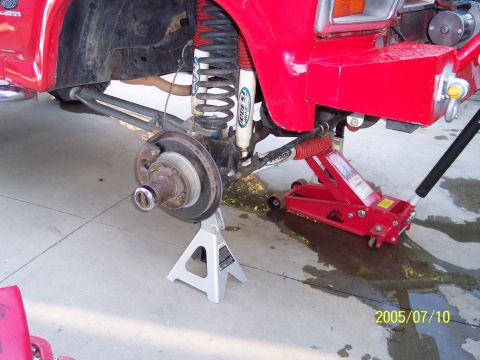
    rt front hub and rotor (1985 Ford Bronco) lt ft hub and rotor. (1985 Ford Bronco) 2nd photo before disassembly of rt frt hub and rotor (1985 Ford Bronco)
  3. Step 3

    Disassemble the right side. TIM OLIVA found the right hub completely saturated in dirt and oil, attributed it to a water leak, and was undecided whether to clean or replace it, noting the good left-side hub would serve as a spare if replaced.
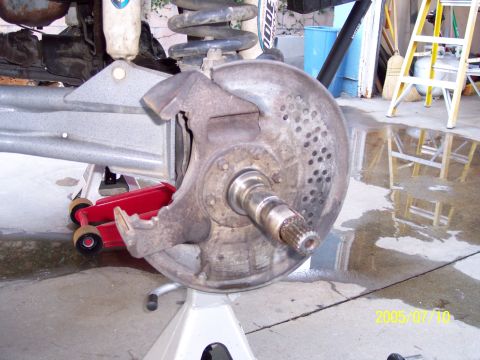
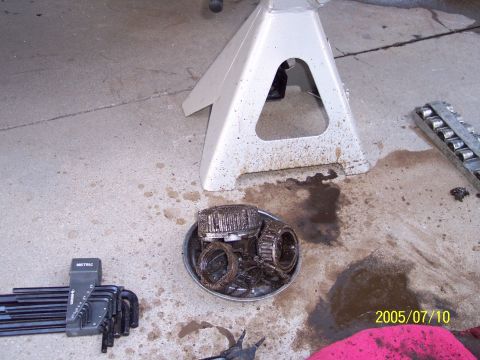
    disassembly of rt side. (1985 Ford Bronco) rt hub...looks like i had a water leak...completely saturated in dirt and oil...not sure whether to clean or replace...if replace will have… (1985 Ford Bronco)
  4. Step 4

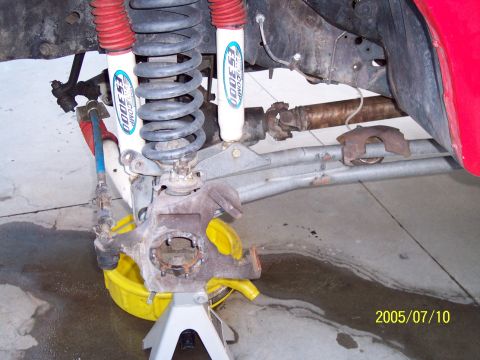
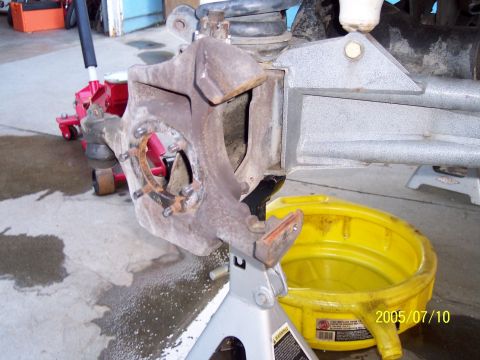
    Disassemble the left side and inspect the parts.
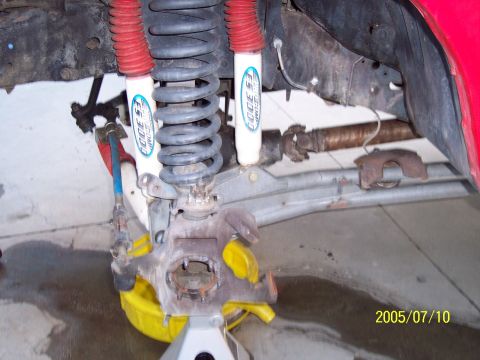
    left side after disassembly (1985 Ford Bronco) 2nd shot of left side (1985 Ford Bronco) close up of left side. (1985 Ford Bronco)
  5. Step 5

    Remove the third member from the vehicle. TIM OLIVA chose to clean and paint it while it was out, and found no spider gears in it.
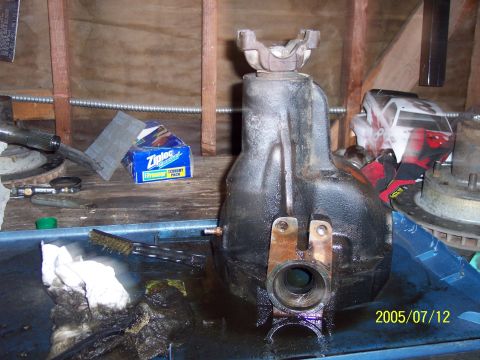
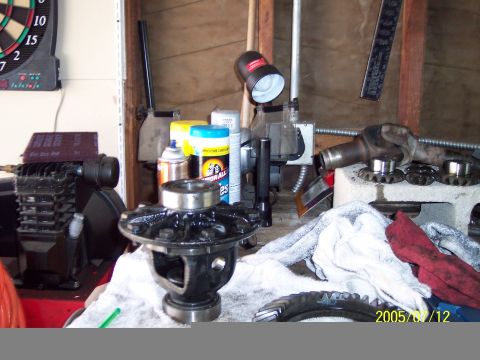
    Third member removed from vehicle...will clean and paint since I have it out. (1985 Ford Bronco) no spider gears in it. (1985 Ford Bronco)
  6. Step 6

    Lay out the Aussie locker components before installation and clean the carrier parts.
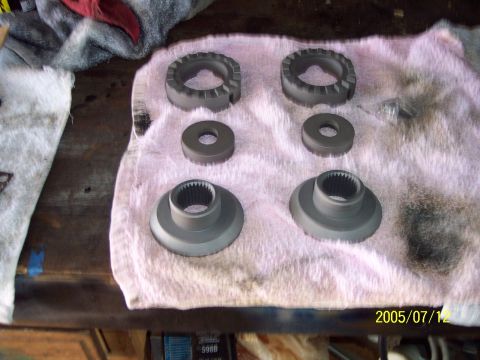
    Aussie locker components before install. (1985 Ford Bronco) All cleaned up and ready for install of locker. (1985 Ford Bronco)
  7. Step 7

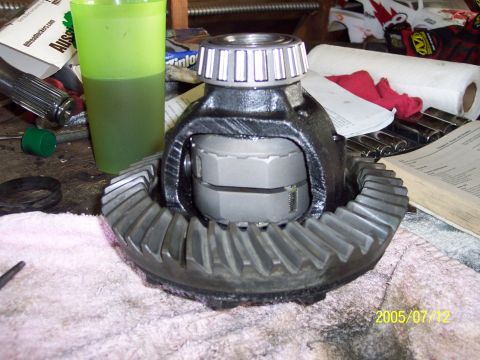
    Install the Aussie locker in the carrier and check tolerances. TIM OLIVA notes the instructions call for between .145 and .170.
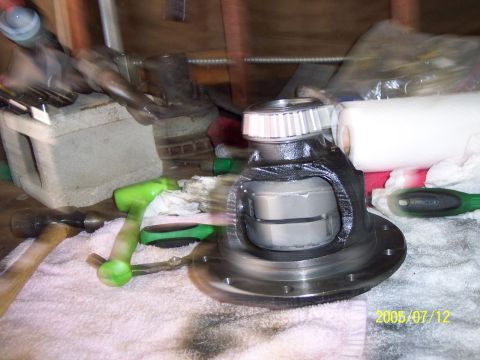
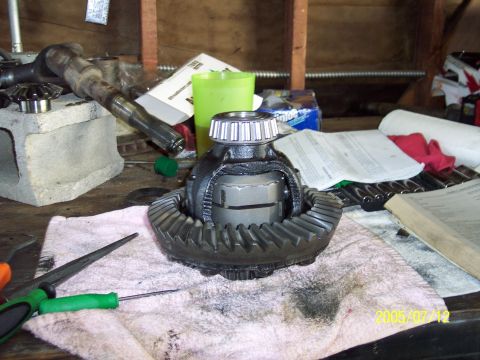
    With aussie locker installed...just have to check tolarances...calls for between.145 - .170. (1985 Ford Bronco) aussie locker in carrier (1985 Ford Bronco) another shot of locker in carrier. (1985 Ford Bronco)
  8. Step 8

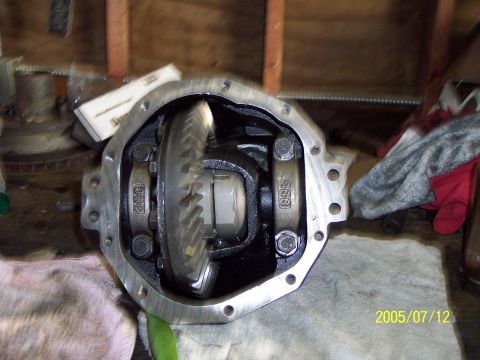
    Set the carrier back in the housing and check it from the front and the side.
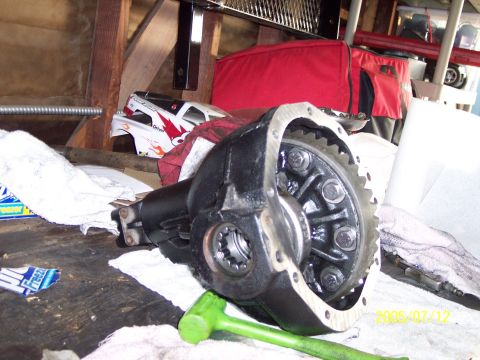
    carrier back in housing. (1985 Ford Bronco) front view of carrier back in housing. (1985 Ford Bronco) side shot of carrier in housing. (1985 Ford Bronco)
  9. Step 9

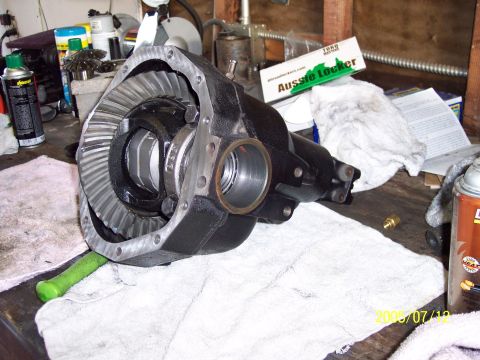
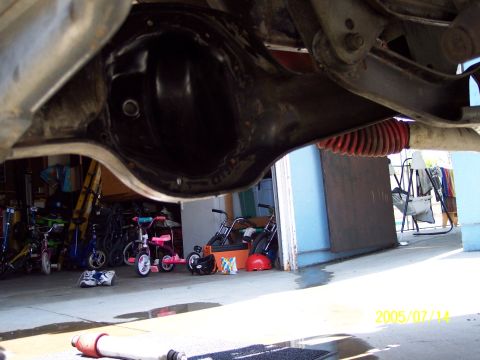
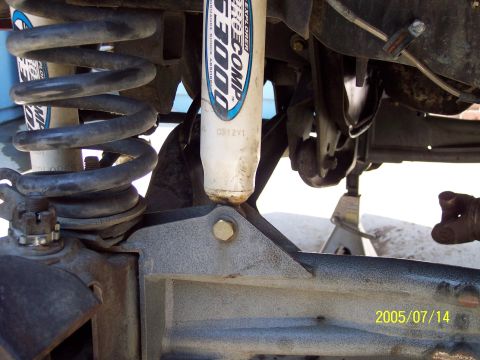
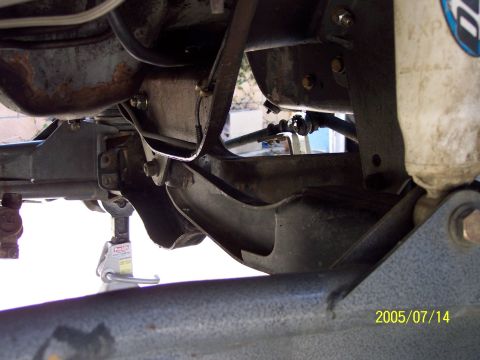
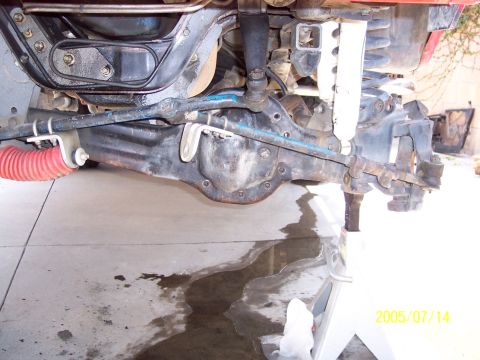
    Check the front axle housing and driveline with the third member out, from several angles.
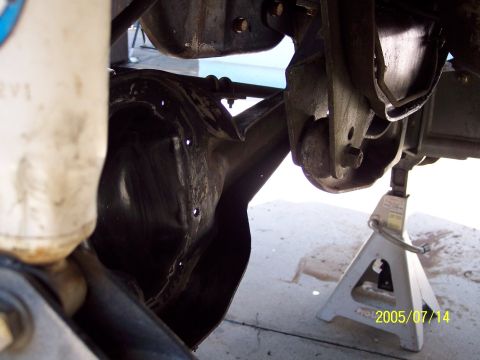
    front drive line with third member out. (1985 Ford Bronco) rr shot of center diff. (1985 Ford Bronco) another shot of front end. (1985 Ford Bronco) another angle. (1985 Ford Bronco) front view. (1985 Ford Bronco)
  10. Step 10

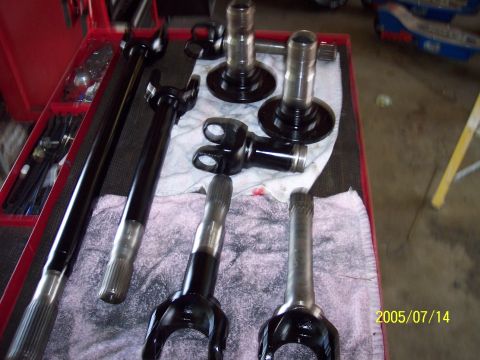
    The front axles before cleanup and new u-joint installation, then cleaned and repainted and held for reassembly. TIM OLIVA was waiting on new u-joints, bearings and seals to arrive, and the album's photos end here, before reassembly.
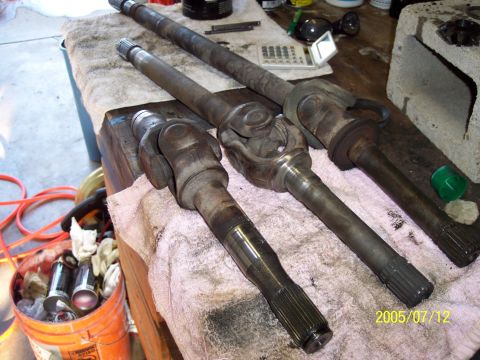
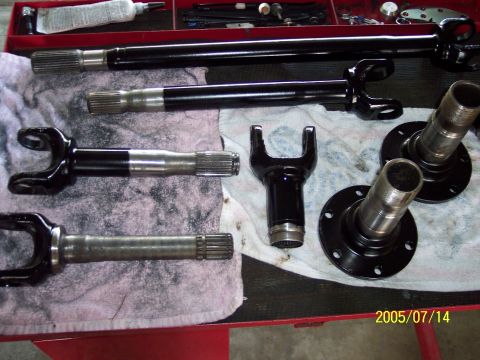
    front axles before clean up and new u joint installation. (1985 Ford Bronco) drive axles all clean and repainted. (1985 Ford Bronco) 2nd shot of frt axles waiting for reassembly...just waiting for new u-joints, bearings and seals to come in from Randys Ring and Pinion. (1985 Ford Bronco)

Some product links go to the supplier the owner bought from. SuperMotors does not earn a commission today; if that changes, this line will say so and creators will be paid from it.