How-to
1990 Ford Bronco Power Window Motor Replacement
A failed power window motor is replaced through the inner door frame of a 1990 Ford Bronco, with the door panel and speaker removed and the moisture barrier left in place. The album covers tool and parts selection, the three mounting screws, the wiring that must be disconnected first, and the new motor set in place on its longer screws.
-
Step 1
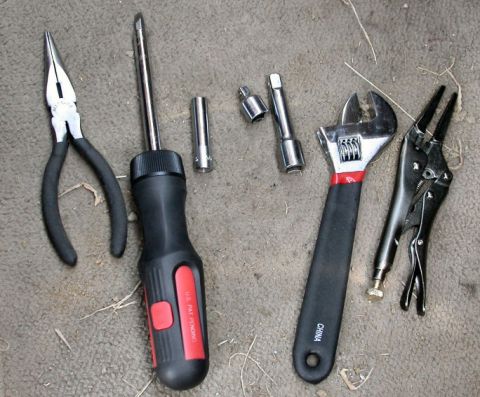
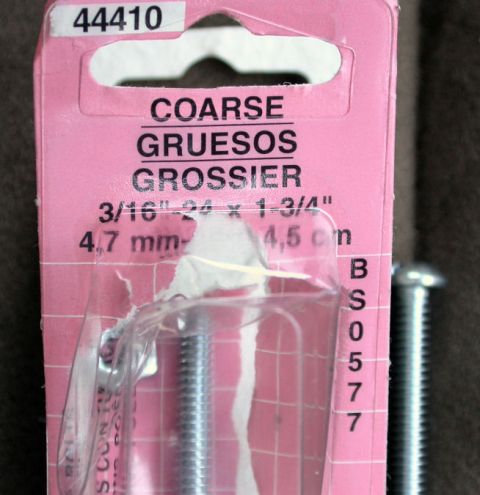
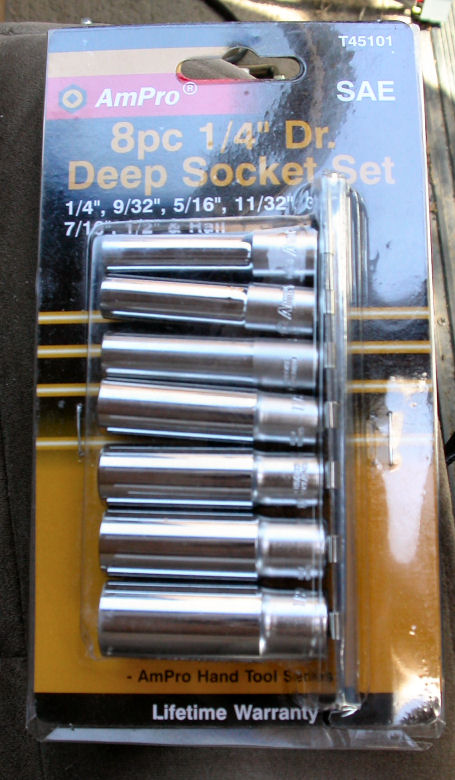
Gather the tools shown along with a set of replacement screws, which jboates bought at Advance Auto Parts for around $3, and suggests picking up thread locker at the same time. Make sure a 5/16 inch deep socket is in the kit before starting.
-
Step 2
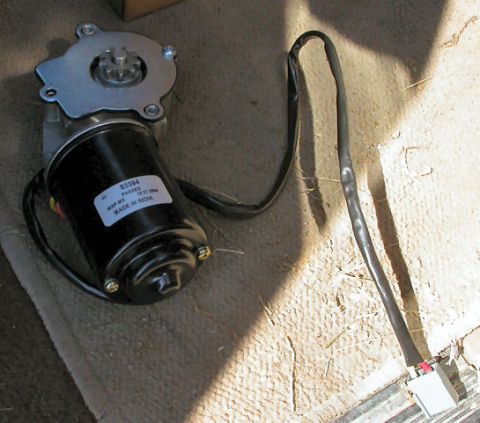
Get the replacement window motor. jboates used ACI 83394 for the passenger side, around $55 at the same store, and lists ACI 83395 as the driver side part, and notes the new motor comes with a much longer set of wires.
-
Step 3
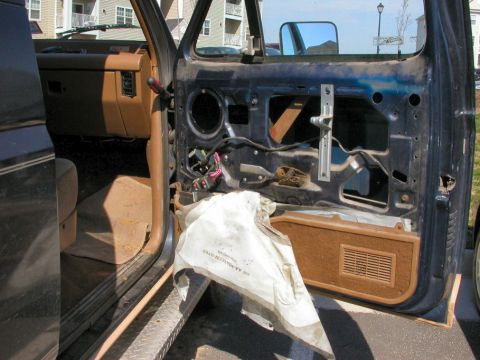
Remove the door panel and the speaker, leaving the plastic trash bag in place, because it is the door's moisture barrier. jboates notes that parts of the install go easier with a second set of hands nearby.
-
Step 4
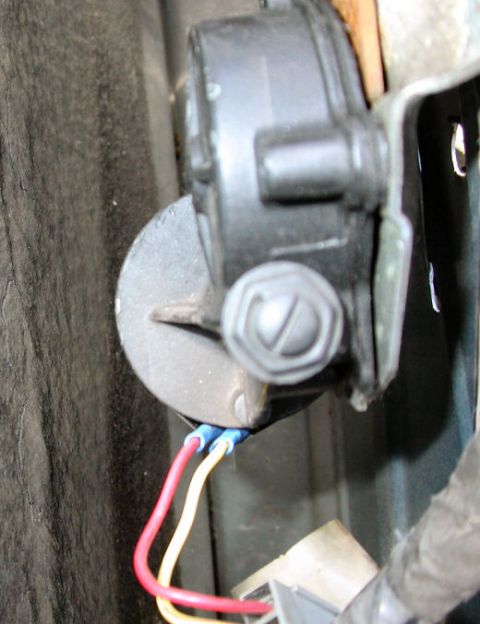
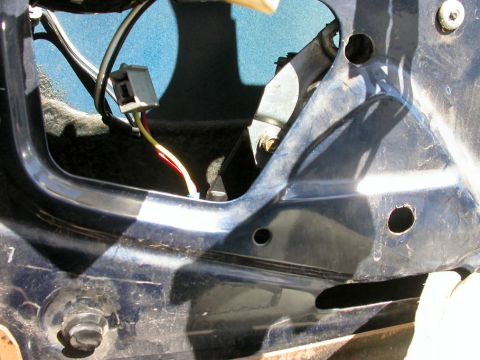
Locate the three screws holding the motor to the inner door frame; the top screw and the lower right screw come out easily. jboates turned the bottom left one a quarter turn at a time with needle nose vice grips, and recommends instead cutting a little of the door away next to that nut so a socket wrench will reach it.
-
Step 5
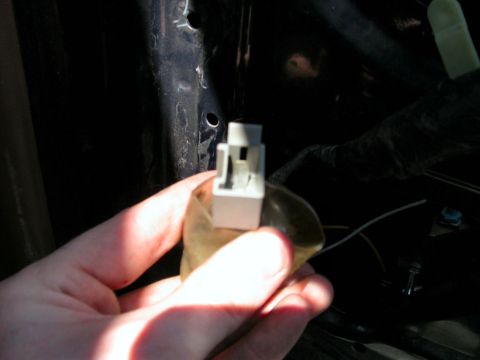
Bend back the plastic and disconnect the motor's wiring connection before any of the three screws come out. Taking the screws out first lets the motor drop and can tear those wires.
-
Step 6
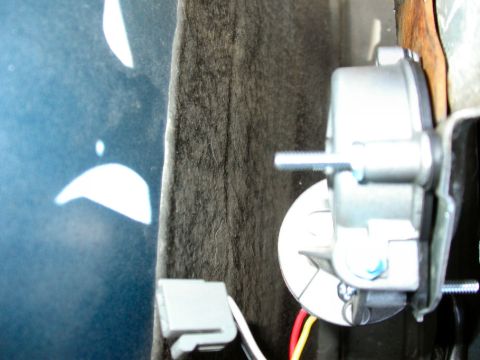
The photo shows the new motor in place. jboates warns that the old motor is held by the same three screws, so when the last one comes out it falls free with a loud thud, and the window slides down at the same time, so keep fingers clear. He fitted his with the window already down and reports it works fine. Align the teeth if possible before trying the motor.
-
Step 7
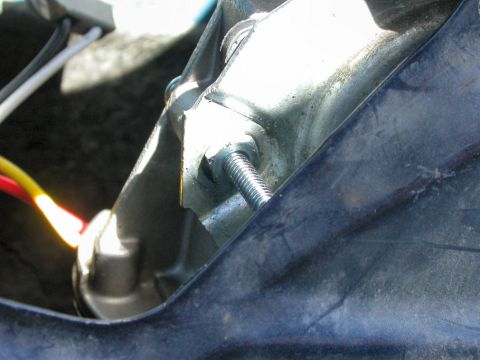
Fasten the new motor with the new screws rather than the old ones, because one end of the new motor is not threaded for them. jboates left the screws at their full length instead of shortening them with a hack saw, and reports that it works.
-
Step 8
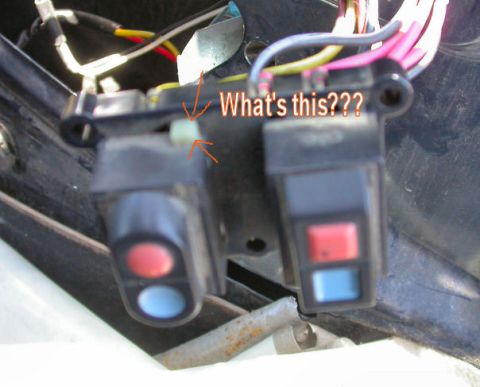
The photos end here, at the window switches, which jboates was still asking how to remove. Reassembly of the door is not shown.
Some product links go to the supplier the owner bought from. SuperMotors does not earn a commission today; if that changes, this line will say so and creators will be paid from it.