How-to
1990 Lincoln Town Car Dual Headpipes to Single Y-Pipe Exhaust
The stock dual headpipes on a 1990 Lincoln Town Car were removed and replaced with custom-bent 2 1/4" pipes running into a Flowmaster Y collector and a 3" cat. The photos cover the teardown, new manifold studs, the pipe bending and welding, paint, and the clearance checks back to the muffler and tailpipe.
-
Step 1
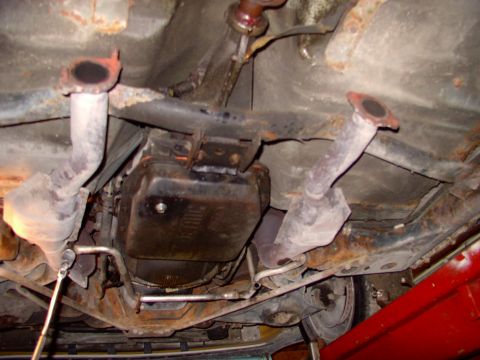
Decide on the exhaust layout before cutting anything. Sixlitre chose a single system over staying with the dual 1 7/8" pipes, citing pipe size, the lack of a crossover, torque rather than horsepower, mileage, cost, simplicity and previous experience with a similar Y-pipe.
-
Step 2
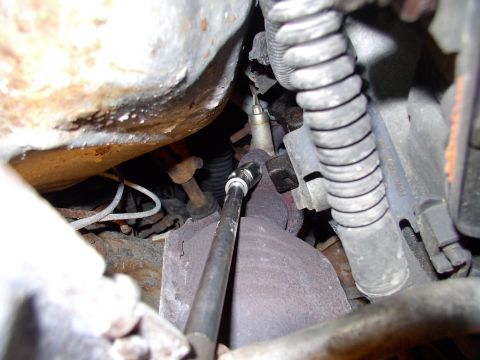
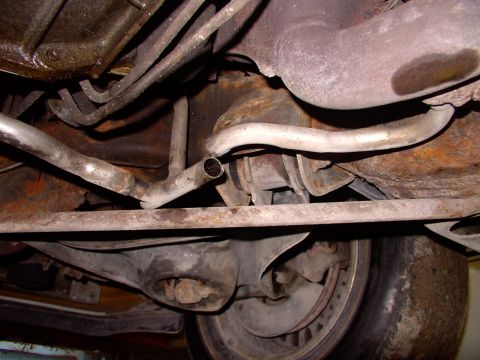
Loosen the headpipes using heat, an impact chisel, penetrating fluid and a ratchet. Since only one air pump pipe will be used, cut one and loosen the other so it can be capped later.
-
Step 3
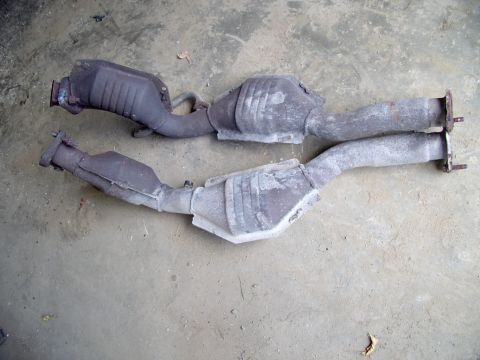
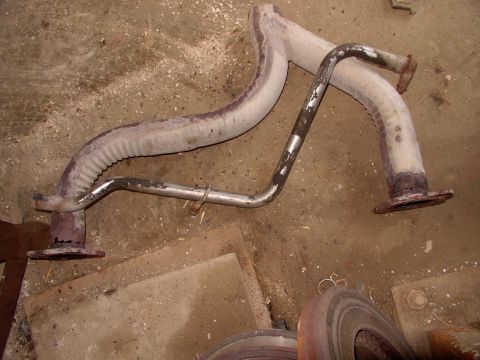
Remove both headpipes intact, keeping the pre-cats, cats and air pipe nipples undamaged. Sixlitre kept these expensive headpipes rather than scrapping them, and reports that the driver's side air pipe survived but the old Y-pipe behind the stock cats was rotten and holed.
-
Step 4
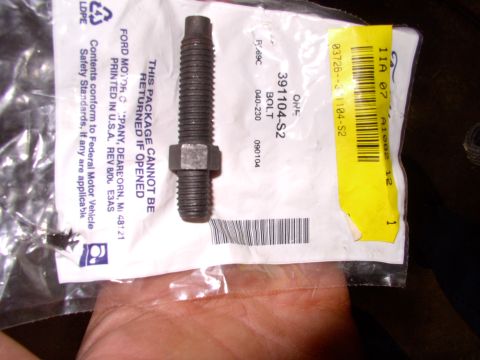
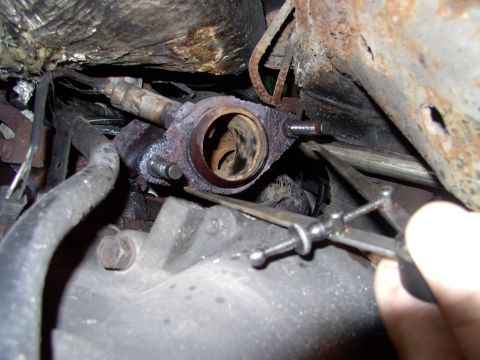
Fit new manifold studs before reassembly. Sixlitre bought the specialized dealer studs because the manifold holes are not properly tapped and regular studs will strip them, and measured with calipers that the passenger side stud centers are considerably wider than the driver's side 3 3/4".
-
Step 5
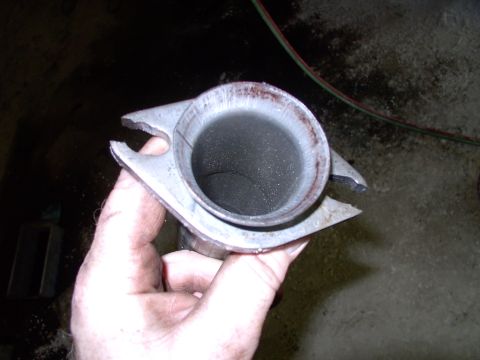
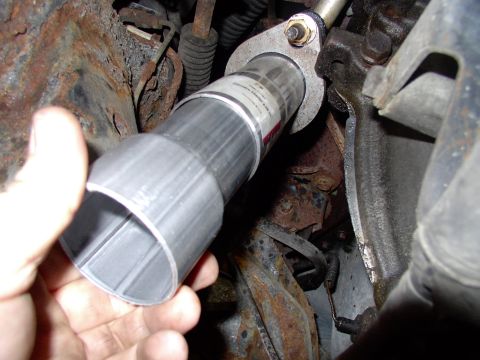
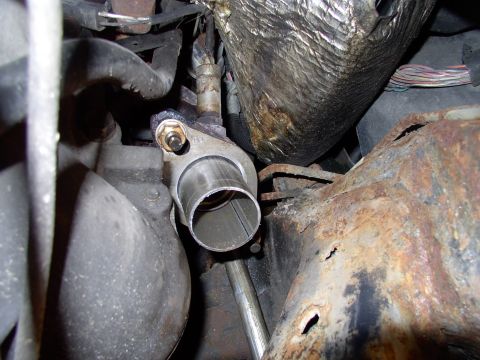
Work the passenger side flange to fit with a hacksaw. Rather than step up from the 2" headpipe flares to 2 1/4" pipe as Sixlitre first planned, cut off the last 4" of the flared pipe so the 2 1/4" pipe slips over the remaining stub, which also frees up room for the 105 degree turn on the driver's headpipe.
-
Step 6
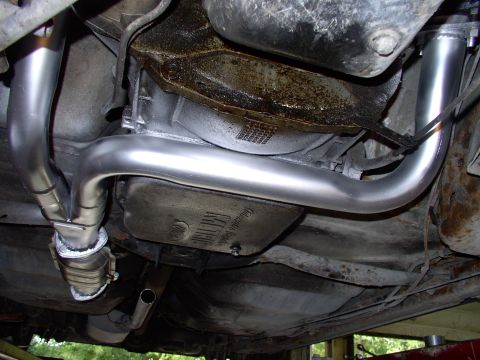
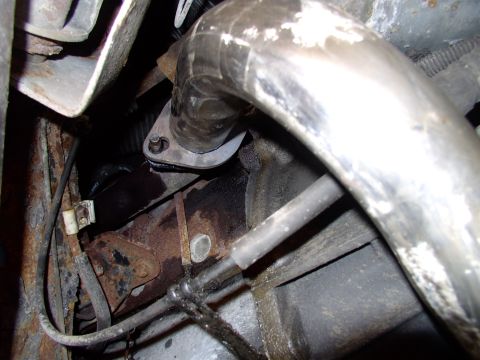
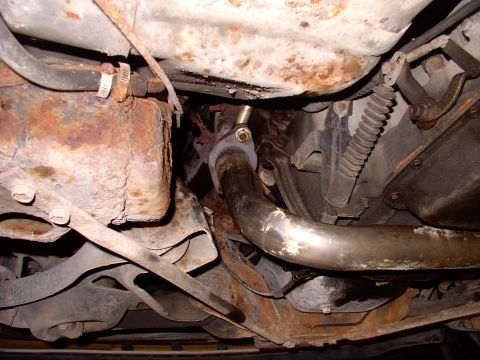
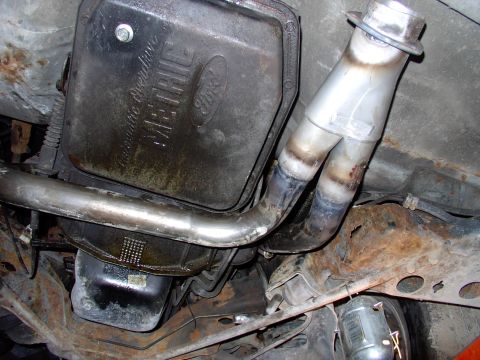
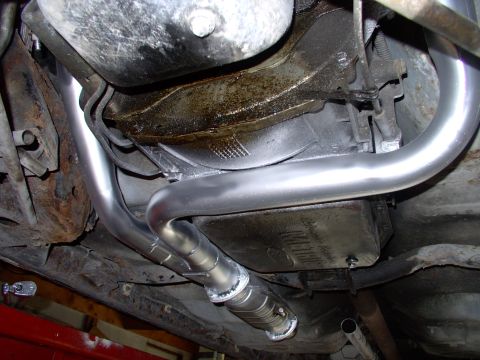
Trial fit the bent 105 degree pipe over the flared pipe stub and check that it clears the TV cable. Carry the driver's side on through another 90 degree bend toward the rear so it clears the transmission pan; the passenger side run is more direct.
-
Step 7
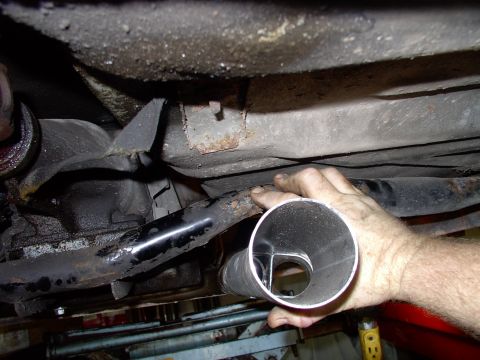
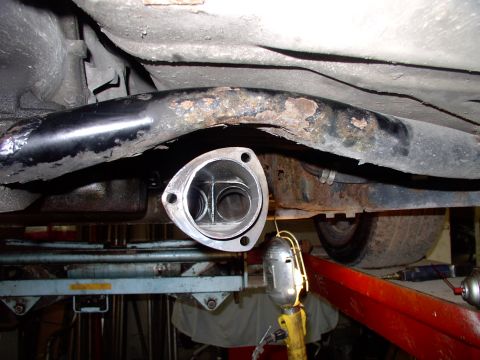
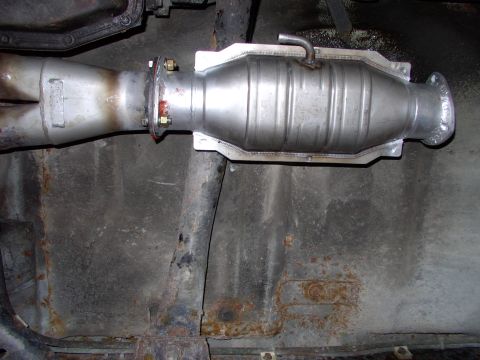
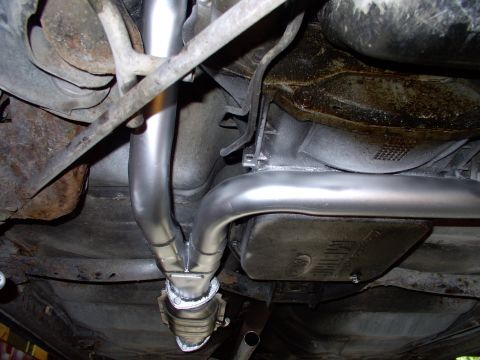
Position the Flowmaster Y collector centered under the crossmember and as close up to it as ground clearance allows. Sixlitre notes the straight-through collector is reckoned to be worth 25-40 ft/lbs of torque.
-
Step 8
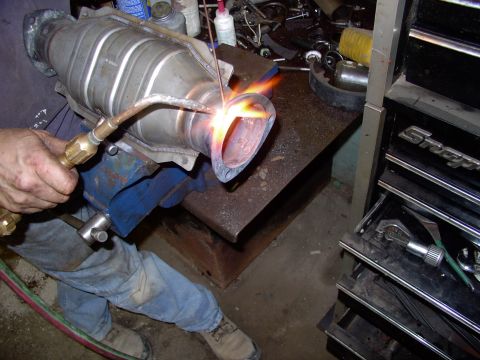
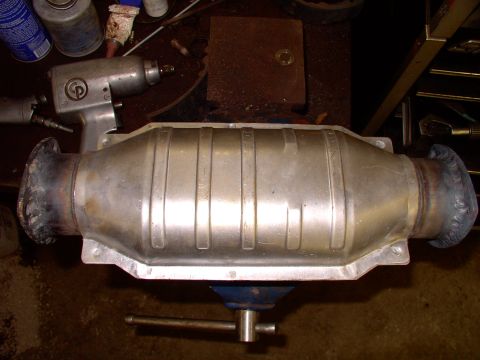
Clock the header flange on the Y collector to suit the chassis, then weld the header flanges onto the 3" cat. Orient the heatshield toward the transmission crossmember and the floor.
-
Step 9
Once the welds cool, clean them with a wire brush and coat them with 1500 degree exhaust paint to slow corrosion. Sixlitre also degreased and sprayed the pipes, and reports the paint is dry in 6 minutes.
-
Step 10
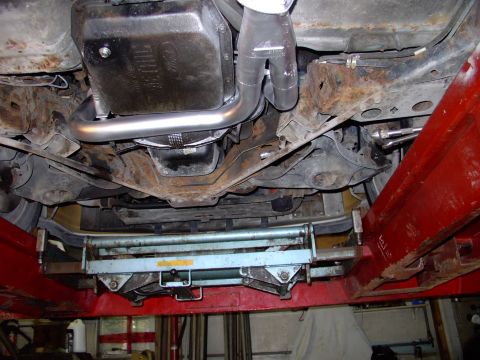
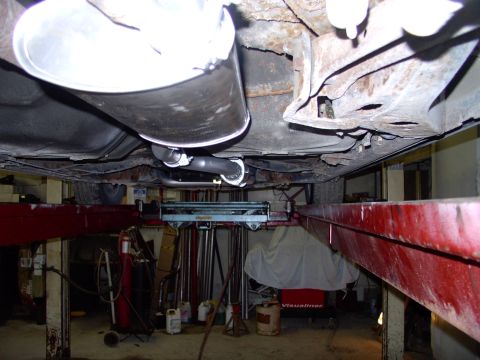
Check clearance around the TV cable and the transmission lines with everything tucked up to the floor. Sixlitre reports the new pipes sit as high as the stock dual pre-catted headpipes or higher, with the lowest point still above the front engine crossmember.
-
Step 11
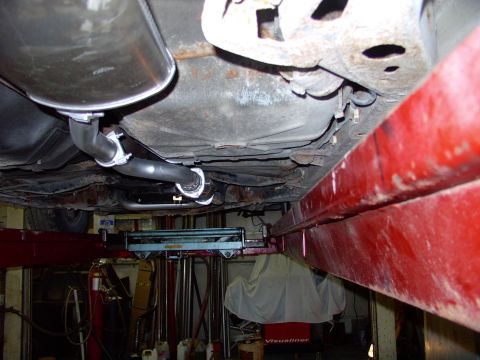
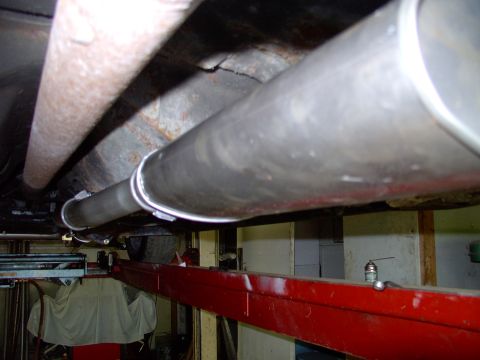
Run 2 1/4" pipe back to the stock muffler, using an offset to line up with it. Sixlitre used a muffler with a 2 1/4" inlet and a 2" outlet to match the tailpipe, and checked driveshaft clearance past the muffler and connecting pipe along with ground clearance.
-
Step 12
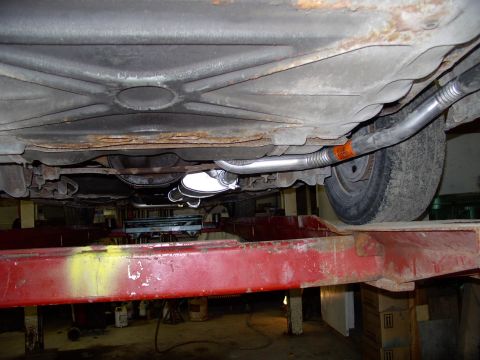
The album ends here, with a final shot of the ground clearance and the car's tailpipe. No further fitting or finishing steps are photographed.
Some product links go to the supplier the owner bought from. SuperMotors does not earn a commission today; if that changes, this line will say so and creators will be paid from it.