How-to
1990 Lincoln Town Car Headlight Connector Heavier Wire Upgrade
The stock 18 gauge headlight feed wires on a 1990 Lincoln Town Car are replaced with heavier wire soldered directly to the original 9004 connector terminals. Sixlitre did this ahead of fitting Streetglow 80/100 bulbs, because only stock type 18 gauge replacement harnesses are sold.
-
Step 1
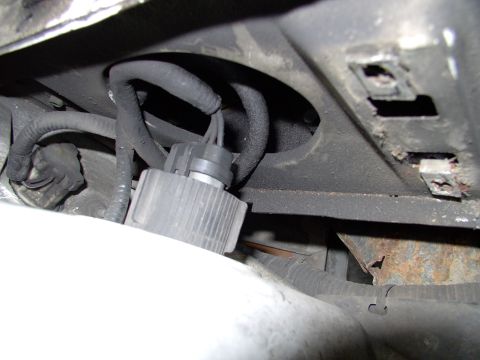
Plan the harness upgrade before fitting higher wattage bulbs. Sixlitre was about to upgrade the 9004s to Streetglow 80/100 bulbs and did not want to run them on the stock 18 gauge fed headlight harnesses.
-
Step 2
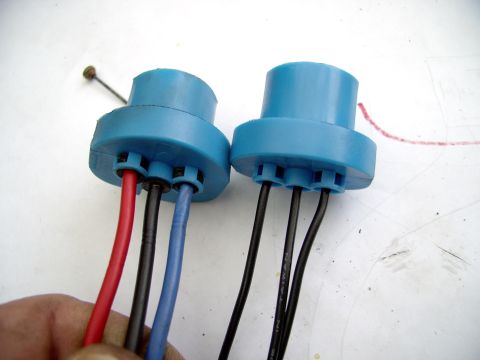
Source the wire. Sixlitre wanted 12 gauge wire all the way from the headlight pins to the battery, fused, but only stock type 18 gauge replacements are available, so the original connector gets rewired instead.
-
Step 3
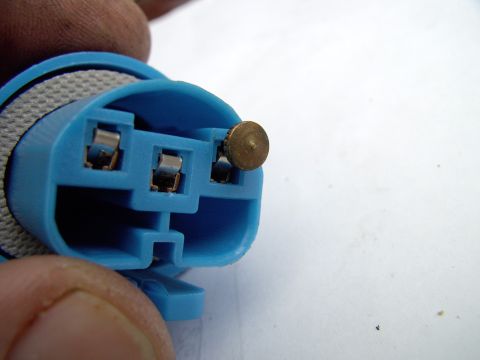
Stick a pin or nail into the top of each terminal to depress the tang. Pull the wire, with its terminal, out the back of the connector.
-
Step 4
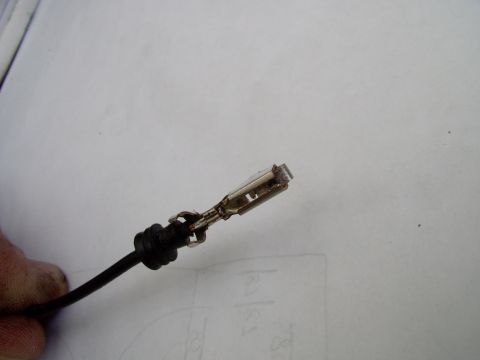
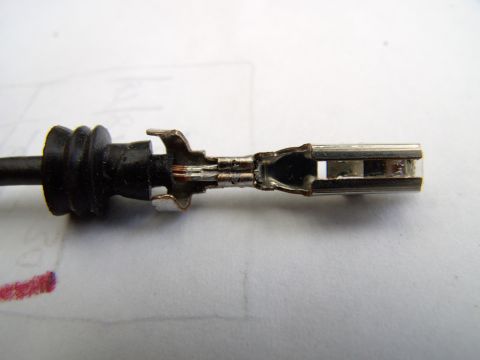
Pry open the tang so the weatherpack style rubber grommet can be pulled back and off the wire. Set the grommet aside for shortening and reuse.
-
Step 5
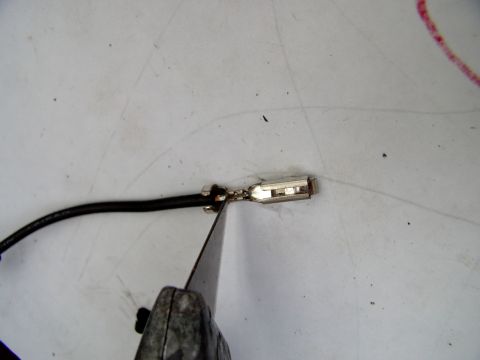
Leave the next tang alone, since 12 gauge wire will never fit where the 18 gauge was, and cut the old wire flush with a carpet knife. Press down with the knife and pull up on the wire to bend and break the rest of the strands.
-
Step 6
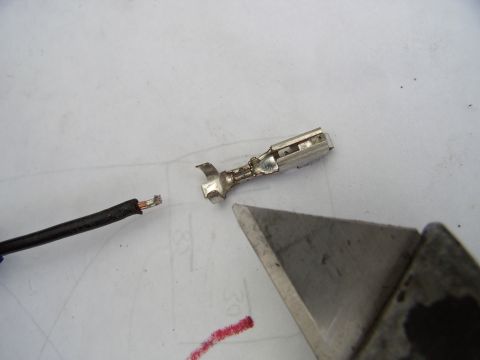
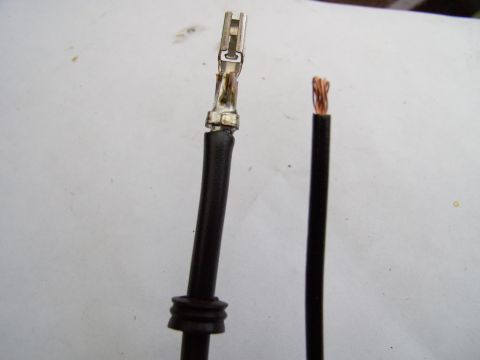
Check the stripped terminal before going further: what is left is the flat surface the heavier wire solders to. Sixlitre solders right over the uncut tang.
-
Step 7
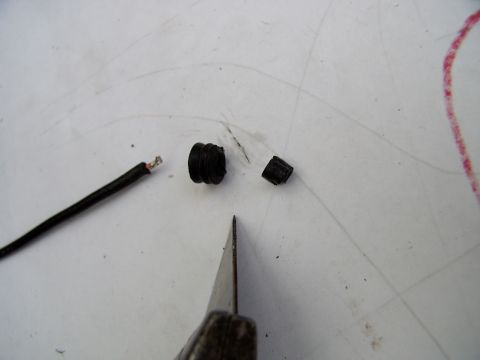
Slice the snout off the grommet, as the 10 gauge wire does not need the extra length. Slip the grommet over the new 10 gauge wire, crimp the outer tangs onto the wire and solder it solid.
-
Step 8
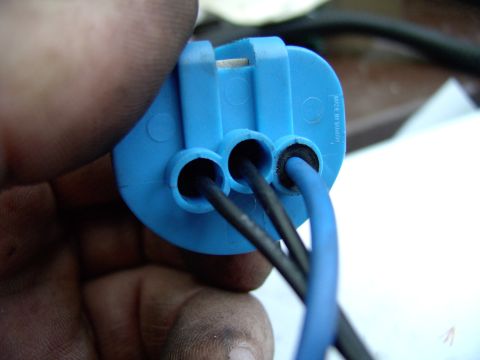
Push each finished terminal back into the connector until it clicks, levering the tang up first if it has not sprung back after being depressed. Sixlitre points out the size difference between the new 10 gauge wire and the two 18 gauge wires beside it, and the photos end here.
Some product links go to the supplier the owner bought from. SuperMotors does not earn a commission today; if that changes, this line will say so and creators will be paid from it.