
Manual page with technical diagrams and instructions.
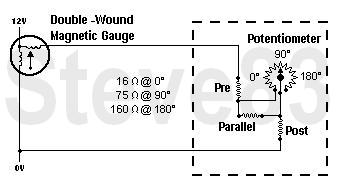
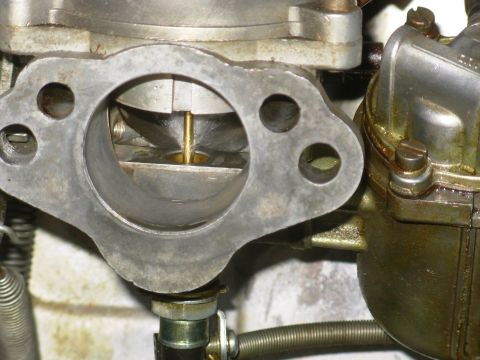
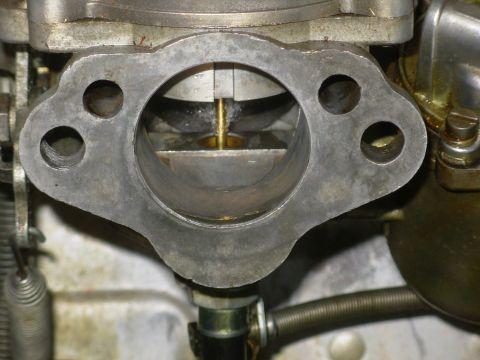
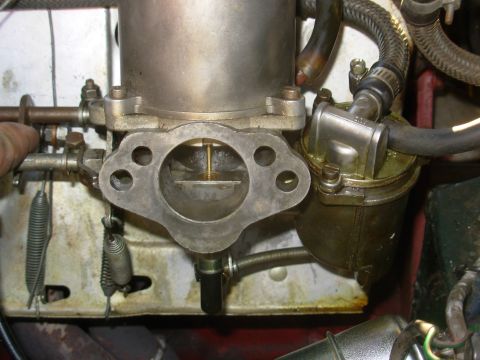
CONTROLS AND INSTRUNHENTS Ignition and starter switch The ignition and starter are both controlled by a single switch operated by a removable key. To switch on the ignition insert the key and turn it in a clock. wise direction until a slight resistance is felt. Further movement in the same direction will operate the starter motor. Release the key immediately the engine starts. If the engine fails to start rst time wait until it has come to rest before using the starter again. Headlight beam dipping switch The headlight main-beam dipping switch is located on the toeboard to the left of the clutch pedal. It is of the single-acting repeating type, lowering the beams on one application and raising them on the next. A warning light on the face of the speedometer glows when the beams are in the raised position. 7 new; Driving controlsright-hand drive 1. Hand brake. 5. Brake pedal. 2. Headlight dip switch. 6. Accelerator pedal. 3. Horn switch. 7. Direction indicator. 4. Clutch pedal. 8. Gear lever. Choke or mixture control To enrich the mixture and assist starting when the engine is cold pull out the knob marked C. The control, when turned half a turn clockwise, will hold in any position, giving a progressively richer mixture as it is pulled out. On no account should the engine run for any length of time with the knob pulled fully out. It should be returned to the off position (pushed in) as soon as possible as the engine warms up. The rst i in. (6 mm.) approx. of movement operates only the throttle control. This initial movement can be used to give a fast engine idling speed and prevent stalling when driving at low speeds before the engine has fully warmed up. Heater and ventilating controls These controls provide a means of regulating the heating and ventilating system. Full operating instructions are given on page 5. . 6 8 l Imu Driving controIkleft-hand drive 5. Brake pedal. 6. Accelerator pedal. 7. Direction indicator. 8. Gear lever. 1. Hand brake. 2. Headlight dip switch. 3. Horn switch. 4. Clutch pedal. Ignition warning light The ignition warning light serves the dual purpose of reminding the driver to switch off the ignition, and of acting as a no-charge indicator. With the ignition switched on the warning light should only be illuminated when the engine is not running, or is running at a very low speed. As the engine speed increases the light should dim and then go out at a fairly low engine speed. If the light fails to go out until higher engine speeds are reached or remains alight at all times, inspect the dynamo driving belt for correct tension or breakage. If the belt is in order the charging system must be overhauled by a Distributor or Dealer. 2i 8 l6 l7 lb [3 I4 I2 15 8479M Instruments and switchesright-hand drive 1. Speedometer. 11. t~Fuel gauge. 2. Trip mileage indicator. 12. Panel light switch. 3. Total mileage indicator. 13. Headlight main-beam warning light. 4. Direction indicator warning lights. 14. Trip mileage resetting knob. 5. Tachometer. 15. Ignition warning light. 6. Ignition and starter switch. 16. Windscreen wiper switch. 7. Oil pressure and water temperature 17. Windscreen washer. gauge. 18. Map light switch. 8. Blower switch. 19. Overdrive switch. 9. Lighting switch. 20. Heater control. 10. Choke (mixture control). 21. Air control. Lighting switch Earlier cars A lever-type switch. Move the lever downward to the half-way position for the side and tail lights, and into the fully down position for the headlights. Later cars A push/pull switch. Pull out to the rst position for the side and tail lights, and fully out for headlights. Map-reading light switch The map-reading light is controlled, by a switch adjacent to the lamp. The lamp will only operate when the side lights are switched (in. Fuel gauge A few seconds after the ignition is switched on the fuel gauge indicates the quantity of fuel in the tank. An important note on lling up with fuel is given on page 9. ' Panel light switch The panel light switch is located between the speedometer and the engine revolution indicator. To illuminate the instruments turn the knob clockwise. The rst movement of the knob switches on the lights and further turning to the right dims them. The panel lights will only function when the side lights are switched on. Overdrive switch The overdrive switch is mounted on the outer edge of the fascia adjacent to the instrument panel. The switch bezel is marked NORMAL and OVER- DRIVE. Is' |2 I: I4 Io I7 It: 3 2| 732A Instruments and switchesle-hand drive 1. Speedometer. ll. Fuel gauge. 2. Trip mileage indicator. 12. Panel light switch. 3. Total mileage indicator. I3. Headlight main-beam warning light 4. Direction indicator warning lights. 14. Trip mileage resetting knob. 5. Tachometer. 15. Ignition warning light. 6. Ignition and starter switch. 16. Windscreen wiper switch. 7. Oil pressure and water temperature 17. Windscreen washer. gauge. 18. Map light switch. 8. Blower switch. 19. Overdrive switch. 9. Lighting switch. 20. Heater control. 10. Choke (mixture control). 21. Air control. Oil pressure gauge The engine oil pressure should be between 50 and 80 lb./sq. in. (35 and 5-6 kg./cm.2) under normal running conditions. Approximately 10 to 25 lb./sq. in. (-7 to 1-7 kg./cm.) should be shown when the engine is idling. Should the gauge fail to register any pressure at all, stop the engine immediately and investigate the cause.
Comments
More from this build
No comments yet.