Home/
Registry/
Ford/
Bronco/
1980–1986/
“That dirty old truck”/
Bronco Cargo Cover Specs & Cargo Net
supermotors.net/registry/2742/21492
Album section
Bronco Cargo Cover Specs & Cargo Net
From 1983 Ford Bronco “That dirty old truck” — documented by Steve83.
54 photos
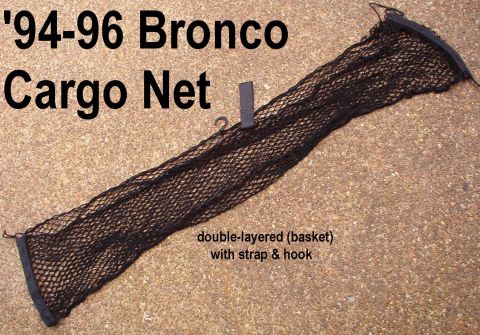
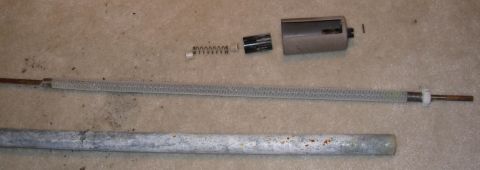
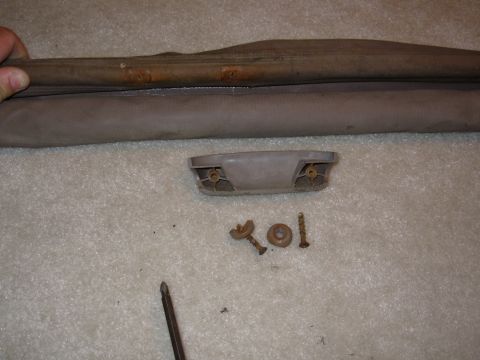
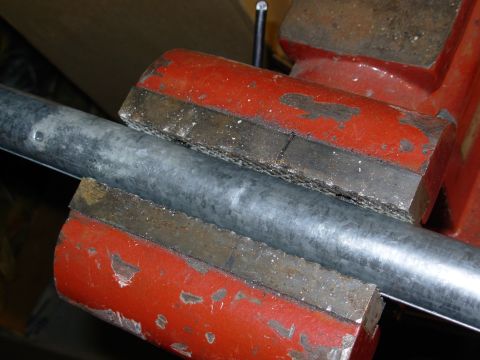
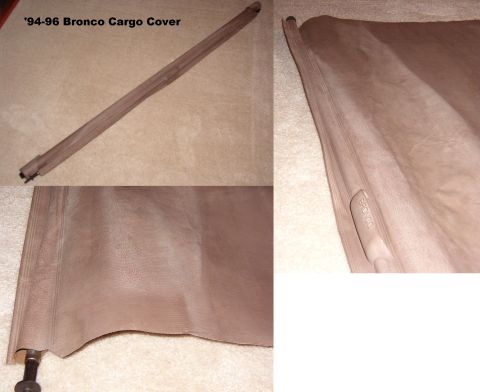
![1983 Ford Bronco - '94-96 Bronco Cargo Net dimensions ~56x13" [url=http://www.supermotors.net/registry/media/731300] http://www.supermotors.net/getfile/7…](https://www.supermotors.net/thumb/1093929-480.jpg)
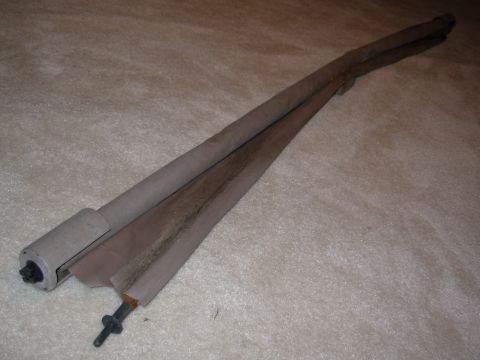
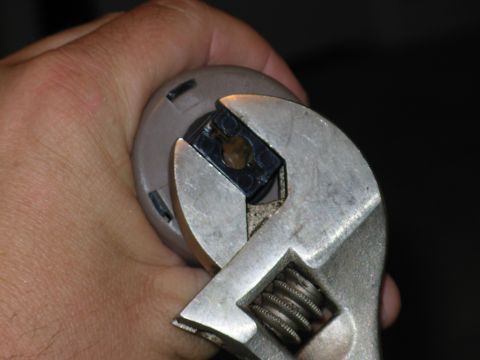
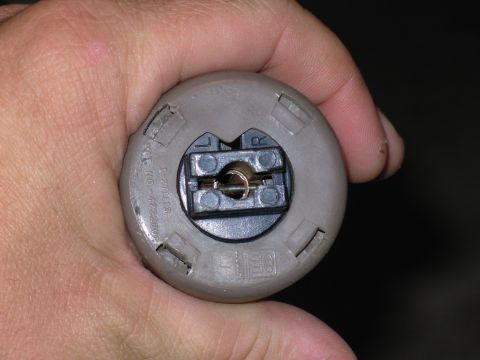

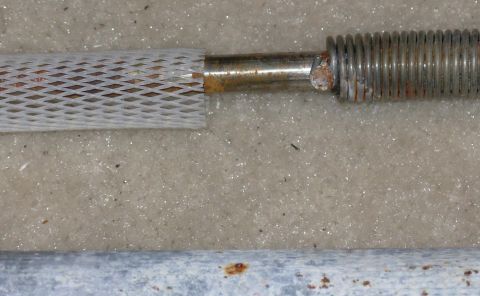
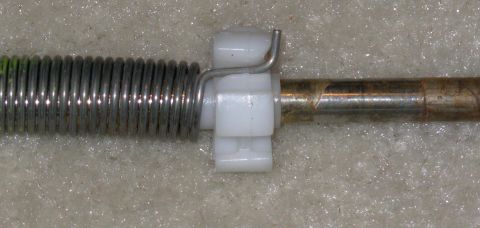
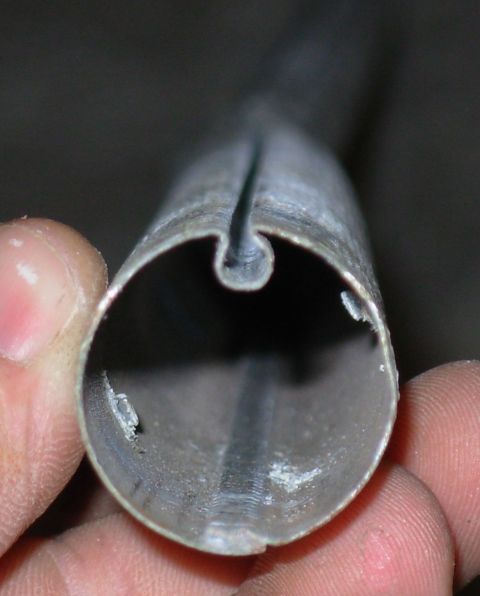
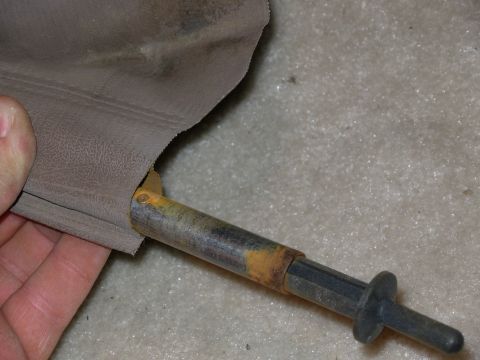

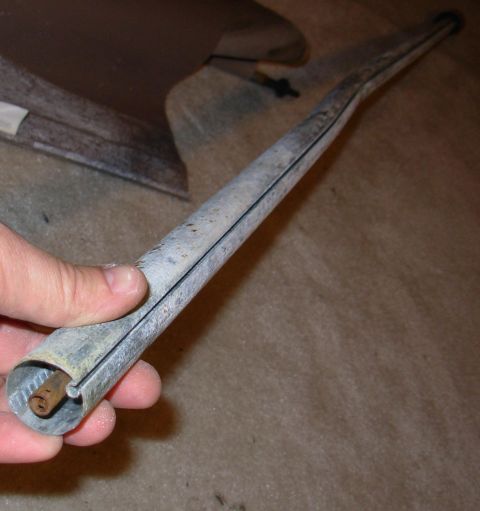
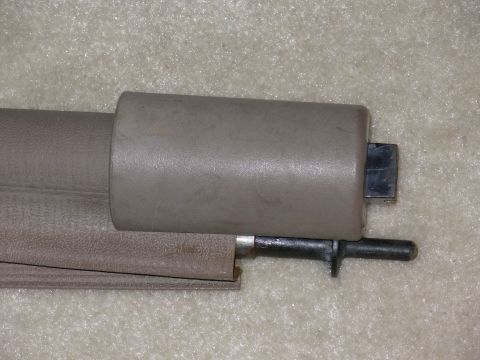

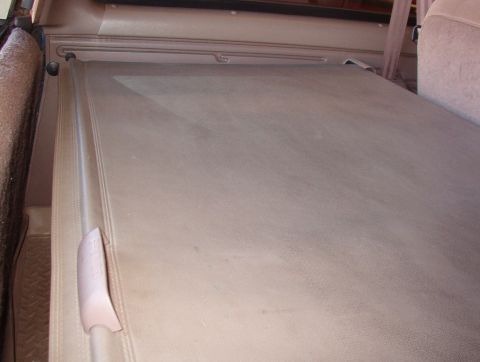
![1983 Ford Bronco - This is after a few minutes' work... [url=http://www.supermotors.net/registry/media/1031134] http://www.supermotors.net/getfile/1031134/thu…](https://www.supermotors.net/thumb/1031135-480.jpg)
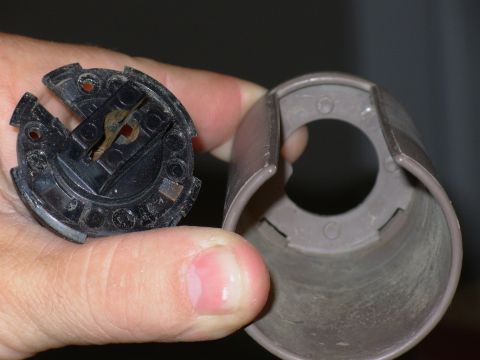
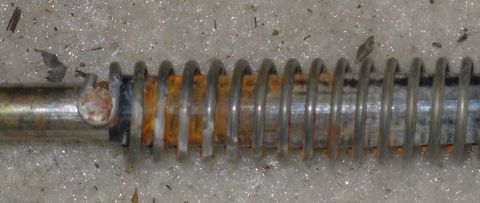
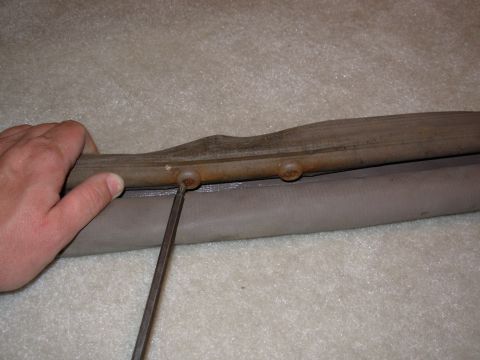
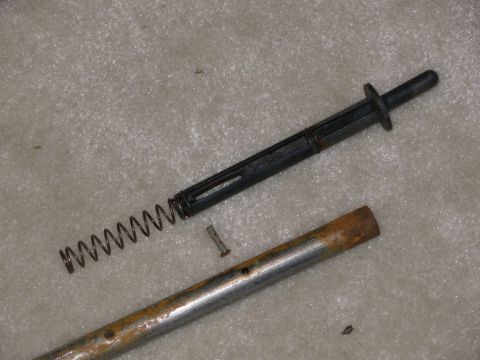
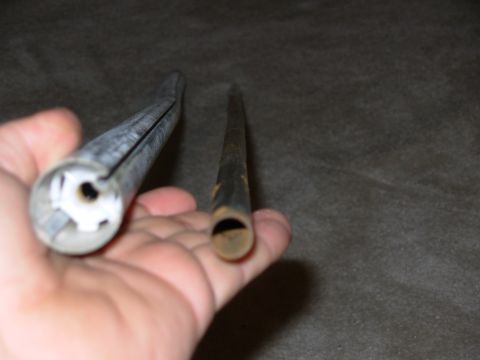
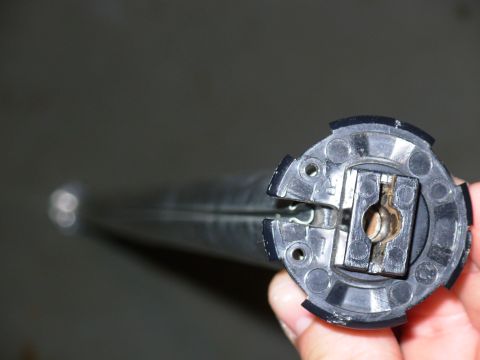
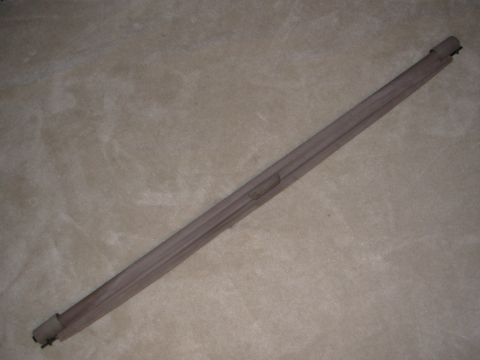
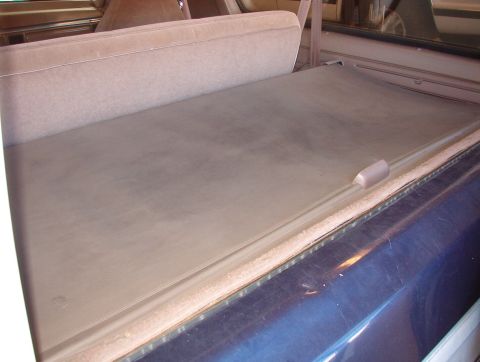
![1983 Ford Bronco - I probably spent 20 minutes to get it to this point. [url=http://www.supermotors.net/registry/media/1031134] http://www.supermotors.net/get…](https://www.supermotors.net/thumb/1031136-480.jpg)