How-to
1985 Ford Bronco R12 to R134a A/C Conversion
An R12 air conditioning system on a 1985 Ford Bronco was stripped, flushed and rebuilt to run R134a. The photos cover recovery and cleaning, reassembly with ester oil and conversion ports, evacuation and the final charge.
-
Step 1
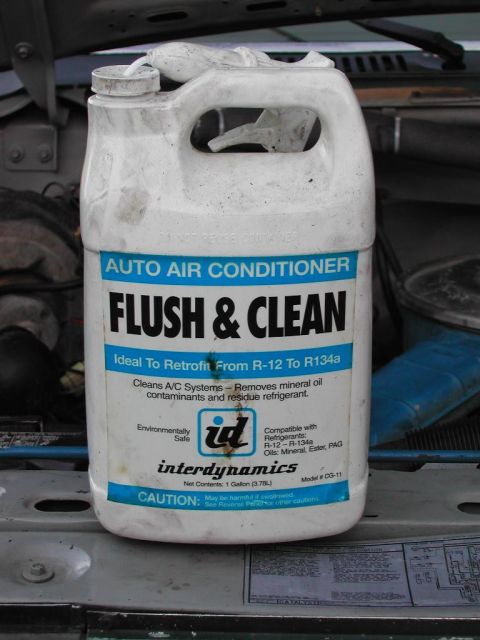
Have a shop recover any R12 with their equipment, since venting it is against the law (David Lithgow's compressor had been off since he bought the truck, so his system held none). Then completely disassemble the system and remove the hoses, accumulator/dryer, evaporator and condensor coils and the compressor. Drain the compressor and evaporator first, flush every component with about half a gallon of A/C system flush and clean, and blow the parts out with shop air through a good dryer, as any moisture left behind will ruin the job; David Lithgow spent a good 2 or 3 hours on the cleaning phase.
-
Step 2
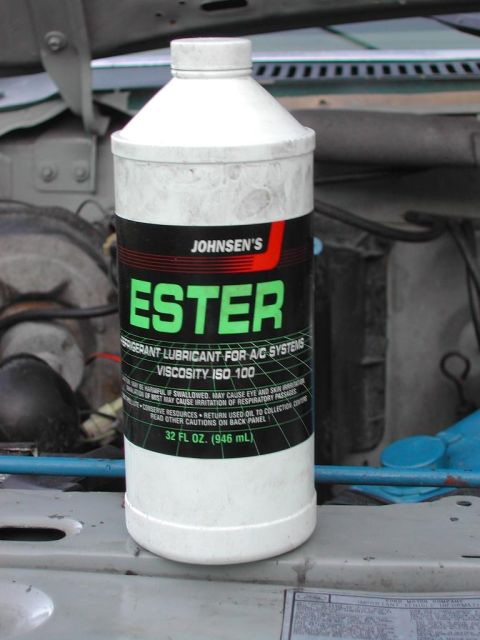
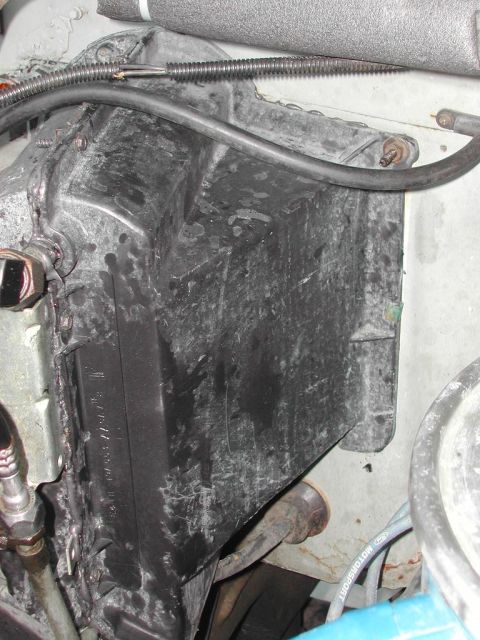
Reinstall the condensor and evaporator coils and the compressor, then add the new ester oil before connecting any lines. David Lithgow's system calls for 10oz of oil, which he spread as 5oz in the suction side of the compressor, 1oz in the condensor, 1oz in the new accumulator and 3oz in the evaporator, then connected the hoses and fittings with new o-rings soaked in ester oil and fitted the R134a conversion ports to the high side above the compressor and the low side on the accumulator.
-
Step 3
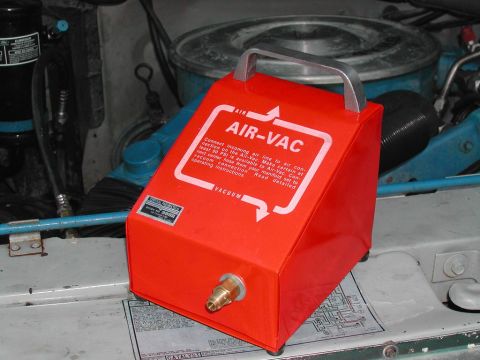
Leave the old accumulator in place for a first pump down, hook up the manifold gauge set and run the yellow hose to the vacuum pump, then start the pump and open both gauge valves. David Lithgow's setup pulled 29" for about 5 minutes before dropping to 27", which he left running for 30min to boil most of the moisture out of the system.
-
Step 4
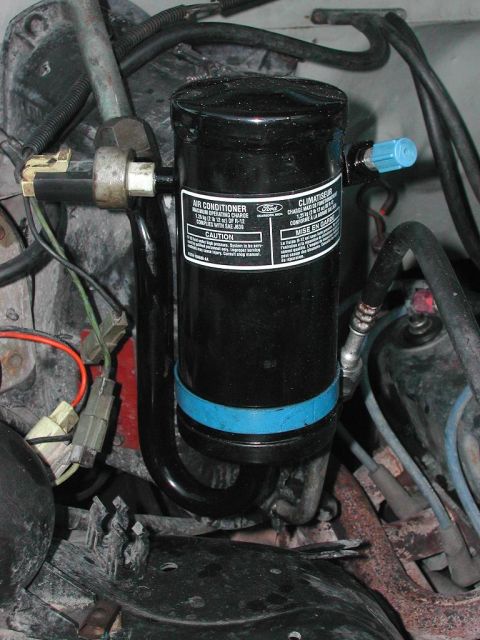
Fit the new accumulator and the new orifice tube in the bottom tube of the evaporator, check all connections, reconnect the gauge set and run the vacuum pump about 3 min to reach 29". Close both gauge valves, shut off the pump and wait 15 min to see whether the system holds vacuum; if it drops, close the service valves at the back of the compressor and repeat, which isolates the compressor from the lines, connections and coils.
-
Step 5
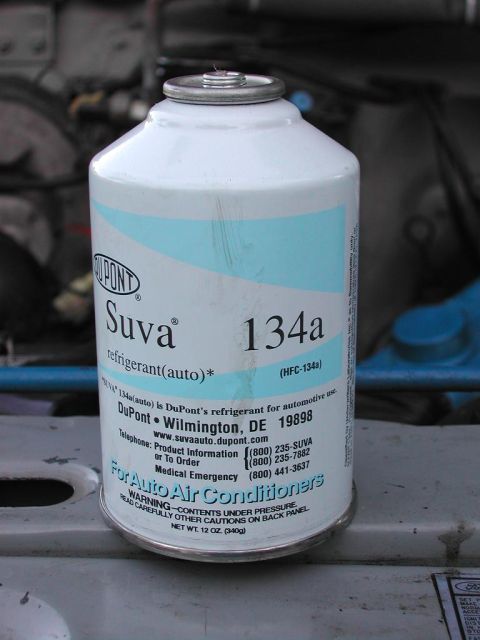
Run the vacuum for 30min with both gauge valves open, close them, remove the pump and connect an R134a source to the yellow hose, bleeding the hose at the manifold so no air is in the line. Open the low side slowly to bring the gauge back to 0, then repeat the pump down and purge for 15min and again for 15min before the full charge, this time letting the R134a bring the system up to 60 to 80 lbs.
-
Step 6
Start the truck, set the idle to 1500RPM, set the cooling controls to max with high fan speed and open the low side valve slowly to charge the system, going by the gauge readings rather than the old R12 sticker because R134a operates at a higher pressure. David Lithgow reports his system calls for 3.5lbs of R12 but took only about 2.5lbs of R134a before the high side reached 315lbs, above the 300lb ceiling he works to, with the low side stabilizing at 35lbs.
-
Step 7
The album's photos end at the charging stage, so no later checks or reassembly are shown.
Some product links go to the supplier the owner bought from. SuperMotors does not earn a commission today; if that changes, this line will say so and creators will be paid from it.