How-to
1986 Ford Bronco 3G Alternator Install With Air Pump
An alternator upgrade to a 3G unit on a 1986 Ford Bronco, fitted from underneath on a truck whose air pump occupies the spot other write-ups show the alternator in. The photos cover locating the mounting points, a home-built 3G wiring harness, working the alternator into place, and the longer air pump belt needed afterward.
-
Step 1
Identify what is already mounted on the accessory bracket before starting. pantsman found the air pump sitting on this 1986 Bronco where other write-ups show the alternator.
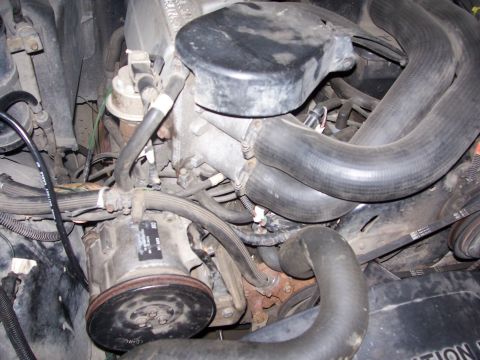
-
Step 2
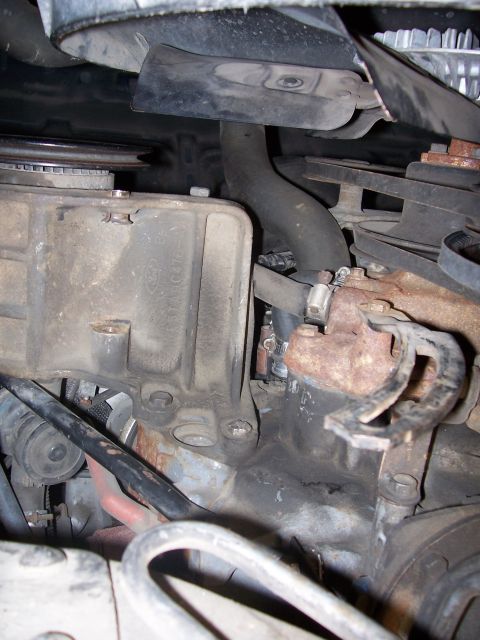
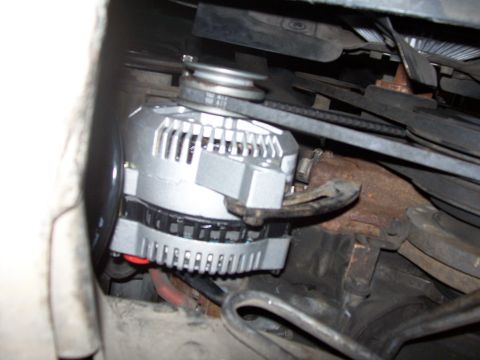
Look up at the bracket from underneath the truck to find the mounting points. The alternator mounts to the bracket at left center and its lower arm attaches to the swing arm at right center, with the air pump pulley above the alternator mounting bracket.
-
Step 3
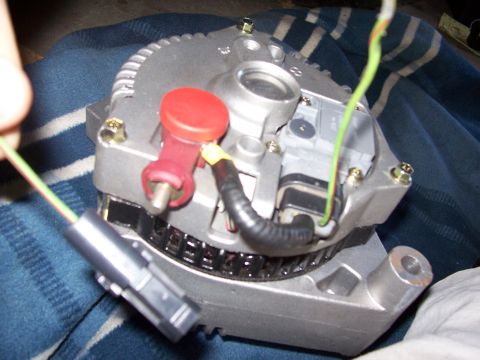
Prepare the 3G wiring harness. pantsman used a self-assembled version of a 3G harness rather than a purchased one.
-
Step 4
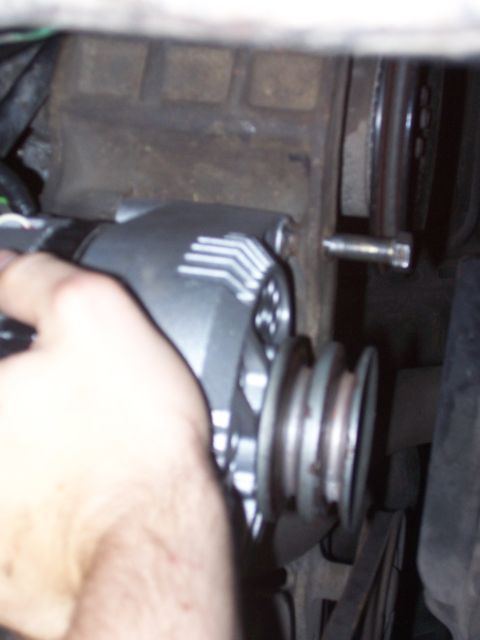
Bring the alternator in from underneath and work it onto the bracket. pantsman reports it takes a little wiggling to get both arms in and out.
-
Step 5
Connect the alternator and check the connections from below.
-
Step 6
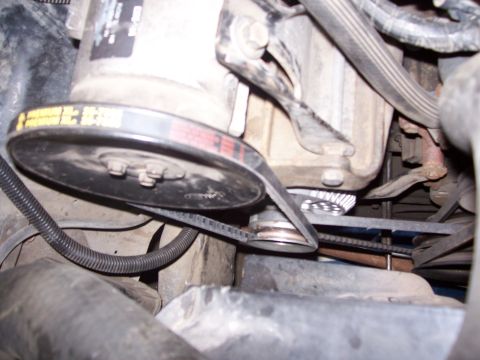
Fit a longer belt for the air pump to clear the new installation. pantsman asked for 2 inches of extra length and reports that 1 or 1.5 would have been better, because the adjustment is almost maxed out as fitted; the belt came from NAPA and pantsman recalls the number as 38-7325, noting the number in the photo is too blurry to read.
-
Step 7
The album's photos end here, with the alternator hooked up and the air pump belt fitted. No further stages are documented.
Some product links go to the supplier the owner bought from. SuperMotors does not earn a commission today; if that changes, this line will say so and creators will be paid from it.