
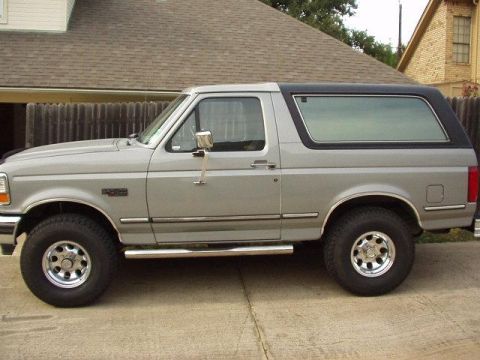
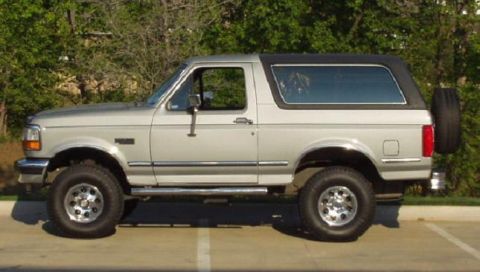
The story
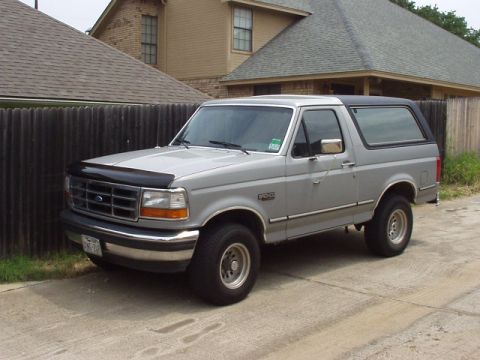
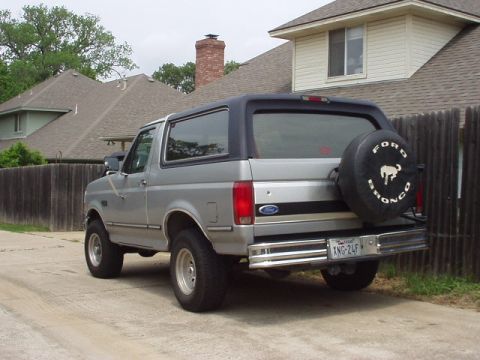
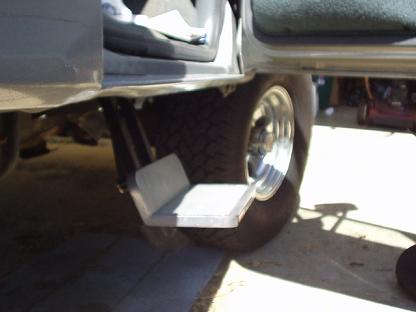
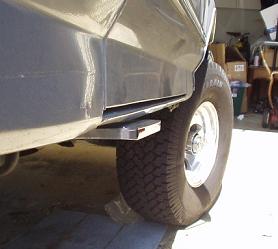
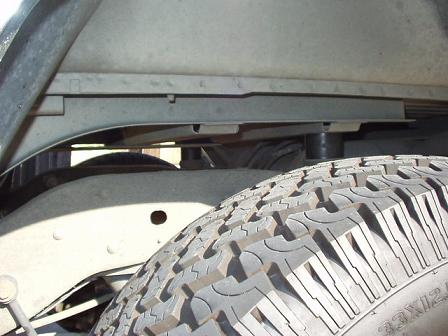
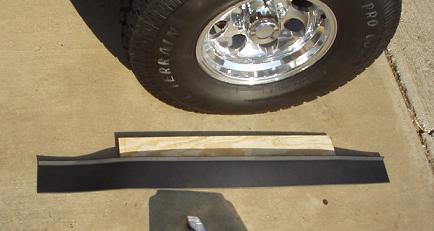
DeeZee stainless steel nerf bars/steps
Deflecta-shield bug shield
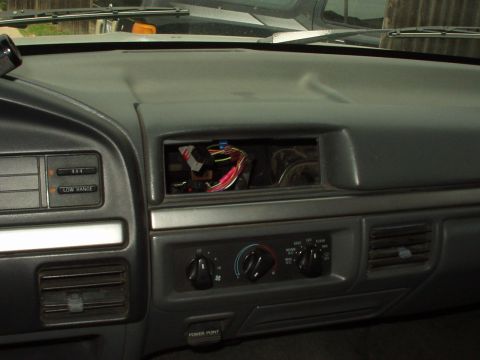
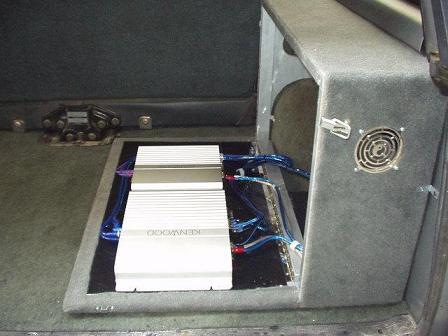
audio:
Rockford Fosgate RFX9300 CD/MP3 head unit
Boston Acoustics Rally RC-61x 6-1/2" front compontents
Rockford Fosgate FRC1257 5x7" rear speakers
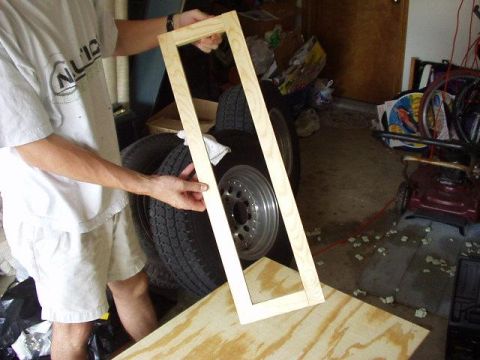
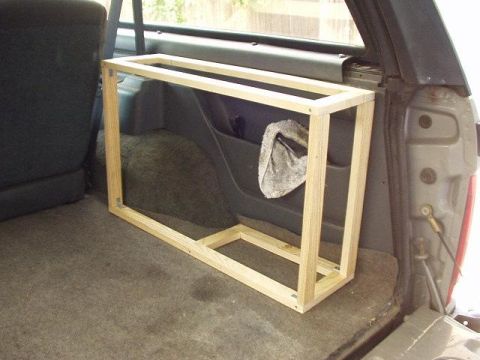
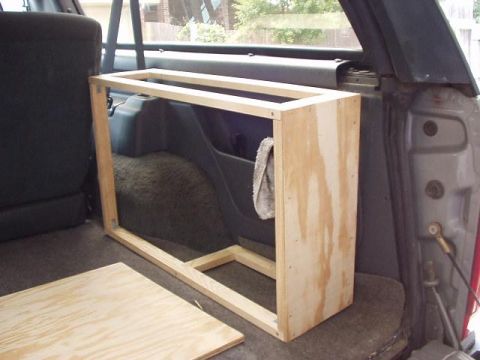
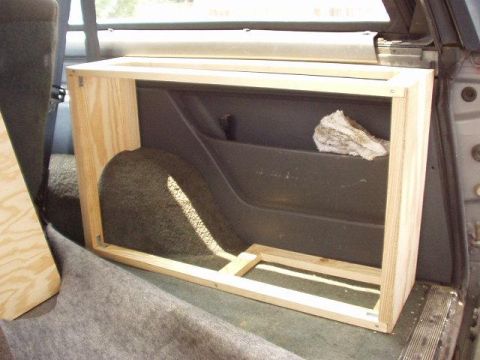
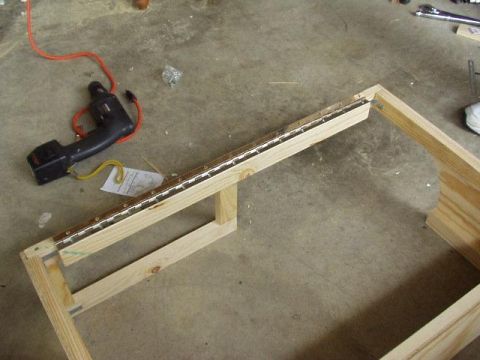
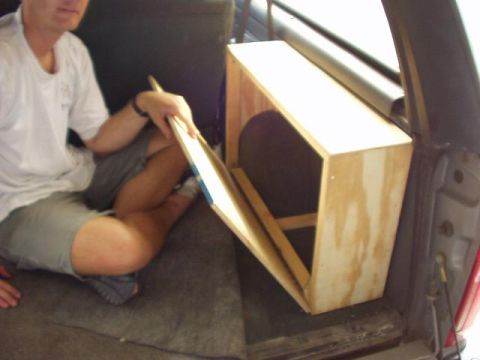
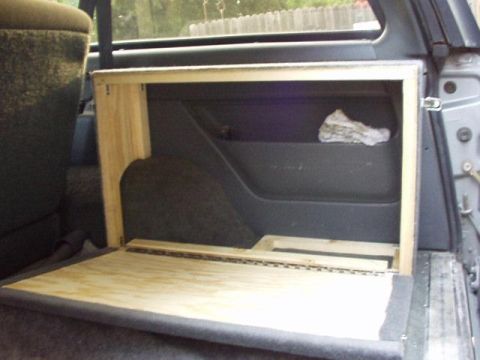
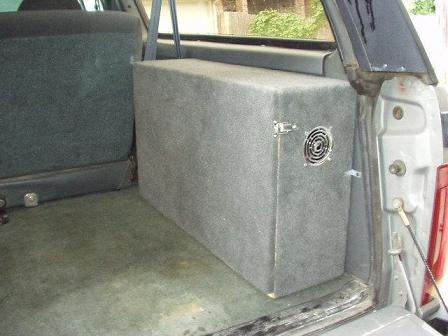
Rockford RFP2412 12" Punch XLC sub
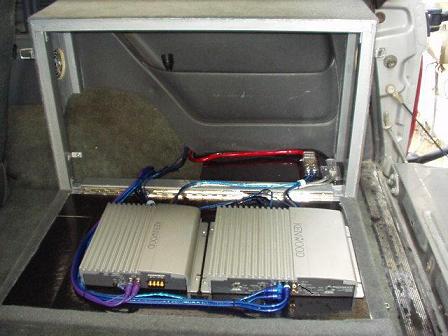
Kenwood KAC-746 powering fronts
Kenwood KAC-626 (bridged) powering sub
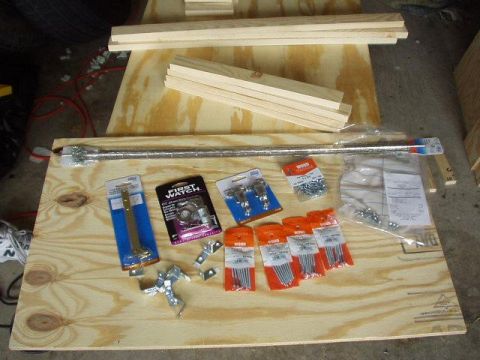
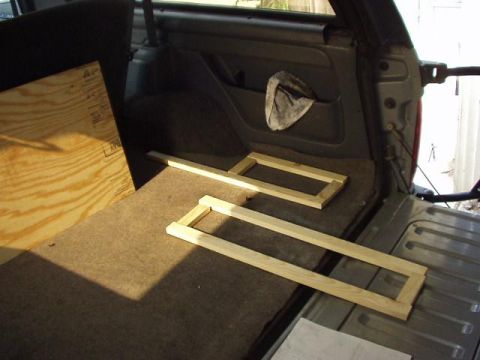
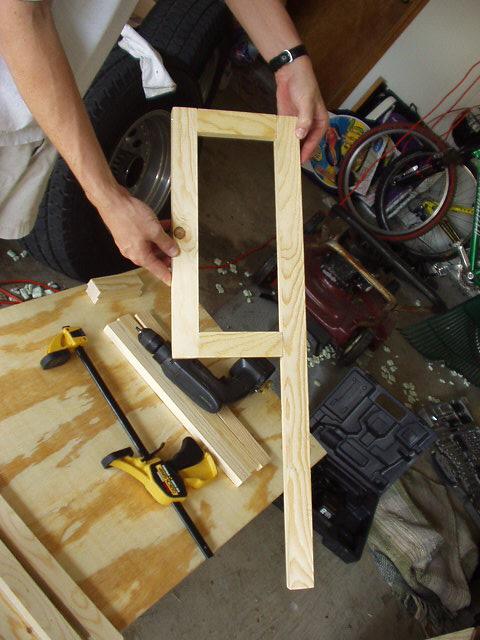
Custom amp box — Kelly Silver
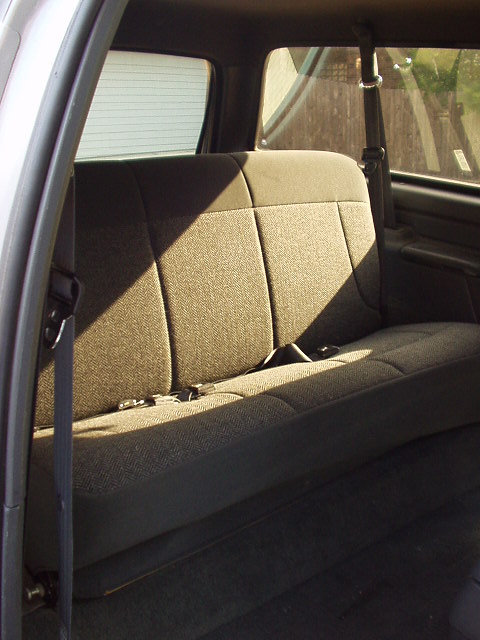
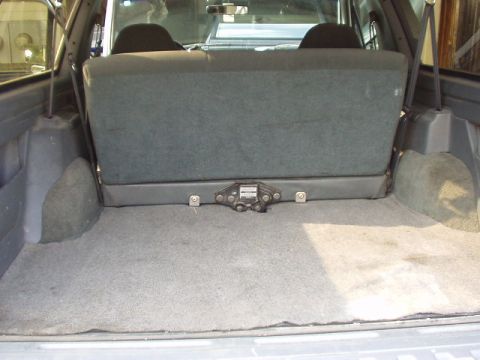
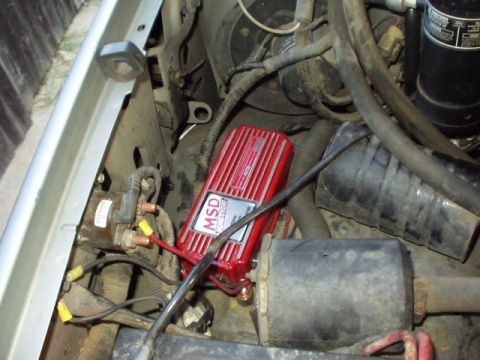
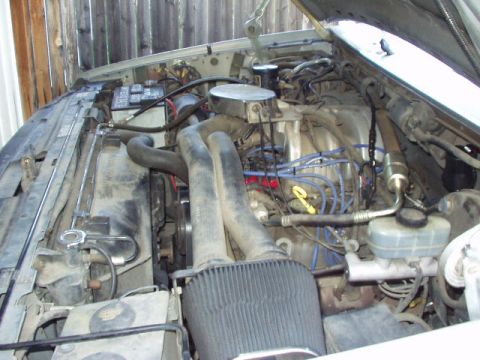
Photos


The peanut gallery
Spotted in the wild
Seen this vehicle at a show or on the trail? Add your shot — the owner approves it onto the record.
Spotted this vehicle somewhere? Sign in to submit your shot.
Sign in
No comments yet — be the first to add to the record.