How-to
1991 Ford Bronco 130 Amp 3G Alternator Install and Plug Wiring
A 130 amp 3G alternator replaces the stock alternator on a 1991 Ford Bronco. The album covers the parts used, the clearancing needed to fit the alternator, the plug and charge cable wiring, and the 175 amp fuse mounting.
-
Step 1
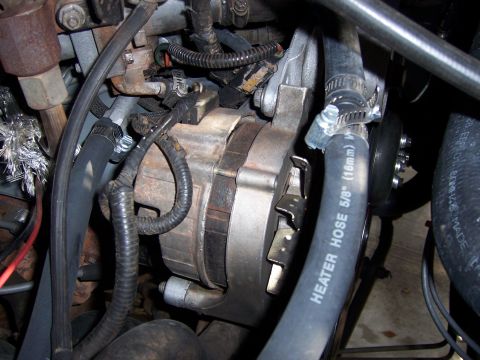
Start at the stock alternator that the 3G replaces.
-
Step 2
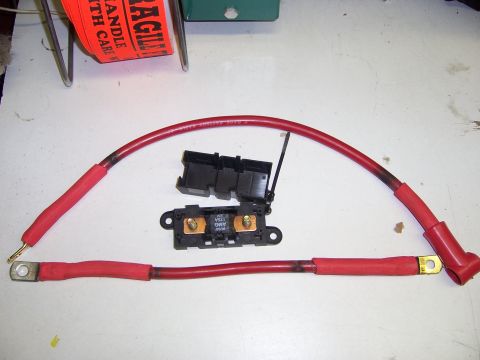
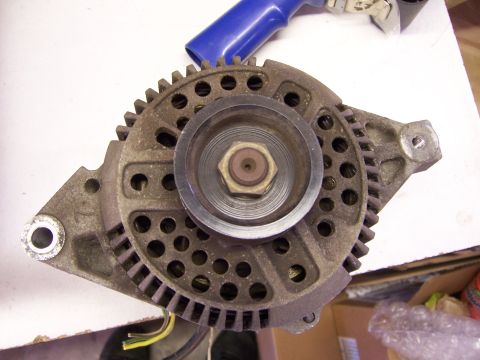
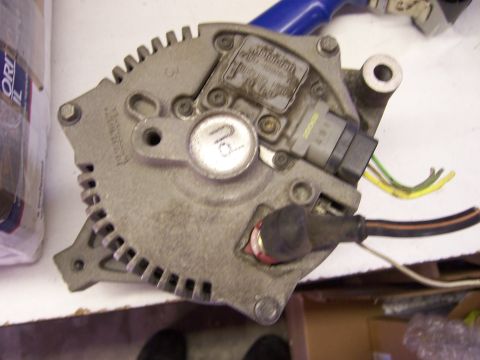
Gather the 3G alternator and a charge cable made up for it. CaliforniaMonkey made the charge cable for the 3G and got the alternator secondhand from another member.
-
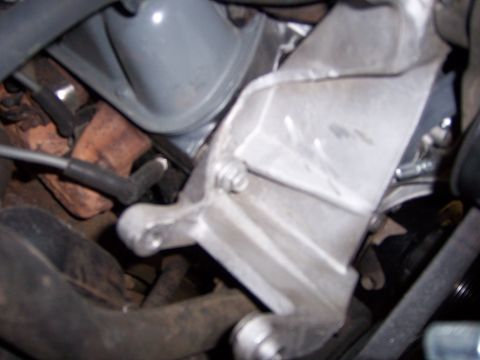
Step 3
Test fit the alternator and clearance what it contacts. CaliforniaMonkey had to do this clearancing to make the 3G fit.
-
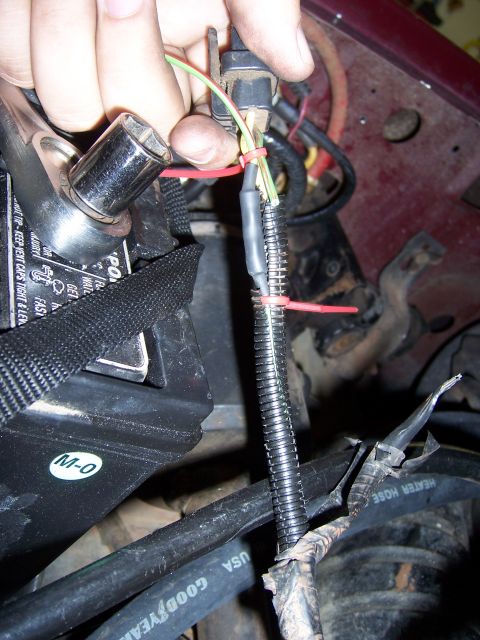
Step 4
Modify the original alternator plug. CaliforniaMonkey found the green wire, traced it back a couple of inches, snipped it, and butt-spliced that green wire into the new plug.
-
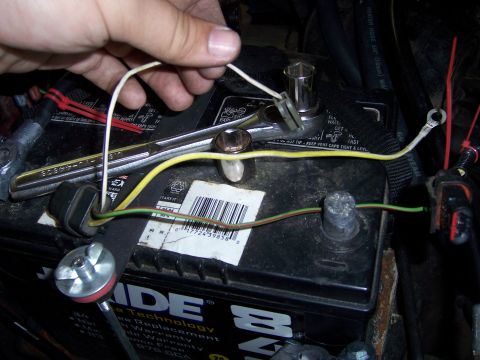
Step 5
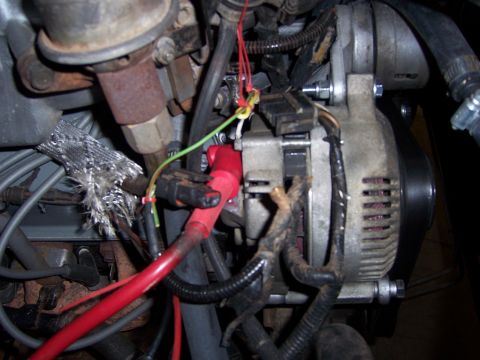
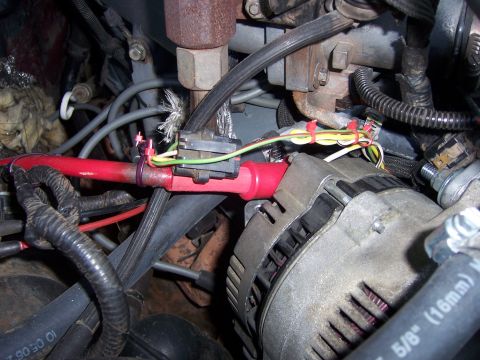
Wire the 3G plug. One wire plugs into the alternator, the next goes on the same stud as the charge cable, and the last green wire splices into the original wiring.
-
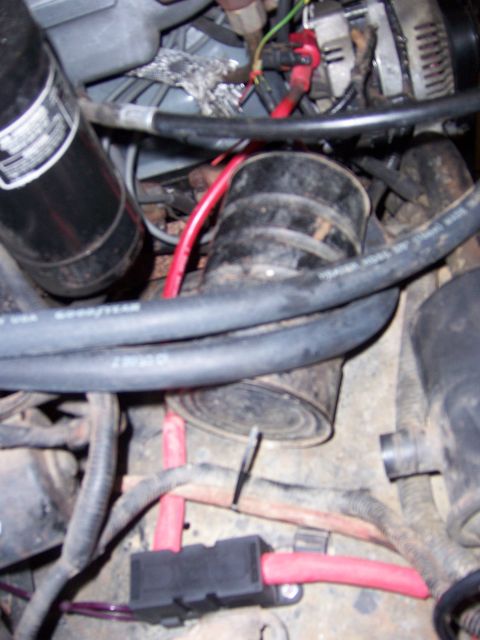
Step 6
Mount the 175 amp fuse. CaliforniaMonkey mounted it to the wheel well and calls it not the best place, but reports it works pretty good.
-
Step 7
Re-clock the rear of the alternator so the plug and cable are easier to get on. CaliforniaMonkey reports this is easy to do and that it also showed how worn the alternator was inside.
-
Step 8
Check the finished plug and charge cable wiring on the installed alternator. CaliforniaMonkey reports one unpleasant outcome: the belt squeals a little when cold, and the squeal seems to go away once it heats up.
-
Step 9
The photos end here.
Some product links go to the supplier the owner bought from. SuperMotors does not earn a commission today; if that changes, this line will say so and creators will be paid from it.