How-to
1990 Ford Bronco Door Hinge Pin and Bushing Replacement
The worn pin and bushings in a 1990 Ford Bronco door hinge were driven out and replaced with new ones, with the door propped on a jack and cinder block. ezpc photographed the pin coming out, the old and new bushings side by side, and the finished hinge.
-
Step 1
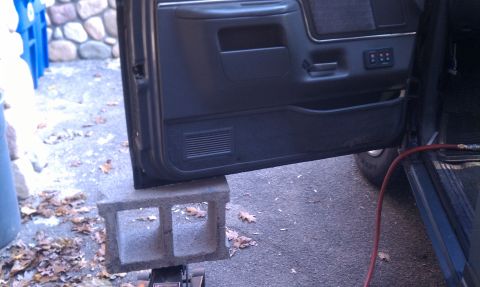
Support the door before touching the hinge. ezpc propped it with a cinder block and a jack, which held it well enough for the job.
-
Step 2
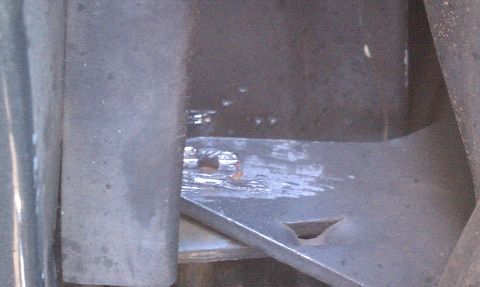
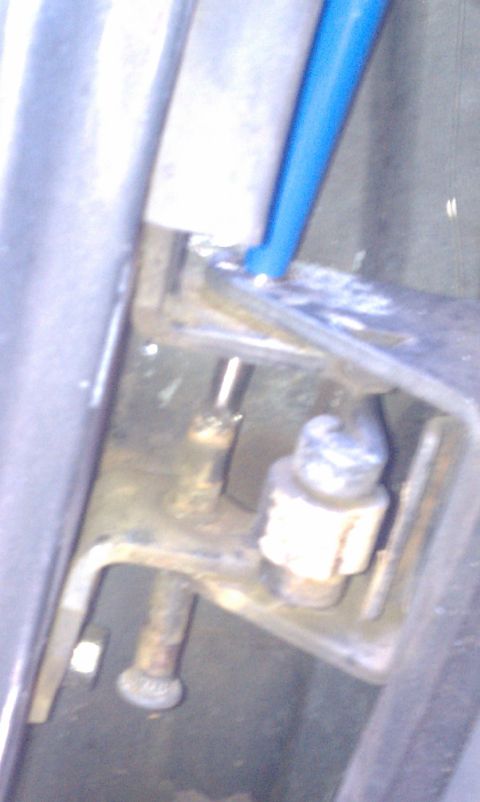
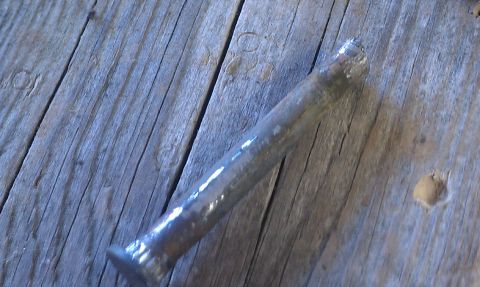
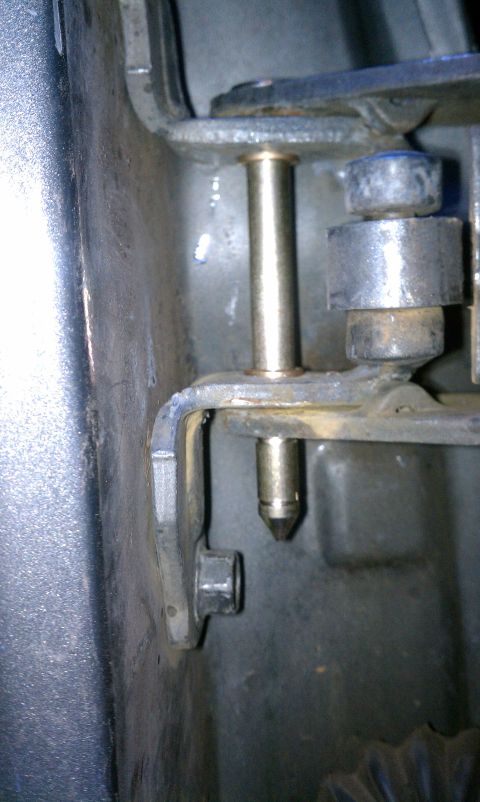
Drive out the hinge pin. Cut the top portion of the pin off with an impact chisel, then hammer the rest of it out with a punch.
-
Step 3
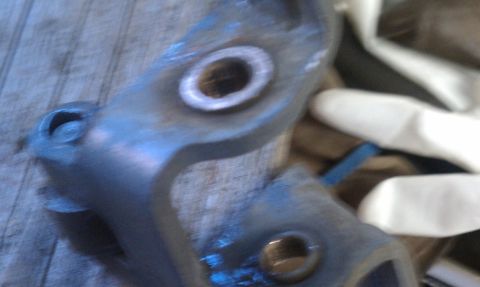
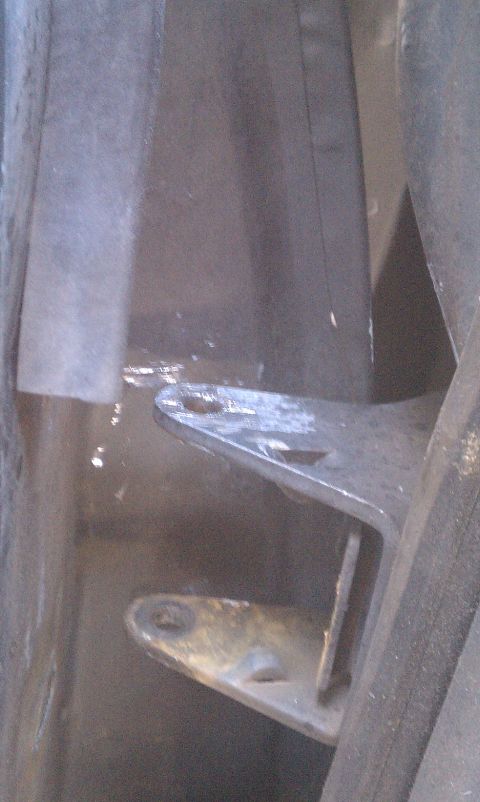
Inspect the pin and hinge once they are apart. ezpc found the bushings were brass rather than the nylon expected, got the old pin out in one piece, and reports the hinge itself came through without much damage.
-
Step 4
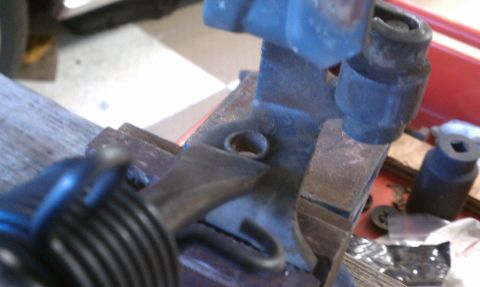
Remove the old bushings from the hinge with the impact chisel. The photos show the hinge halves off the door while this is done. Set the worn bushings aside.
-
Step 5
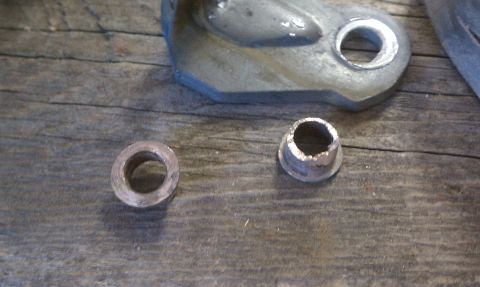
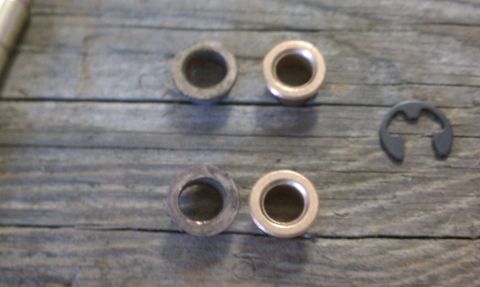
Compare the old bushings against the new ones before installing anything, old on the left and new on the right.
-
Step 6
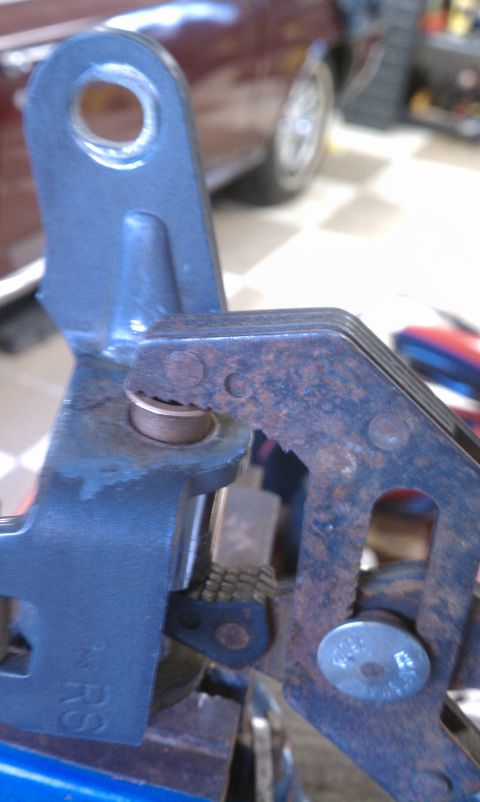
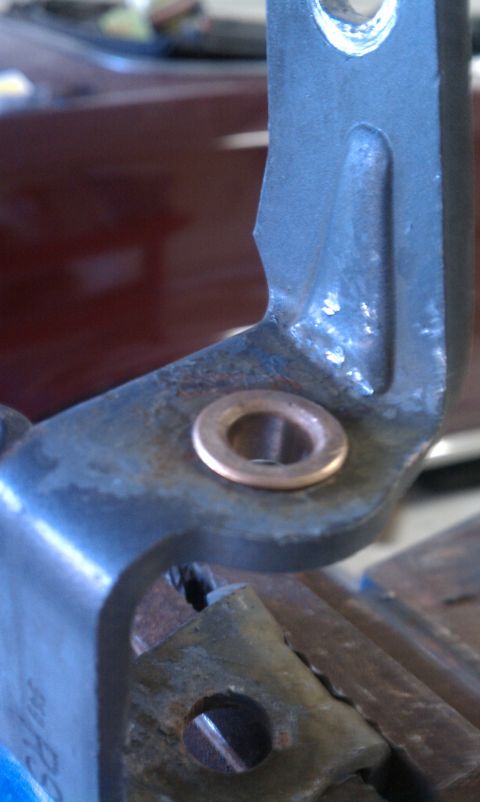
Seat the new bushings in the hinge. ezpc used a technique found in another SuperMotors member's album, which worked on one bushing; the other had to be hammered in. Seat each one flush.
-
Step 7
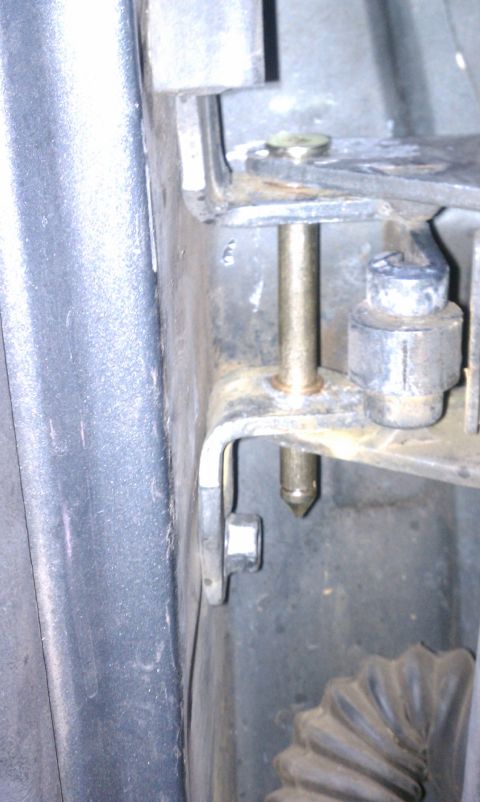
The album ends with the finished install, which ezpc reports looks good and works better than before. No reassembly or adjustment steps beyond this point are photographed.
Some product links go to the supplier the owner bought from. SuperMotors does not earn a commission today; if that changes, this line will say so and creators will be paid from it.