Super
Motors
Super
Motors
SUPER
MOTORS
Registry
Photos
Clubs
Search — try “orange Bronco on 35s”
Sign in
Join
Home
/
Registry
/
Ford
/
Bronco
/
1987–1991
/
“Baby”
/
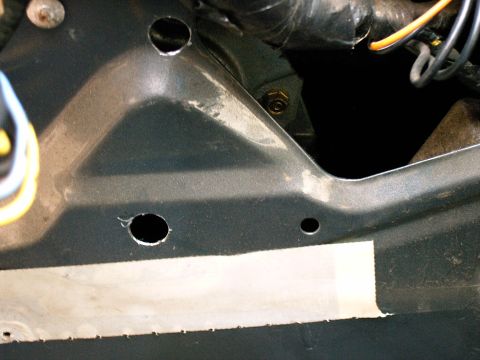
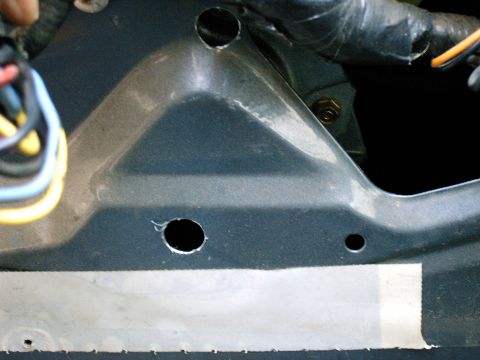
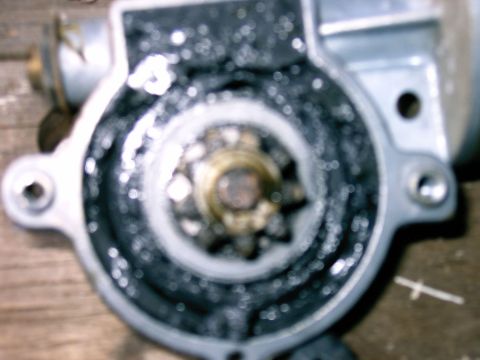
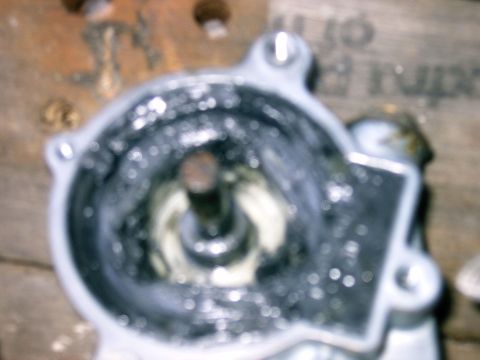
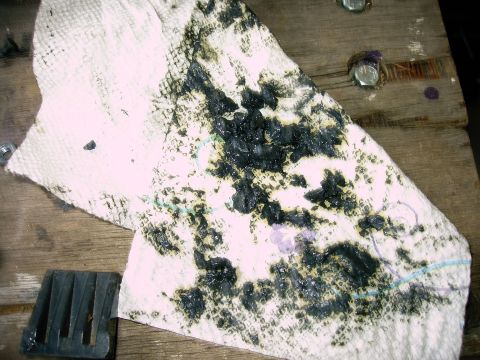
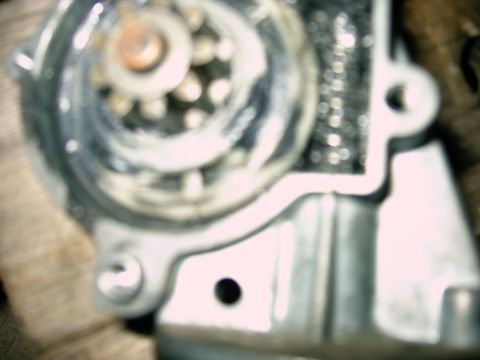
Window Motor RnR
supermotors.net/registry/23945/82315
Album section
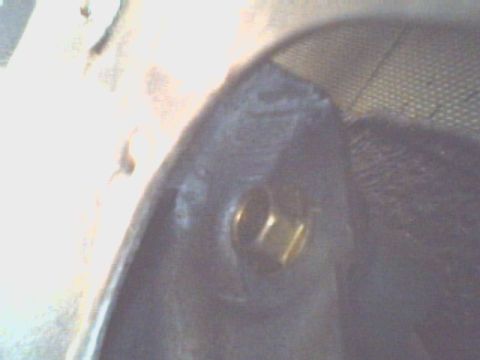
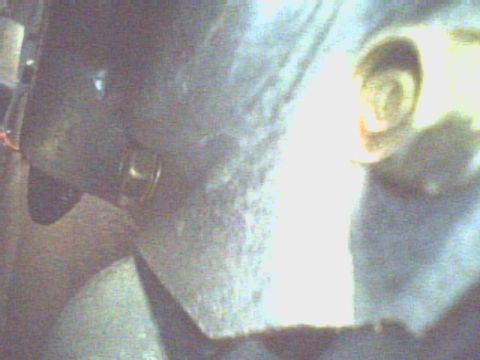
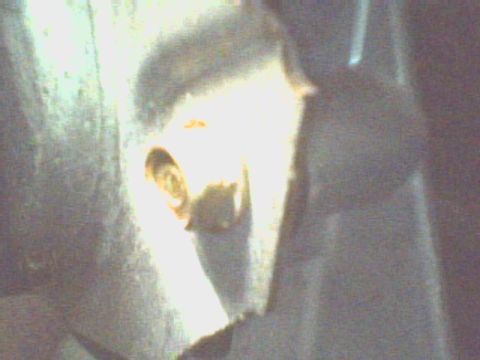
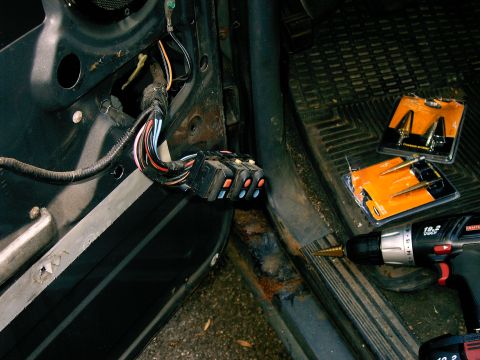
Window Motor RnR
From
1990 Ford Bronco “Baby”
— documented by
ezpc
.
15
photos
← Back to this vehicle