SuperMotors SuperMotors SUPERMOTORS Search: try “orange Bronco on 35s”
Home/ Registry/ Ford/ 1992 F-150/ How-to

How-to

1992 Ford F-150 Bassani Header Install

1992 Ford F-150 · Install · Moderate

Documented by SuperMotors from Evan_P’s photos

Bassani headers were fitted to a 1992 Ford F-150 with Stage 8 locking header bolts and thick graphite/steel gaskets. The photos cover the hardware, opening up access on the passenger side, removing the driver side header and fitting the new headers.

  1. Step 1

    Use Stage 8 locking header bolts, part # 8913A, which have an underhead length of 1" to suit the thick gaskets and header flange. The bolts carry an allen wrench hole in the head, which the owner found made tightening much easier.
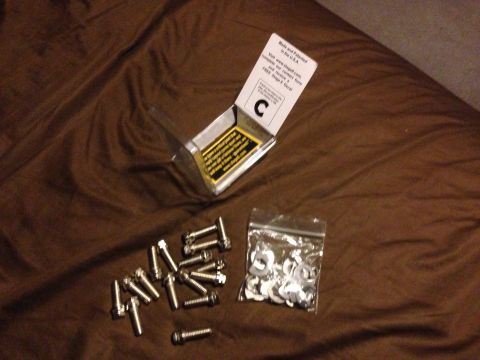
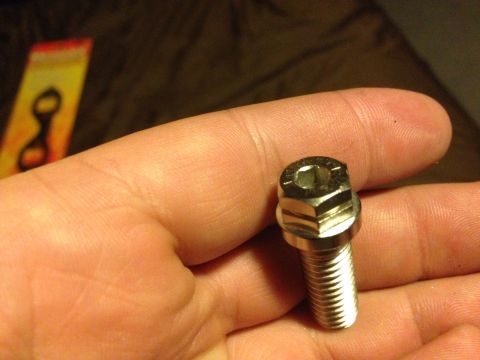
    Stage 8 locking header bolt's. Part # 8913A. These have an underhead length of 1" which will work well with the thick gaskets and header fl… (1992 Ford F-150) I LOVE the fact that they have the allen wrench hole in them to make tightening them much easier. (1992 Ford F-150)
  2. Step 2

    Fit Remflex 3003 gaskets, which are extra thick graphite/steel gaskets with a 50% crush built in to seal warping or imperfections.
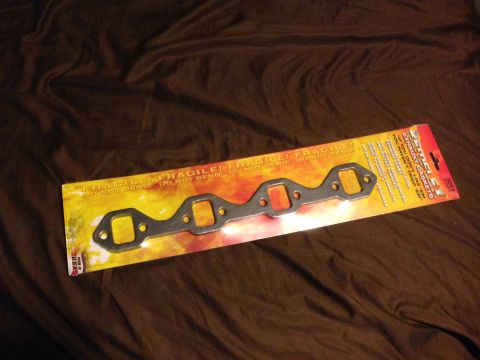
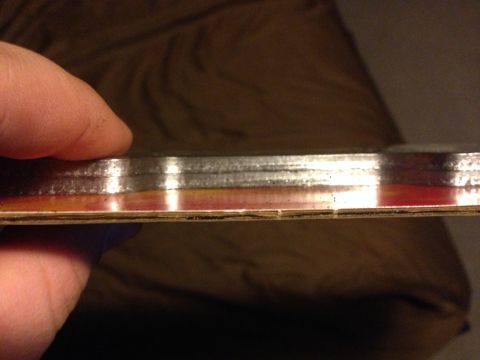
    Remfelx 3003. These are graphite/steel gaskets that are extra thick with a 50% crush built in to seal any warping or imperfections. (1992 Ford F-150) These are some thick gaskets. Now I see whay they work the way they do. (1992 Ford F-150)
  3. Step 3

    Assemble the locking bolts with the indentation facing up against the primary, then lock the ring on with the clip.
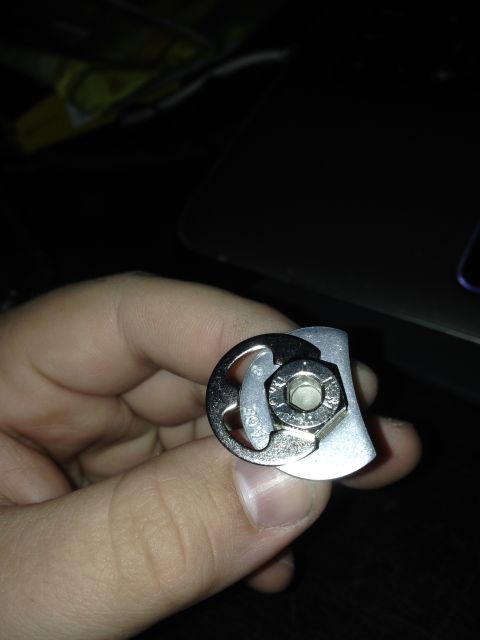
    This is how the header bolts work. The indentation goes up against the primary and the clip locks the ring on. (1992 Ford F-150)
  4. Step 4

    Remove the wheel and wheel well on the passenger side to open up access. The owner took about 5 minutes for this and calls it a must for anyone doing headers.
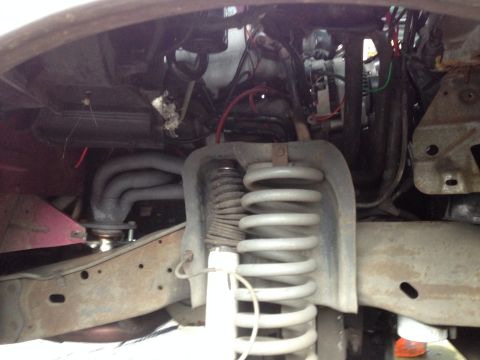
    Here is the passenger side before. I got the wheel and wheelwell out in about 5 minutes. This is a muct for anyone doing headers. (1992 Ford F-150)
  5. Step 5

    Remove the driver side header. The owner reports the driver side came out in about 5 minutes and was far easier than the passenger side.
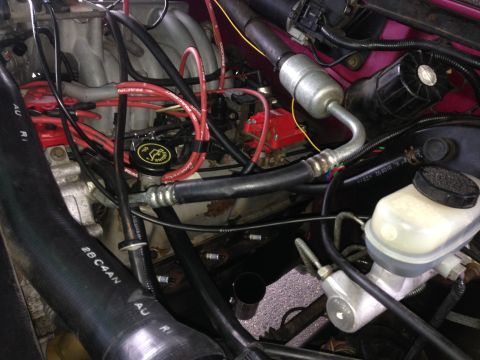
    It took me all of 5 minutes to remove the driverside header. If only the passenger side was half as easy. (1992 Ford F-150)
  6. Step 6

    Set the Bassani header into place on the passenger side and check the fit. The owner describes it as a snug fit.
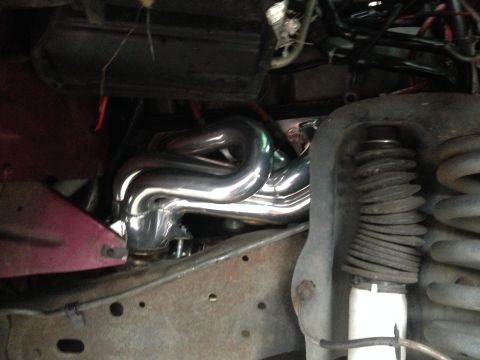
    Bassani header in place. Snug fit. I think I still have a leak on this side though... (1992 Ford F-150)
  7. Step 7

    Install the driver side header and fit new plugs while access is clear. The owner reports about 15 minutes for the driver side including the plugs.
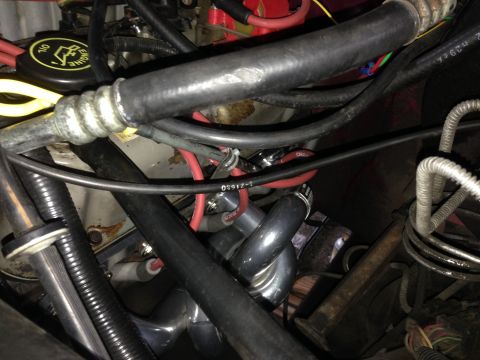
    Driverside header in. Took about 15 minutes including putting new plugs in. (1992 Ford F-150)
  8. Step 8

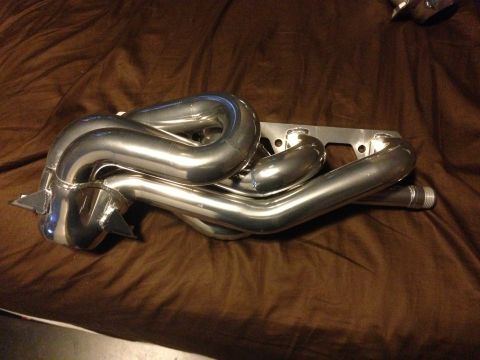
    The photos end with the headers laid out on a fabric surface, one showing the Bassani logo. No further assembly is documented.
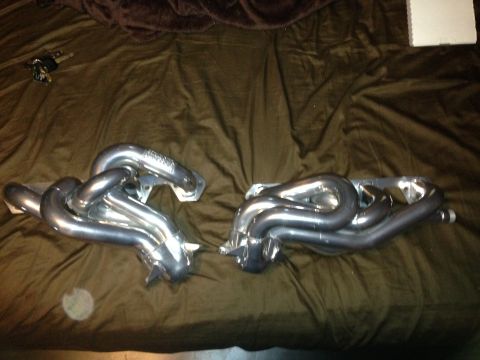
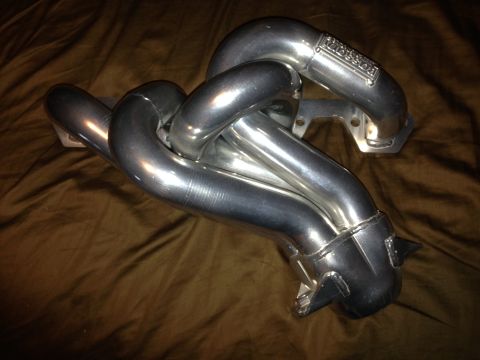
    Two chrome exhaust headers are laid out on a brown, textured surface, possibly a bedspread. (1992 Ford F-150) Chrome exhaust manifold with 'BASSANI' logo visible, likely an aftermarket part. (1992 Ford F-150) A set of polished exhaust headers rests on a brown fabric surface, with a website URL visible at the bottom. (1992 Ford F-150)

Some product links go to the supplier the owner bought from. SuperMotors does not earn a commission today; if that changes, this line will say so and creators will be paid from it.