How-to
1996 Ford Bronco Homelink Install in Overhead Console
A Homelink module taken from a Ford Explorer was fitted into the overhead console headliner of a 1996 Ford Bronco. The module was bench tested and programmed first, then wired into the overhead console harness on key-on power and mounted behind a trimmed opening ahead of the sun visor.
-
Step 1
Obtain a Homelink module. The owner used a module from a Ford Explorer.
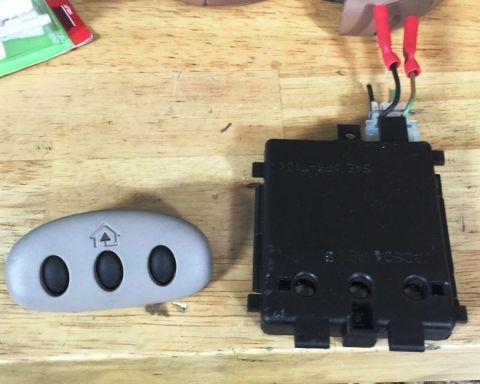
-
Step 2
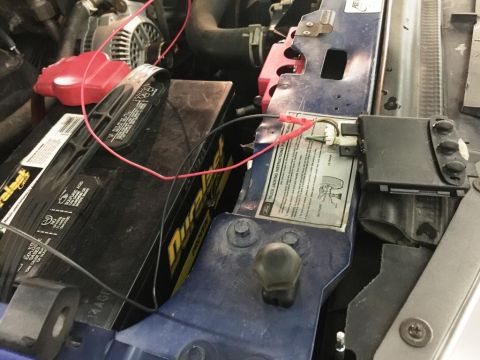
Bench test the module before installing it to confirm it works. The owner programmed the module at this stage.
-
Step 3
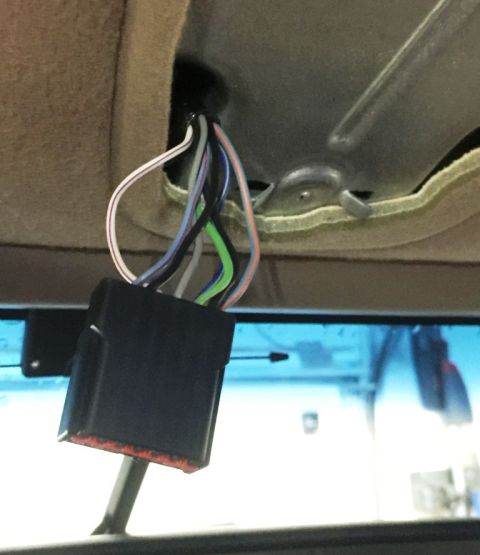
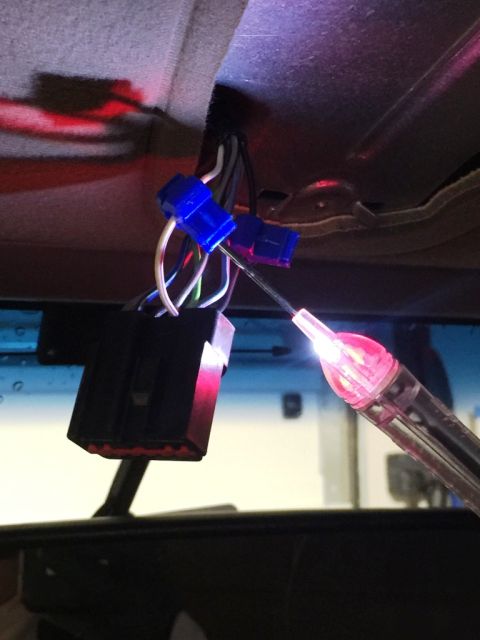
Identify the wires in the overhead console harness. The owner reports the white/red wire is power in the Key On position, the black/blue wire is 12v constant, and black is ground.
-
Step 4
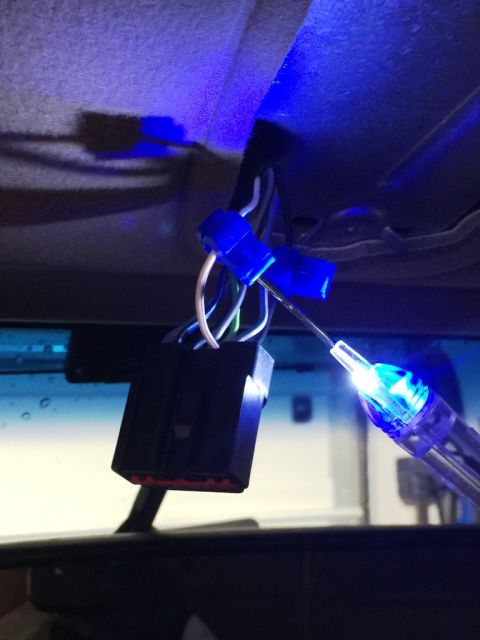
Test the harness wires and choose the supply wire. The owner powered the module from the white/red key-on wire rather than constant power, so a broken window cannot be used to open the garage while the truck is off, and notes that wire rests at ground with the key off.
-
Step 5
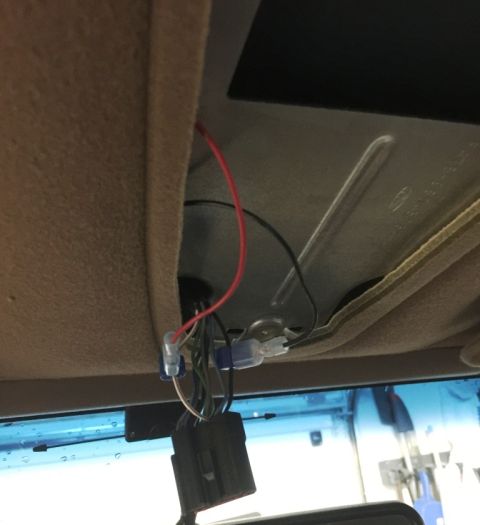
Tap the power and ground wires into the overhead console harness.
-
Step 6
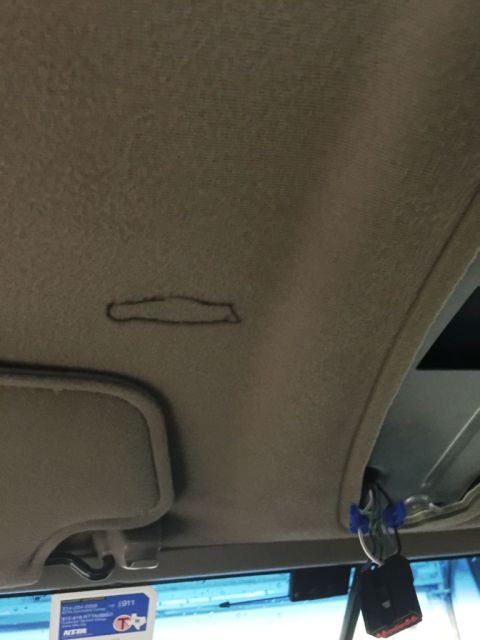
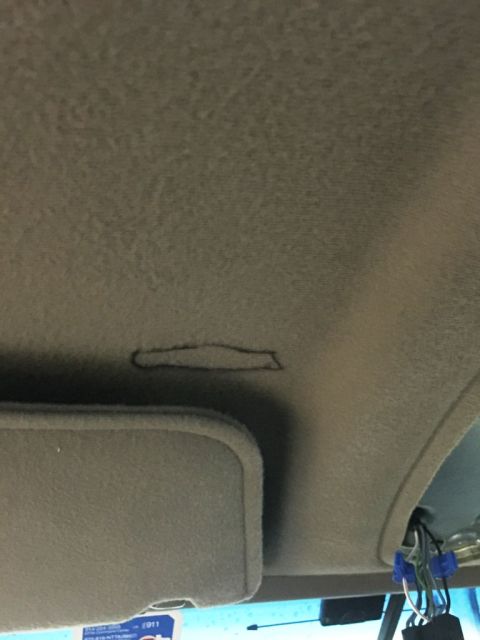
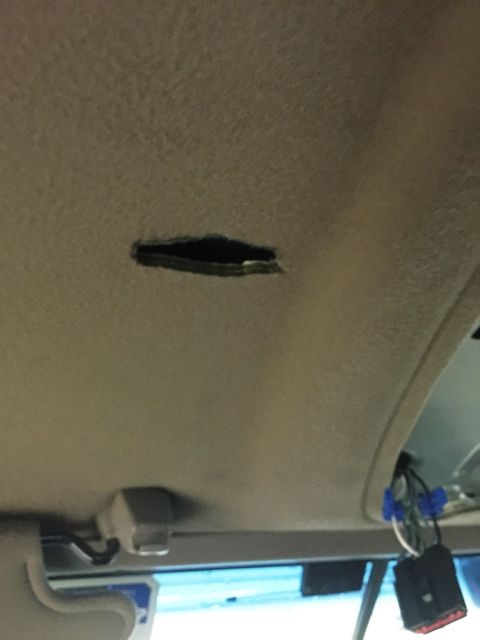
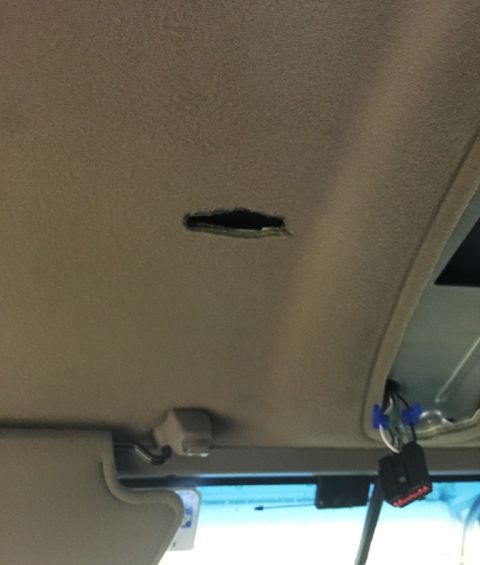
Trace the opening for the module on the headliner and check the position against the sun visor. The owner placed the buttons just in front of the sun visor.
-
Step 7
Trim the headliner to the traced outline with an exacto knife. The owner also had to trim some of the headliner backing, about 1/8 inch thick, so the module cover would snap in.
-
Step 8
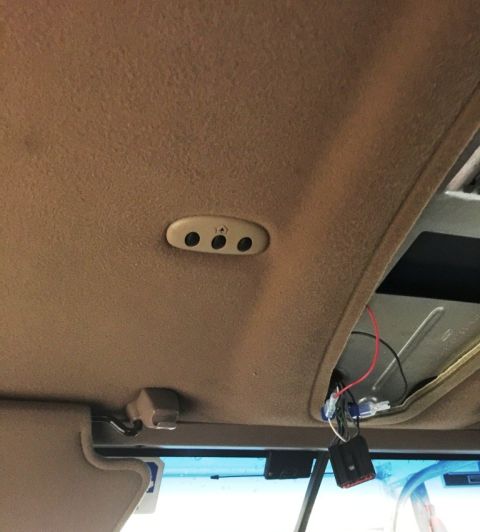
Fit the module into the opening and snap the cover in place. The owner added a drop of super glue because one side of the cover would not stay secure, and warns the mounting tabs are not the push-together releasable type and the cover appears to be one-time use once installed.
-
Step 9
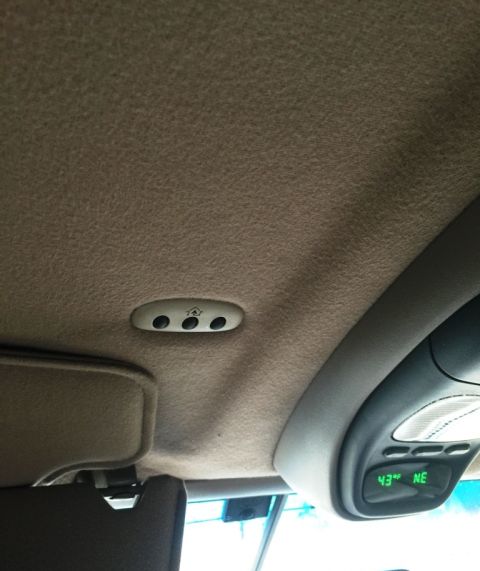
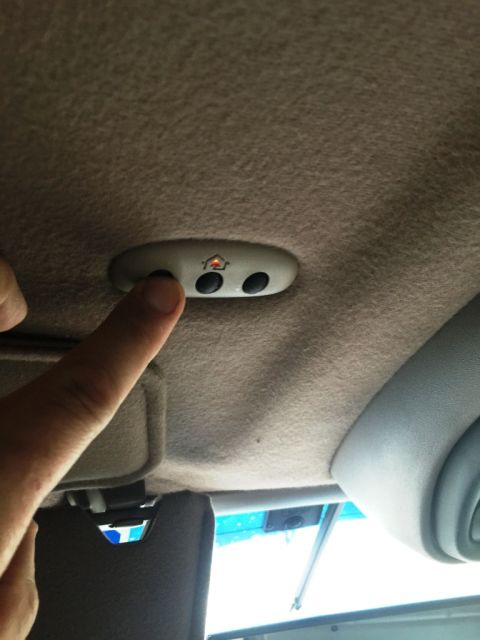
The photos end with the finished console and the first use of the buttons. The owner reports the finished install looks clean and OEM, and that reception from the module is much better than the handheld remote stored in the overhead console cubby, which had to be right at the door to reach.
Some product links go to the supplier the owner bought from. SuperMotors does not earn a commission today; if that changes, this line will say so and creators will be paid from it.