How-to
1996 Ford Bronco 5.8 Cold Air Intake Install
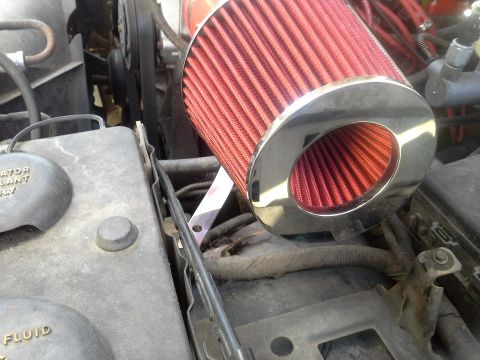
An eBay cold air intake kit was fitted to a 1996 Ford Bronco in place of the stock intake. The photos cover pre-assembly of the kit, transferring the MAF and air temperature sensor, mounting the universal bracket, and the finished install in the engine bay.
-
Step 1
Lay out the intake kit and pre-assemble the pipe sections before going to the vehicle. thebroncofanatic bought an inexpensive kit from eBay found by searching "5.8 intake" rather than paying for a K&N.
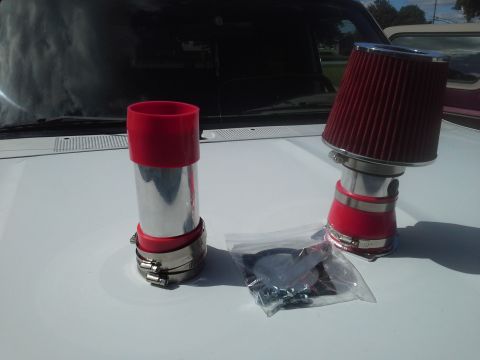
-
Step 2
Remove the stock intake from the engine bay. thebroncofanatic notes a broken chunk of the snorkel left by the previous owner.
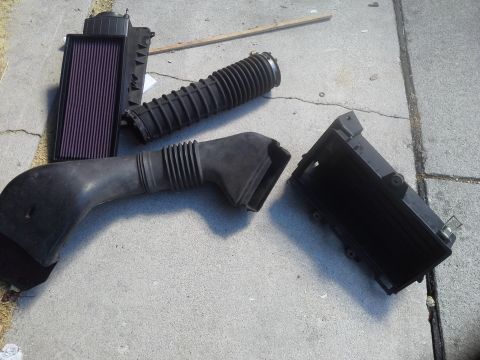
-
Step 3
Attach the MAF to the kit's adaptor and lock the air intake temperature sensor into its bung.
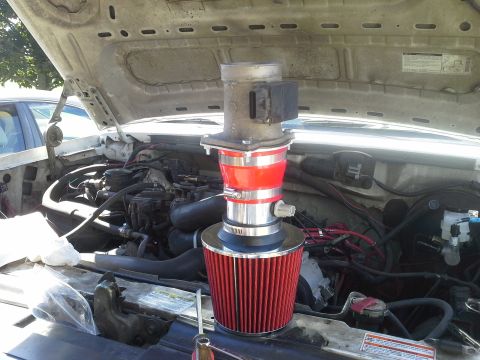
-
Step 4
Assemble the remaining pieces and adjust their positions so the run fits the engine bay.
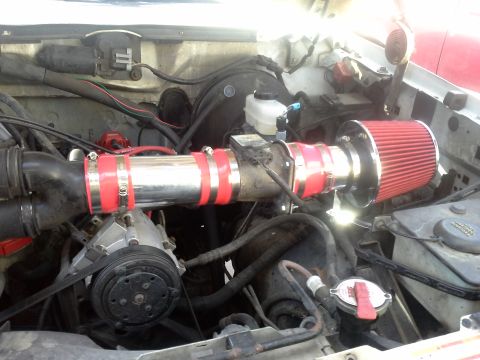
-
Step 5
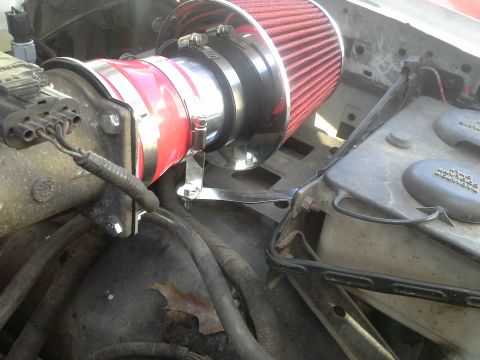
Mount the assembly with the universal bracket supplied in the kit. thebroncofanatic reused the existing air box screw and bent a 90 degree in the bracket to make it fit.
-
Step 6
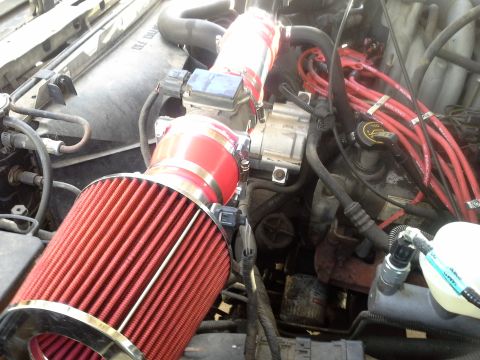
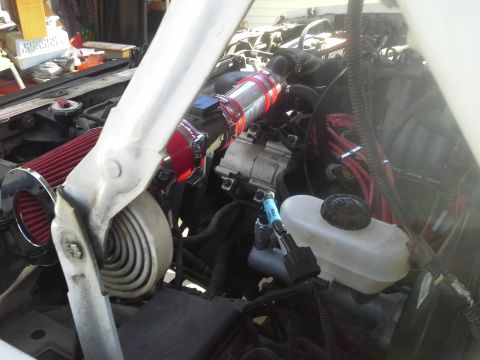
Further views of the assembled intake, showing the air temperature sensor fitted in its bung and the MAF wired in.
-
Step 7
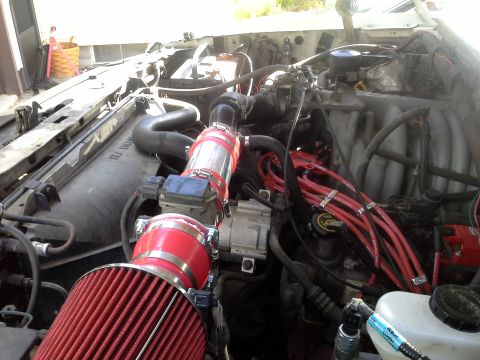
Set the finished intake in place in the engine bay.
-
Step 8
thebroncofanatic reports better throttle response, slightly improved mpg, a more throaty engine note and a slight whistle on revs, and says the universal bracket is springy and flimsy enough that a replacement may be fabricated. The photos end here.
Some product links go to the supplier the owner bought from. SuperMotors does not earn a commission today; if that changes, this line will say so and creators will be paid from it.