How-to
1979 Ford Bronco AOD Bellhousing Clearance Machining
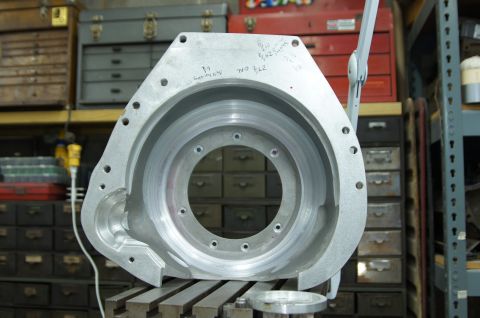
This job covers swapping a 1979 Ford Bronco over to an AOD overdrive transmission behind a 400 Ford, which required cutting the original bellhousing off the gutted case and fitting a JW bellhousing in its place. Most of the work shown is machining that bellhousing for converter and flexplate ring gear clearance.
-
Step 1
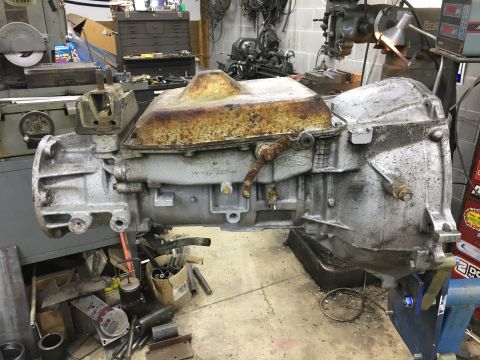
Parts for the swap. r79bronco built the swap around an AOD with 4R70W wide ratio internals, a Silver Fox valve body, a Hughes converter and a JW bellhousing, and notes this was a first automatic build.
-
Step 2
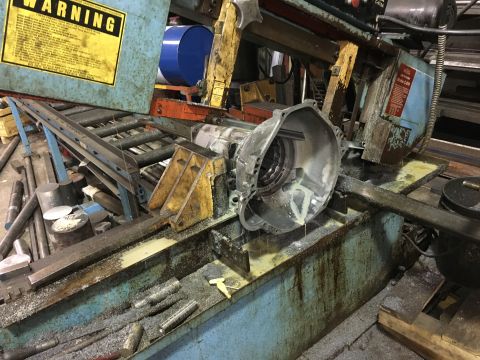
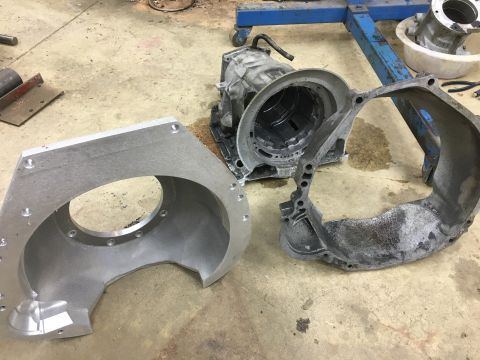
Gut the transmission, then cut the original bellhousing off the case, since an AOD does not fit behind a 400 Ford as built. r79bronco had the cut made at SAE Manufacturing, then had the new piece milled square and to length.
-
Step 3
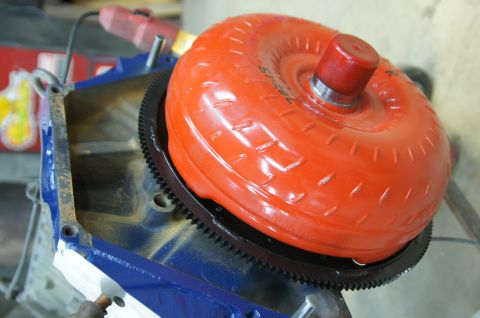
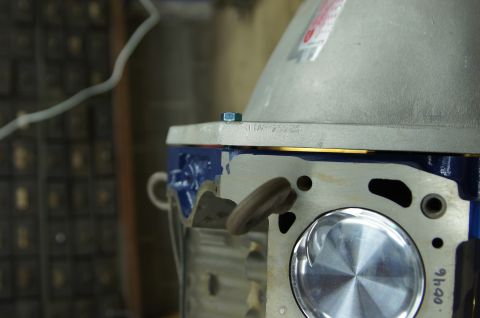
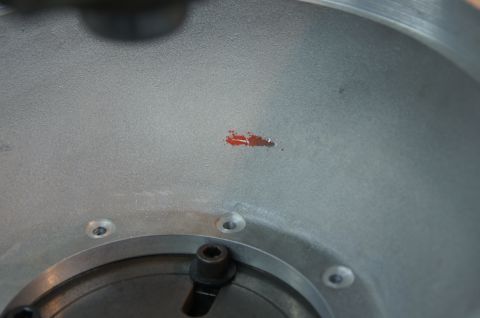
Mock up the assembly with the converter and a new TCI 164 tooth flexplate to check clearances - r79bronco used the 10.5 inch 2000 stall converter Hughes recommended for this application. The bellhousing came close to fitting but hit the converter, so r79bronco checked it without the block plate, since clearance cut that way only adds more on final assembly.
-
Step 4
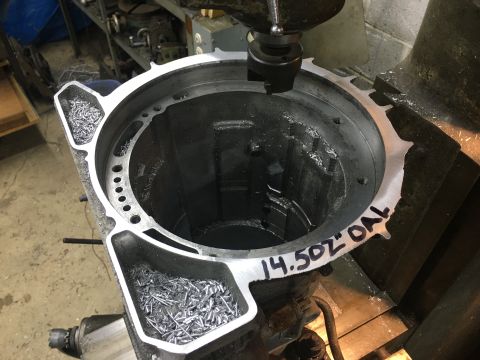
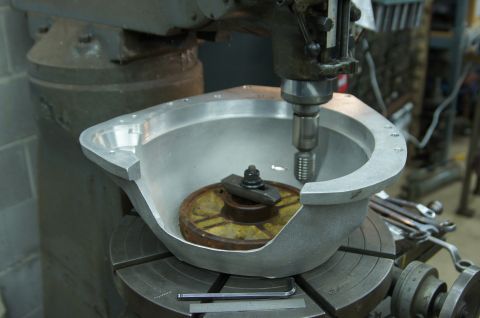
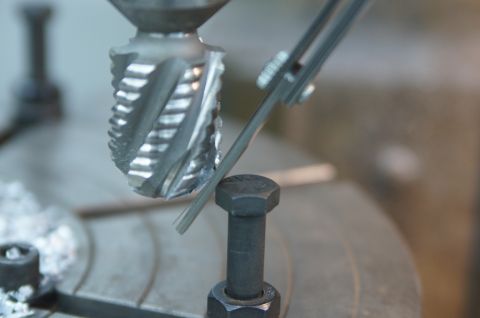
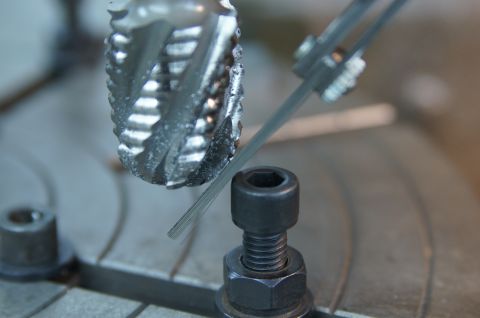
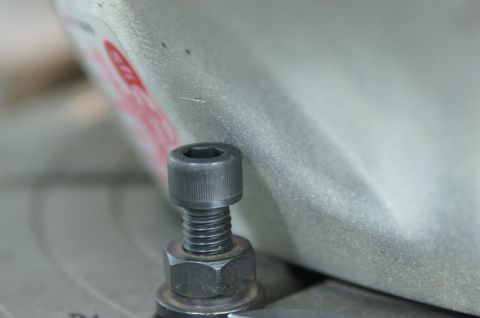
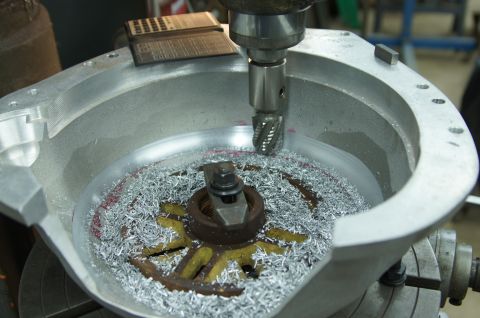
Set the bellhousing up on an 18 inch turntable on the mill with a 1 1/2 inch ball mill cutter. Set the cutter to leave a minimum 1/8 inch material thickness, with the bolt set to touch the outside of the bellhousing, and reset it for each of the different cut heights.
-
Step 5
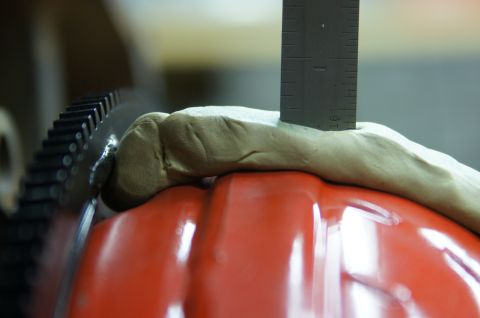
Mill the housing away for converter clearance. r79bronco reports it then cleared the 10 1/2 inch converter, and confirmed it by sliding the bellhousing on over plumbers putty to smash it and read the gap.
-
Step 6
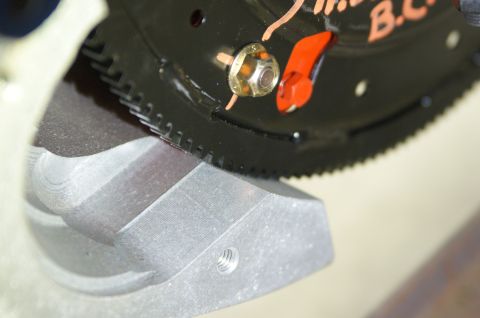
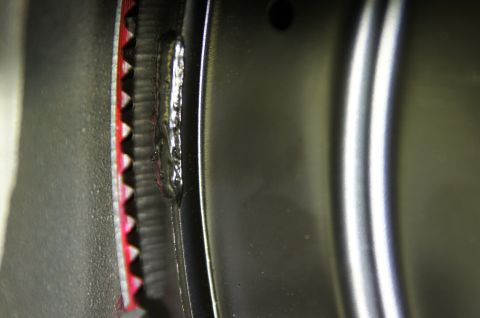
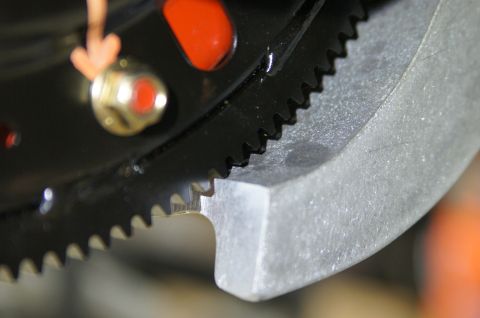
Check the flexplate ring gear against the bellhousing as well. r79bronco found that the JW Ultra Bell requires a 164 tooth flexplate but is not machined large enough to clear that flexplate's ring gear, and the photos show the interference.
-
Step 7
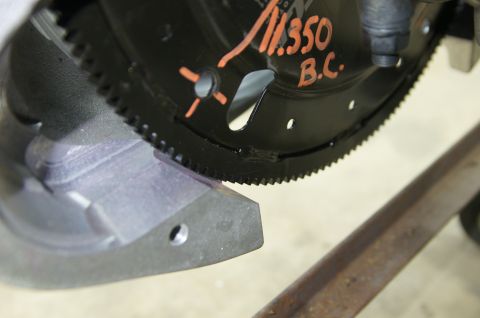
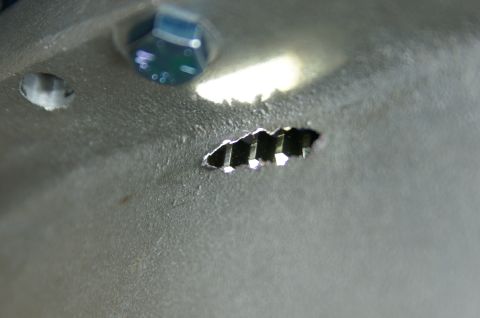
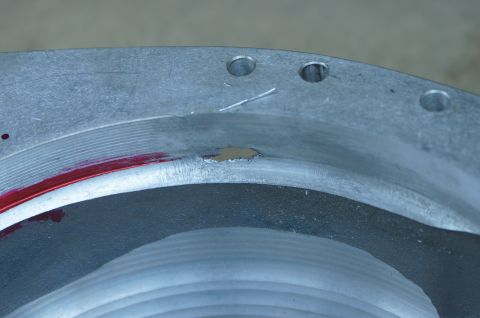
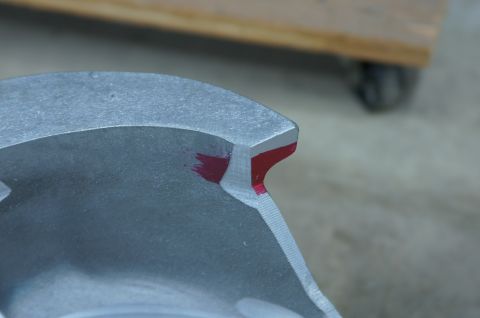
Remachine the ring gear area to .125 inch clearance. r79bronco reports JW Performance had cut that clearance on a different center than the rest of the bellhousing, leaving plenty of room at the top while rubbing at the bottom, and that even at .125 inch the cut broke through the casting - which voids the SFI certification but did not concern r79bronco on a vehicle that is not raced.
-
Step 8
Check the finished clearance cut. The album's photos end here, with no final assembly or installation shown.
Some product links go to the supplier the owner bought from. SuperMotors does not earn a commission today; if that changes, this line will say so and creators will be paid from it.