How-to
1991 Ford Bronco Intake Manifold Gasket Replacement
The upper and lower intake manifolds were removed from a 1991 Ford Bronco so the intake gaskets could be replaced. Meixter found the old front gasket almost gone and heavy black deposits in the intake passages, cleaned everything up, and reassembled with new gaskets.
-
Step 1
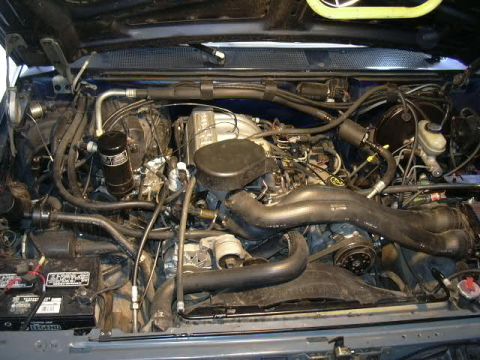
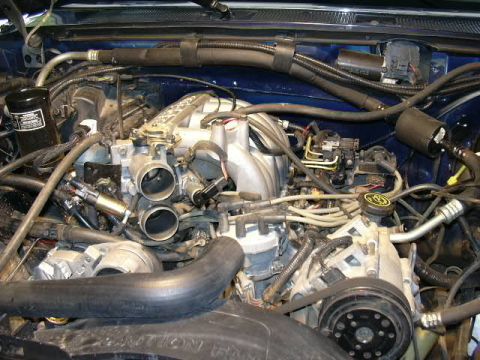
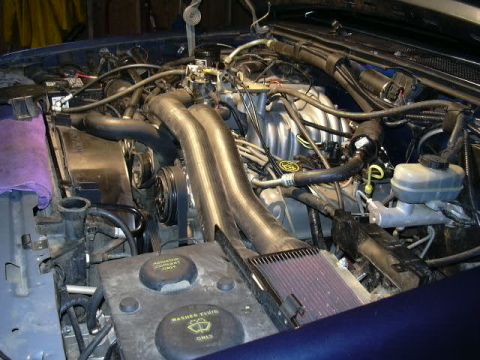
Photograph the engine bay before any parts come off. Prepare the throttle body for removal.
-
Step 2
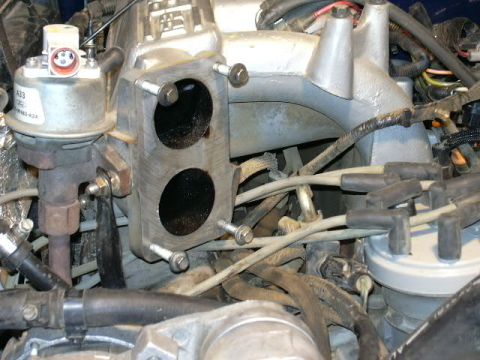
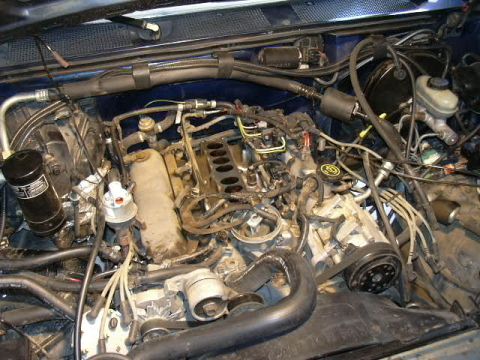
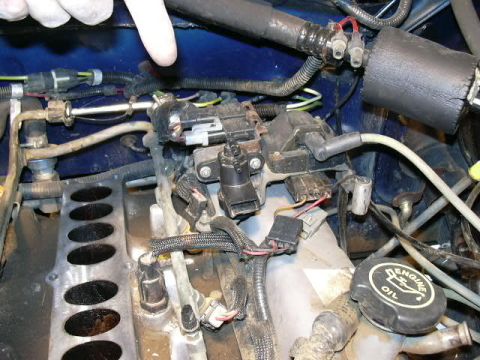
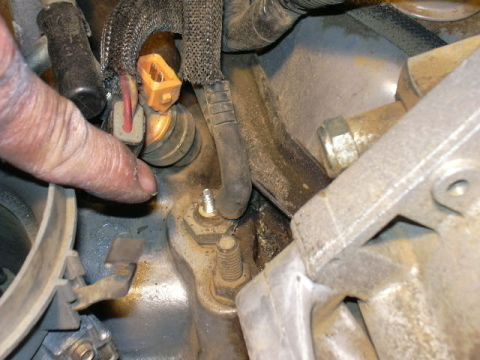
Remove the upper intake manifold and note the black deposits visible inside the intake. Keep track of the removed hardware and fittings, including the connection Meixter flagged as easy to overlook when reassembling.
-
Step 3
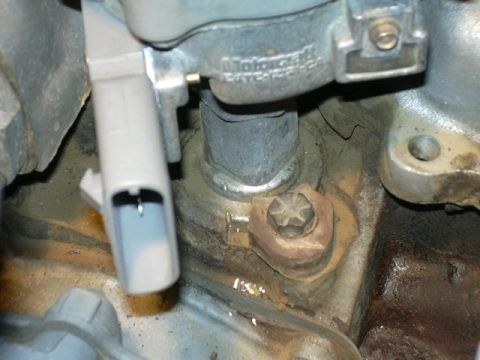
Photograph where the distributor is set before pulling it, as a reference for putting it back. Remove the distributor and note how dirty the surrounding area is; Meixter also installed a new TFI module at this point.
-
Step 4
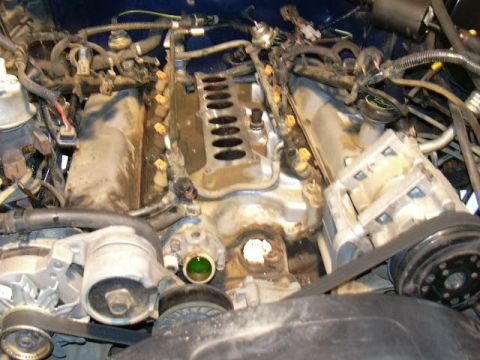
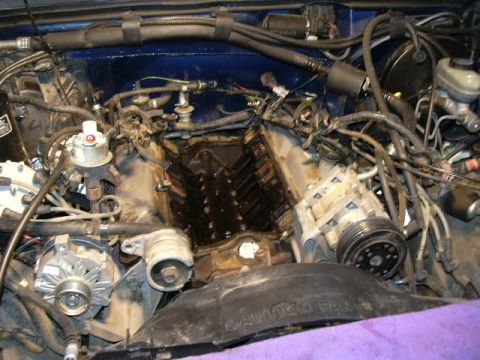
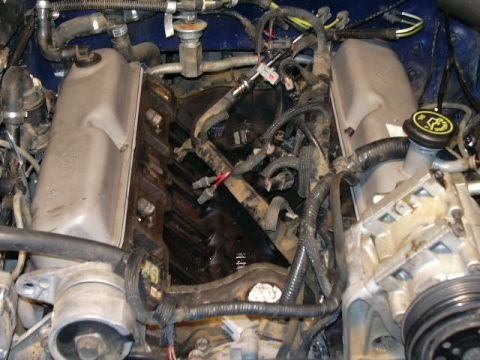
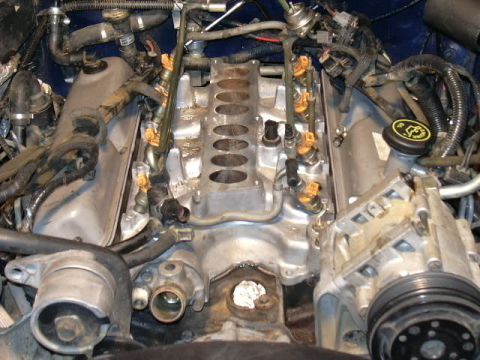
Disconnect the fuel rails and take a final look at the assembly in place. Lift out the lower intake manifold.
-
Step 5
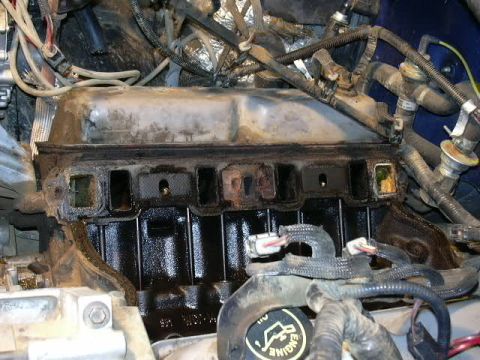
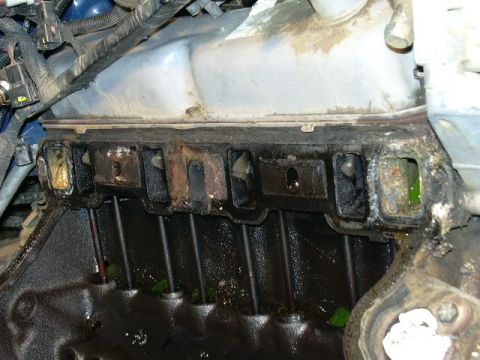
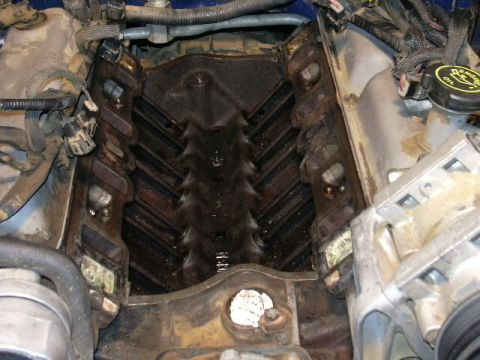
Inspect the old gaskets and mating surfaces. Meixter found the gasket at the front of the motor almost nonexistent and more of the same black deposits in the intake passages on the heads.
-
Step 6
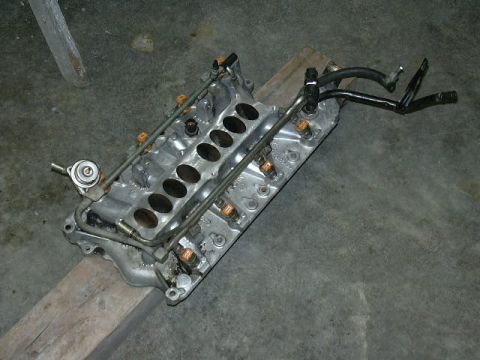
Clean the heads and intake passages. Clean the valve covers and fit them with new gaskets, and clean the lower intake manifold before it goes back on.
-
Step 7
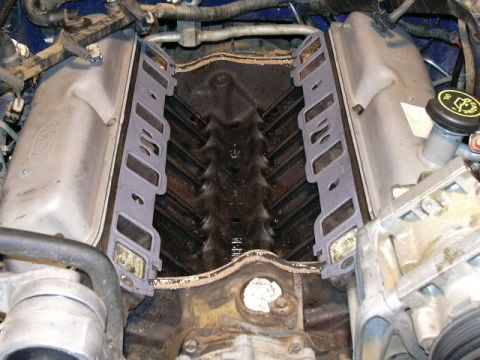
Lay out the new gaskets and set them in place. Reinstall the lower intake manifold.
-
Step 8
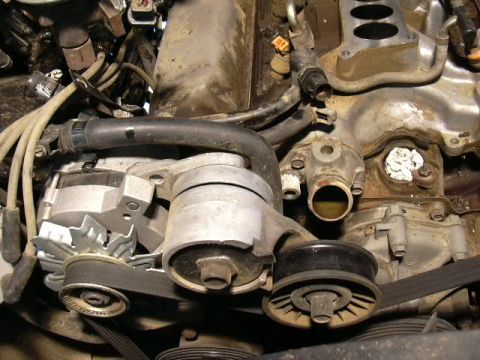
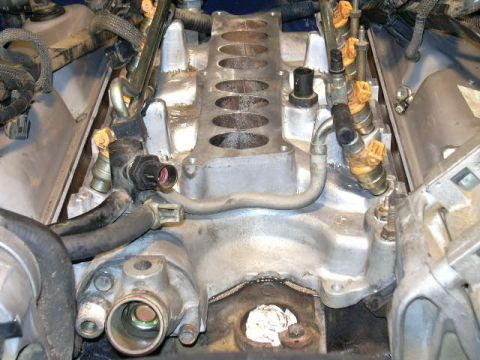
Thermostat orientation: Meixter reports installing the thermostat backwards at this stage, which made the truck overheat and nearly led to tearing the job back down. The photo shows the thermostat housing with the lower intake in place.
-
Step 9
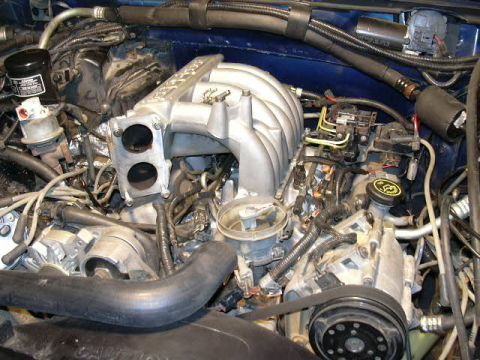
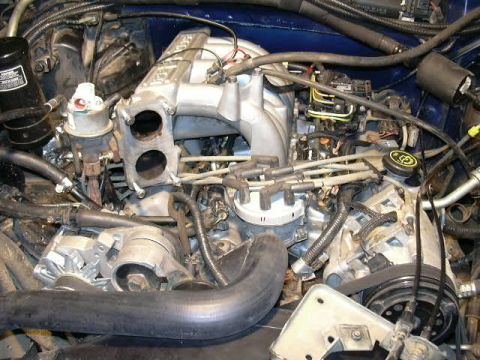
Reinstall the upper intake manifold. Refit the distributor cap and plug wires.
-
Step 10
Finish the reassembly and start the engine. Meixter reports the job took 13 1/2 hours from start to finish and the truck fired up on the first try.
Some product links go to the supplier the owner bought from. SuperMotors does not earn a commission today; if that changes, this line will say so and creators will be paid from it.