How-to
1995 Ford Bronco Overhead Console Install
A 99 Explorer overhead console, bought on eBay for $50.00, was fitted into a 95 Bronco along with a Ford outside-temperature sensor at 17.95. The work covers shaping the console to the Bronco roof contour, mounting it to the headliner, wiring power, lights and the temperature sensor, and calibrating the compass.
-
Step 1
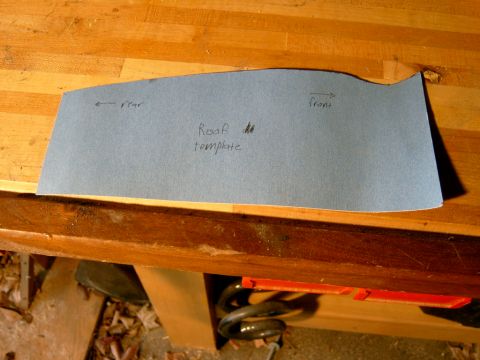
Make a cardboard template of the Bronco roof contour, since the Explorer and Bronco contours are not the same, then sand the console to match using a small drum sander on a cordless drill. TRUCKY18 reports that cutting the cardboard correctly and sanding the console down was the hardest part of the job and took about an hour.
-
Step 2
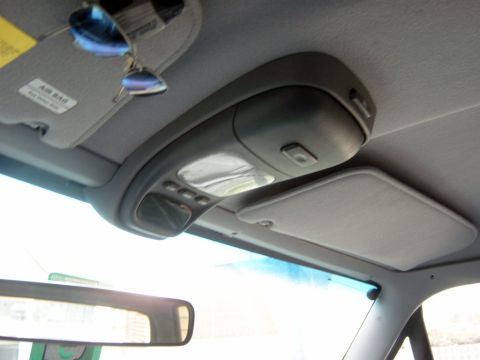
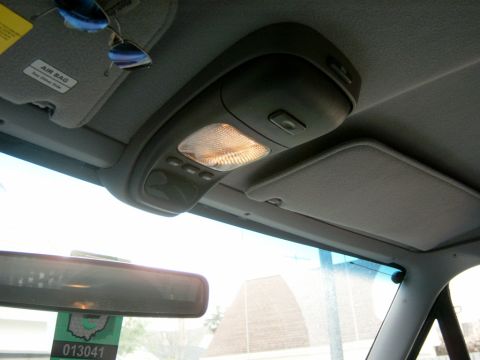
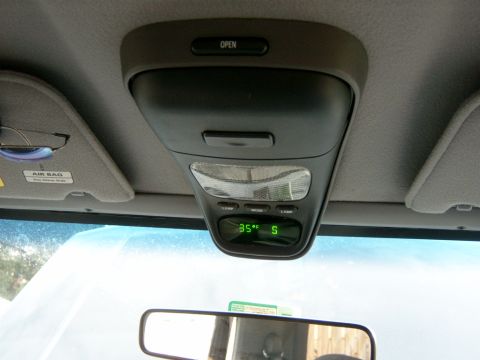
Choose which Explorer console to fit. TRUCKY18 used the non-sunroof Explorer console, which is slightly smaller and has a compartment at the rear; the sunroof version is longer and carries the sunroof button. The photo shows the non-sunroof console in the Bronco.
-
Step 3
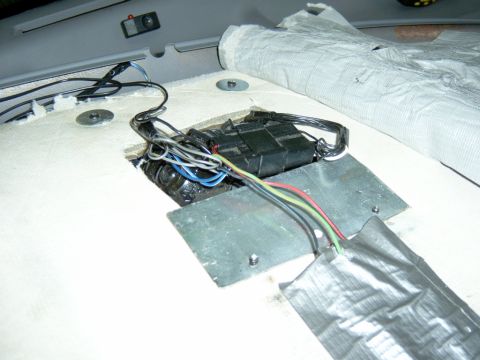
Unscrew all of the trim pieces around the headliner and let it drop, then slide it forward and down to work it out, leaving the large rear plastic pieces in place. Move slowly to avoid tearing it, and sand down the corners of the map light housings so the console will sit correctly.
-
Step 4
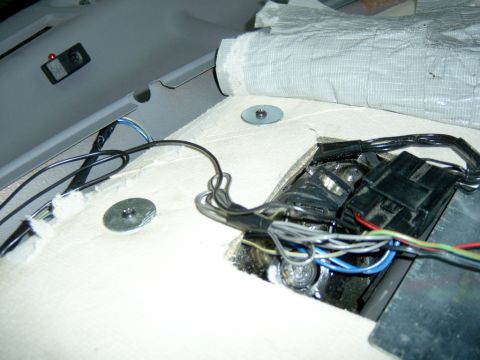
Bolt the console to the headliner using part of the bracket supplied with it at the rear. TRUCKY18 cut the plastic snap tabs off to leave a solid base for the screws and washers.
-
Step 5
Run the console wiring down one A-pillar and ground the console to one of the screws holding the metal panel. TRUCKY18 ran the wires down the driver side because the passenger side already carried alarm wiring.
-
Step 6
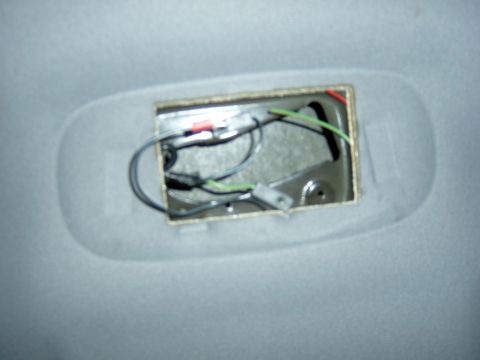
Take power for the map lights from the dome light, where the black wire makes them come on with the doors and the other wire makes them work as map lights. TRUCKY18 chose the door option because the factory map lights were already fine.
-
Step 7
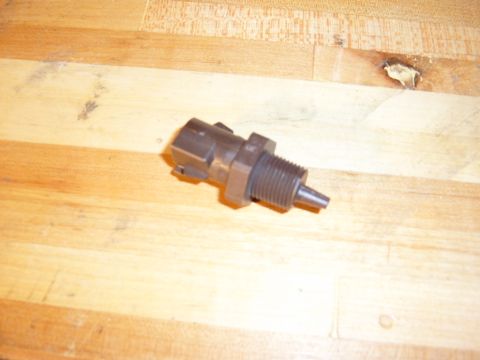
Obtain the outside temperature sensor, part number F87Z-12A647-AA, which the console needs to display outside temperature.
-
Step 8
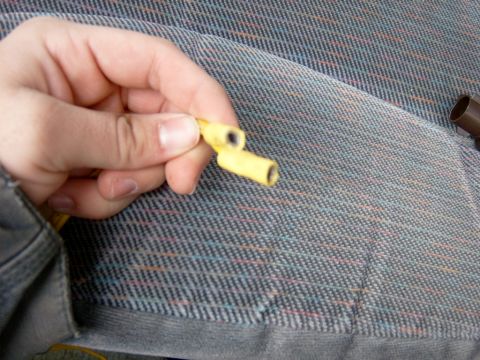
Connect the sensor without its factory plug, which is not supplied with it. TRUCKY18 used connectors intended for joining two pieces of 10-12ga wire, cutting the plastic shroud off one end and bending them slightly for a good fit.
-
Step 9
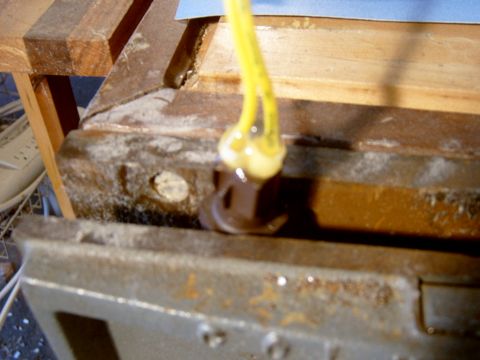
Push the wires into the sensor and seal the whole end with automotive goop. TRUCKY18 reports it worked well and dried in about 20min.
-
Step 10
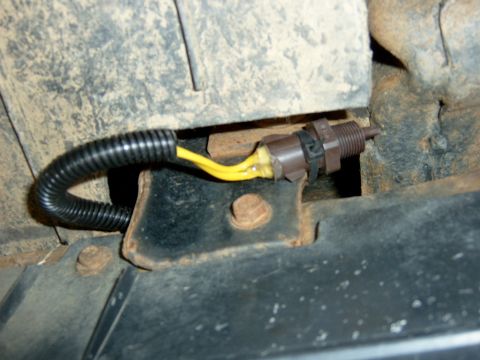
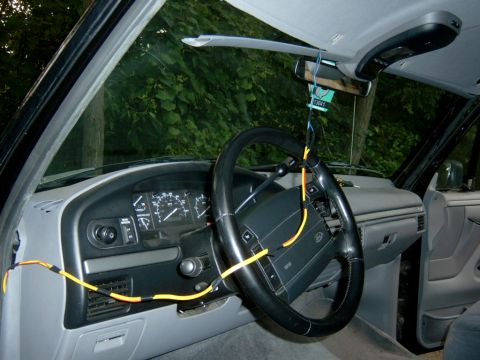
Mount the sensor where it is out of the wind. TRUCKY18 mounted it on the right side near where the bumper attaches to the frame, held in place with a zip tie. The second photo shows the sensor lead run through the cab.
-
Step 11
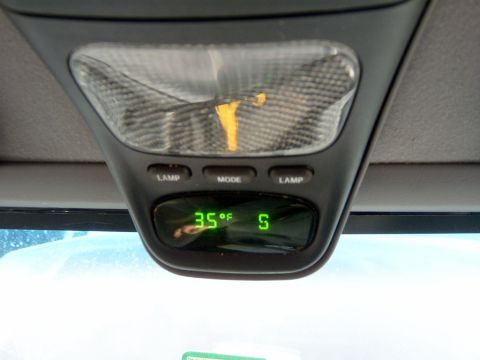
Feed the console from a fuse position that switches with the ignition; TRUCKY18 found an empty spot in the fuse box that was already ignition-switched. The console then powers up and displays the outside temperature, with the compass still reading incorrectly until it is calibrated.
-
Step 12
Calibrate the compass in an empty parking lot: hold MODE until VAR appears, around 5 seconds, release it and step through to the current zone from the owner's zone map, then hold MODE until CAL appears, around 9 seconds, and drive in a circle at around 3mph until the display returns to normal operation. The album ends with TRUCKY18's notes on the console's 8 wires, including the unused dimmer and vehicle speed sensor leads, and the photos stop there.
Some product links go to the supplier the owner bought from. SuperMotors does not earn a commission today; if that changes, this line will say so and creators will be paid from it.