How-to
1986 Ford Bronco Gas Tank Replacement
The 8 year old fuel tank on a 1986 Ford Bronco is dropped and replaced with a new Canadian made steel tank. Sixlitre reuses the original in-tank pump and sender, repairs its broken plug by hand, coats the new tank with clear urethane, and pads the saddle points with foam tape before the tank goes back up.
-
Step 1
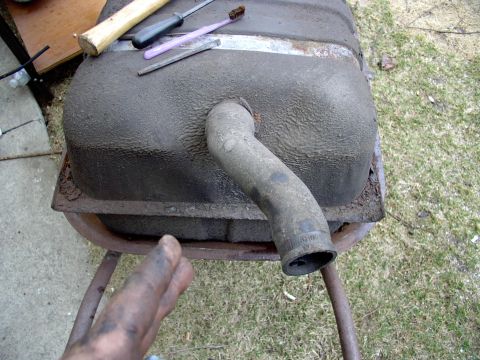
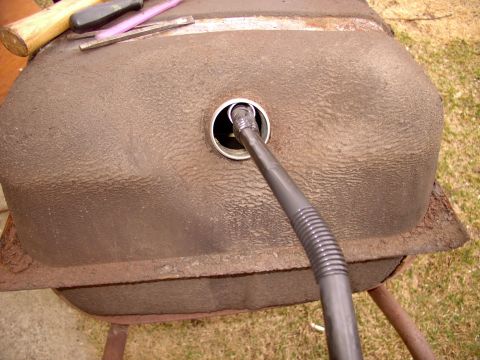
Drop the old tank out from under the truck and move it clear of the work area. Note how the vent hose runs inside the filler hose before the two are separated.
-
Step 2
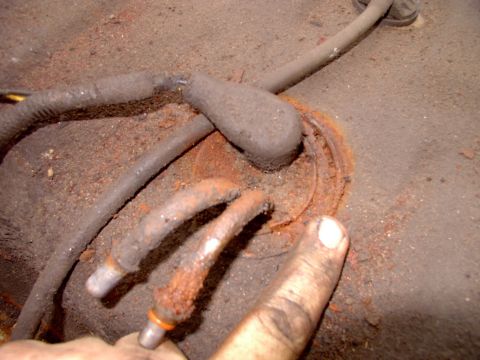
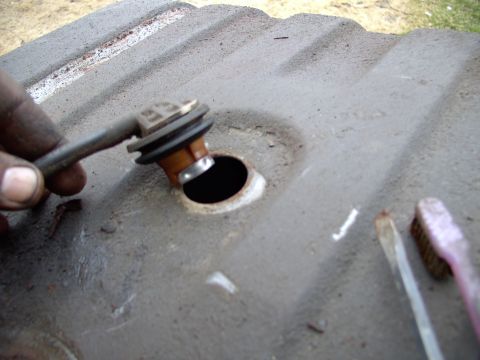
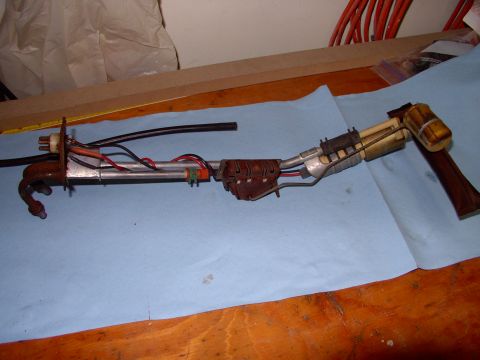
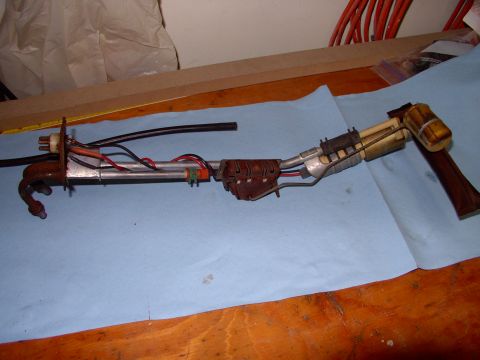
Pull the in-tank fuel pump and sending unit out of the old tank, saving the unit and sacrificing the harness if it will not give up. Ease the vent valve out of the tank as well; Sixlitre reports it popped out very easily and the unit came out intact, where many people break these on removal.
-
Step 3
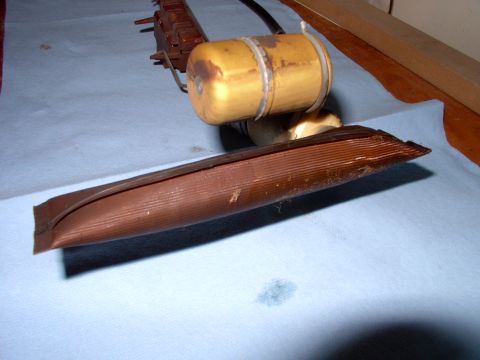
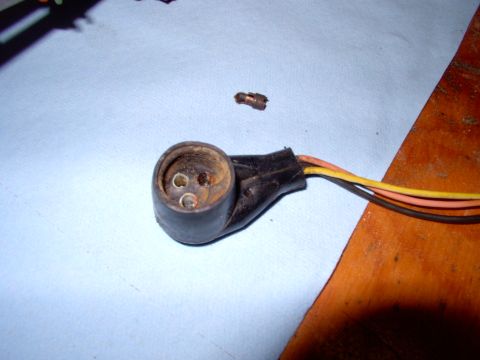
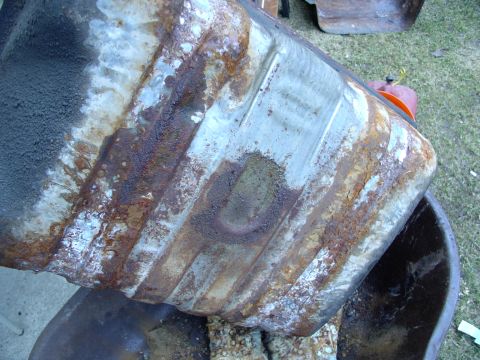
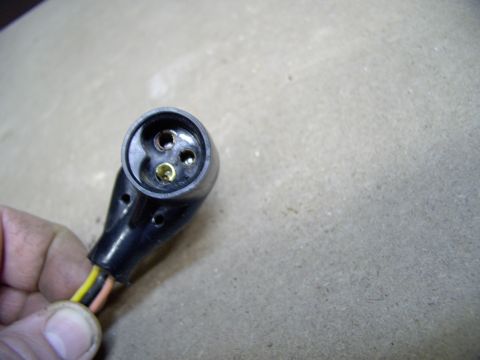
Inspect the sender unit's filter screen and its electrical plug before planning the rest of the job. Sixlitre found one of the three socket terminal clips broken off once the plug finally came free, and reports the tank was toast after only 8 years, which is the reason for coating the new one.
-
Step 4
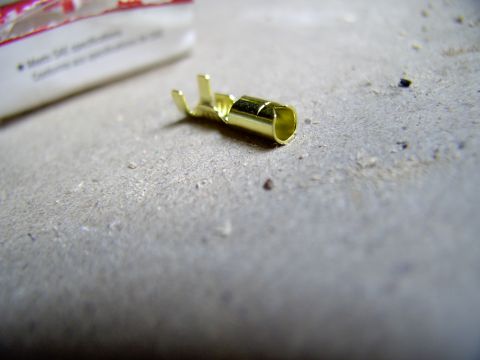
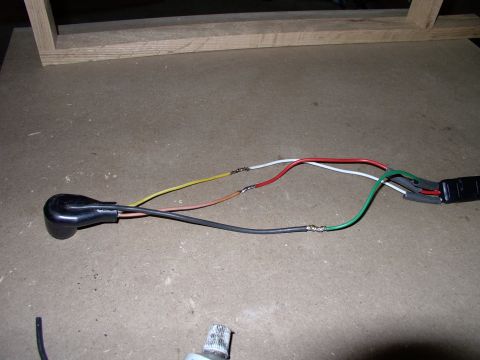
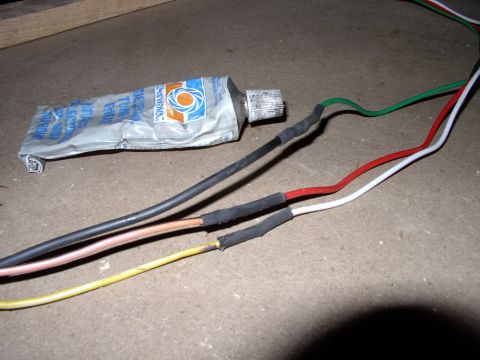
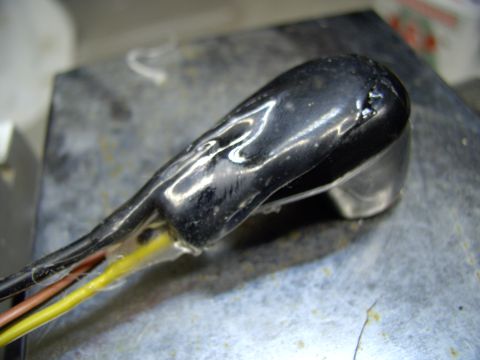
Repair the plug rather than replace it, since the 1986 trucks carry the in-tank pump and the gauge sender on the same stalk and that plug and harness are no longer available. Drill out the busted terminal and fit a replacement terminal from an inexpensive package, persuading it into place with a tapered punch.
-
Step 5
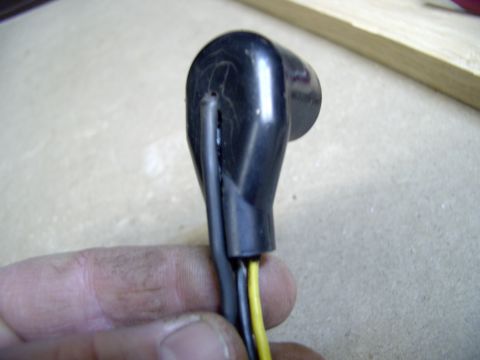
Whittle out the back of the plug so the ground wire semi-recesses into it and glues in solid, then solder the wires to a weatherproof three wire quick disconnect plug; Sixlitre used a Mopar one. Lube the soldered joints with dielectric grease before heat shrinking over them because of the corrosion in this area, goop over the ends of the heat shrink to seal them, and hold the rebuilt terminal in place with automotive Goop.
-
Step 6
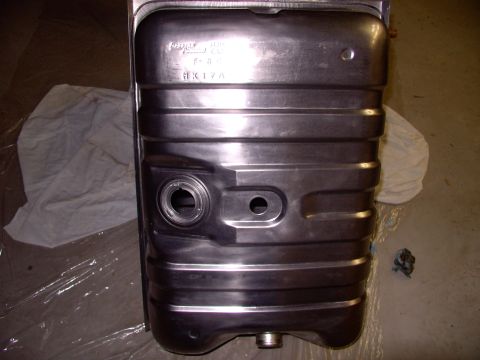
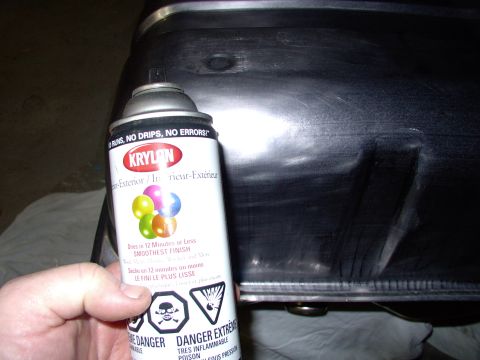
Check that the new tank has the smaller 2 inch sender opening used on the 1986 style unit rather than the later 3 5/8 inch opening. Clean the packing grease and residue off with acetone, then build up six coats or more of clear urethane for rust protection; Sixlitre emptied two spray cans onto this $130.00 CDN Canadian made steel tank.
-
Step 7
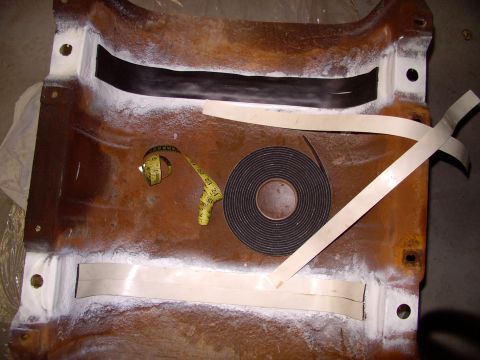
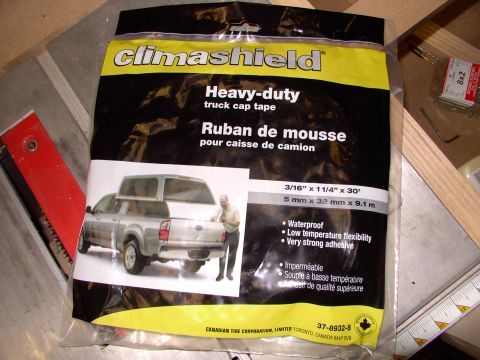
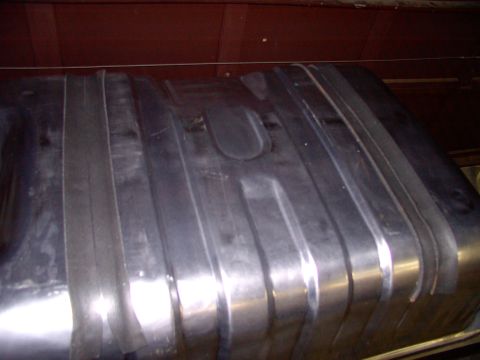
Beat the dents in the skid plate flat with a small sledge, grind the rust off the saddle points and spray them with paint so tape will stick to the saddle points and down their sides. Apply camper top foam backed tape, a suggestion Sixlitre credits to Steve83 and bought at $15.00 CDN for 30 feet, and add an extra layer on the tank's own saddle points for double protection against the rusty old skid plate.
-
Step 8
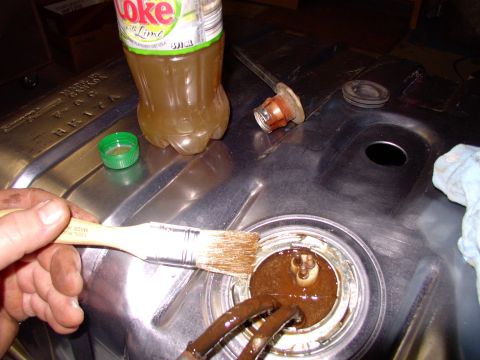
Coat the area above the tank with anti-rust grease and paint the floor while the tank is out. Sixlitre did this after seeing the rusted mess the old tank came out of and the advanced rust on the sender unit.
-
Step 9
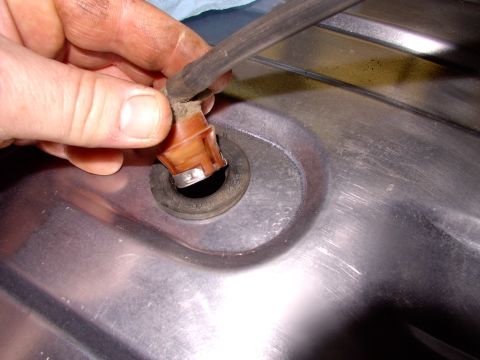
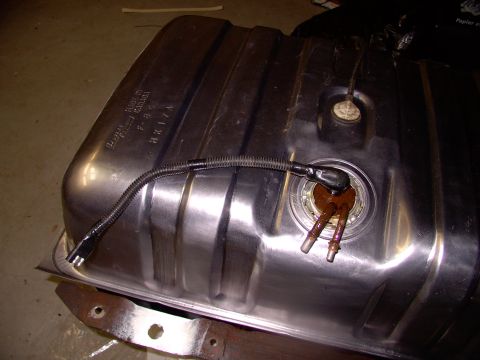
Install the rubber grommet first and then the vent valve. Fit the O-ring on the right hand nipple; these 1986 connectors use the same clips as later fuel filters, so the lines come apart easily.
-
Step 10
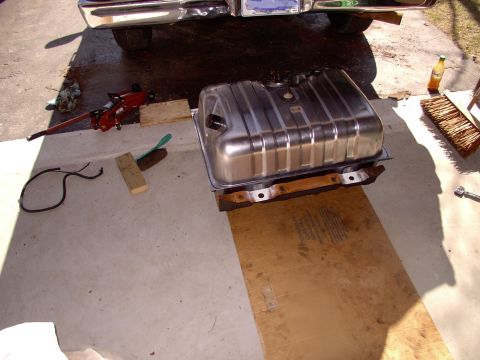
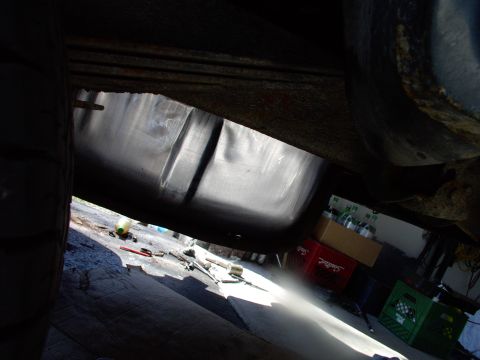
Set the tank into the skid plate with a spray can lid over the filler neck to stop crud from falling in, then press the assembly up into position. Hook up the lines, fit the filler neck with its drain back vent, and clip the axle vent hose back onto the crossmember.
Some product links go to the supplier the owner bought from. SuperMotors does not earn a commission today; if that changes, this line will say so and creators will be paid from it.