SuperMotors SuperMotors SUPERMOTORS Search: try “orange Bronco on 35s”
Home/ Registry/ Ford/ “Jezebel”/ How-to

How-to

1983 Ford Bronco 3G 130 Amp Alternator Swap and Wiring

1983 Ford Bronco · Swap · Hard

Documented by SuperMotors from michael collins’s photos

A junkyard 3G alternator rated at 130 amps replaces the original charging setup on a 1983 Ford Bronco, along with the wiring it needs. The album covers sourcing the right unit, building the harness, upsizing the charge cables through a circuit breaker and power panel, and mounting the alternator.

  1. Step 1

    Check the mounting ears before taking a junkyard 3G alternator home. michael collins first brought back a unit out of a Ford Tempo whose ears sit at 10-2 rather than the 12-6 this swap needs, and set it aside to build into an on-board welding alternator instead, noting its plugs match the correct alternator.
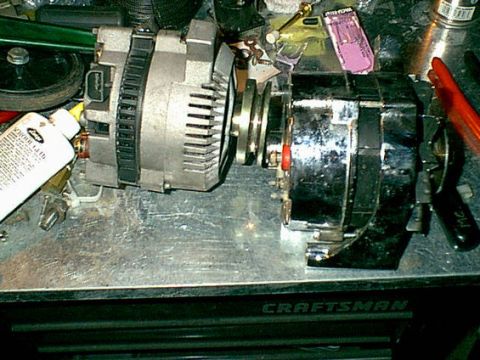
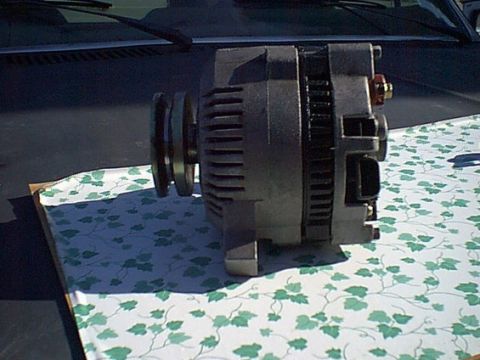
    I fount out my pretty alt was not working correctly. I ben reading on a 3G 130 amp swap. so off to the junk yard i went. (I should have rea… (1983 Ford Bronco) This is the Tempo alt not what you want fof the swap. the plugs are the same as the correct one. (1983 Ford Bronco) WRONG ALT THIS IS A TEMPO see the mounts are in the wrong spot. (1983 Ford Bronco) Here is the Back of the TEMPO alt. I decided i going to turn this into a welding alt. the mount will work great for that. (1983 Ford Bronco) This is a TEMPO alt not a direct swap for a bronco or F150 (1983 Ford Bronco)
  2. Step 2

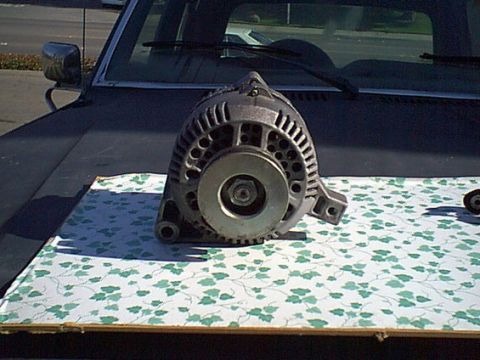
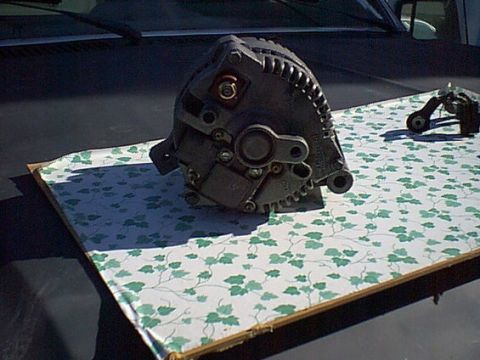
    Source the correct 3G alternator; michael collins pulled one from a Taurus. The pulleys were wrong for the truck, so michael collins had both alternators bench tested at AutoZone, where both passed, and had the pulleys swapped.
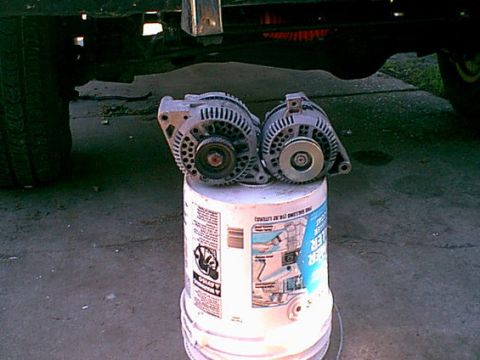
    Well another trip the the yard and i got this correct alt off a Taruas. At this time the pullies are wrong i need to swap them. i took them… (1983 Ford Bronco) here is another view before i swapped the pullies. (1983 Ford Bronco)
  3. Step 3

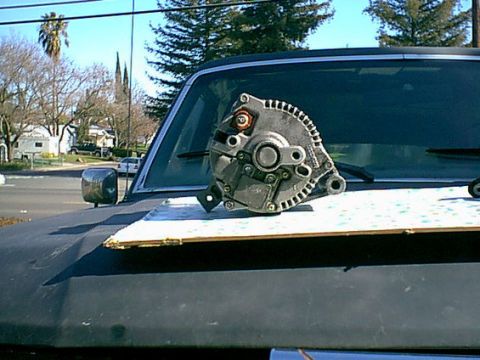
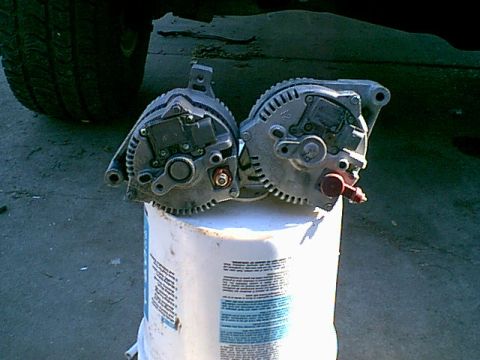
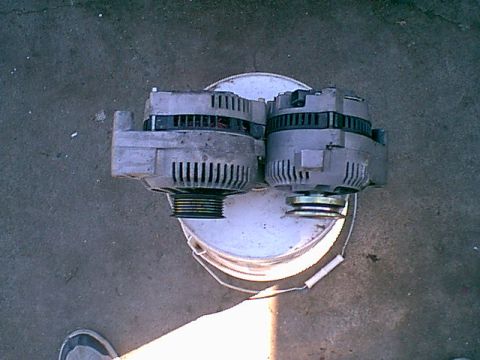
    Compare the finished alternator against the Tempo unit front and back. The two share the same connections and differ only in the mounting ears.
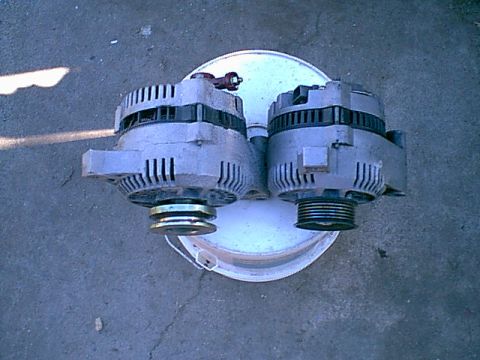
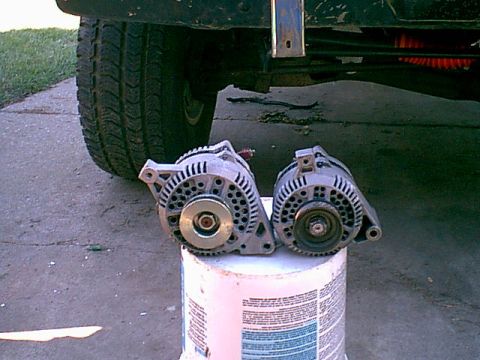
    after i returned from the auto store here they are correct pullies on the correct alt. (1983 Ford Bronco) Here is a front view. of both 3Gs (1983 Ford Bronco) Here is the back. they are both the same connections minus the mounting ears. (1983 Ford Bronco)
  4. Step 4

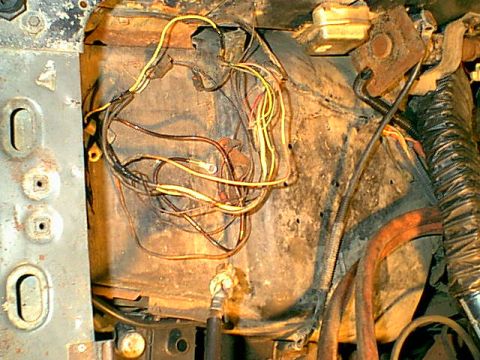
    Identify the existing regulator and the wiring running to it on the truck. michael collins calls the old bundle a fire waiting to start and plans to discard most of it.
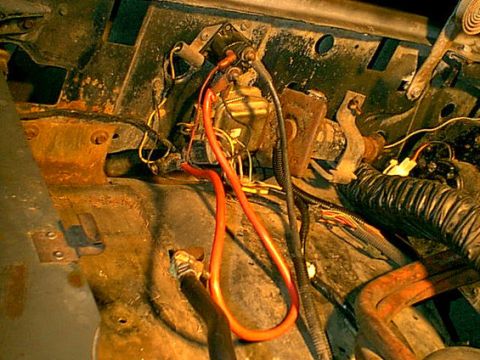
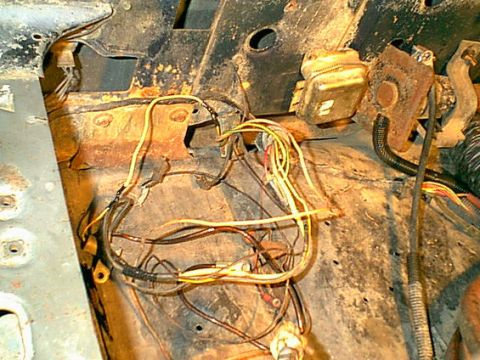
    Here is Jezebel wiring mess. you can see the regulator and all the wires that goto it. (1983 Ford Bronco) I get to toss most of these into the trash it is a fire waiting to start.... (1983 Ford Bronco) Here is another view of the mess i going to remove. (1983 Ford Bronco)
  5. Step 5

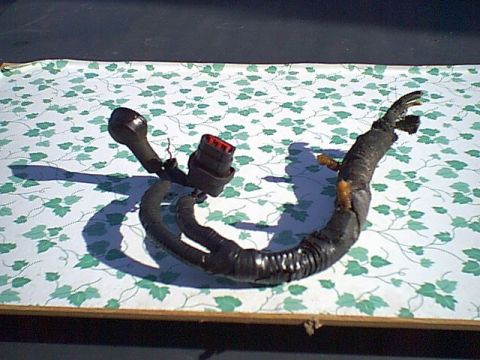
    Choose a harness. A ready-made alternator harness can be ordered, or the donor harness can be reused; michael collins cut the 3G harness long at the junkyard rather than wait on an order.
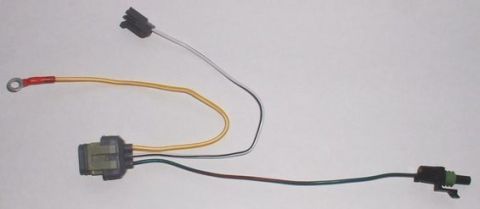
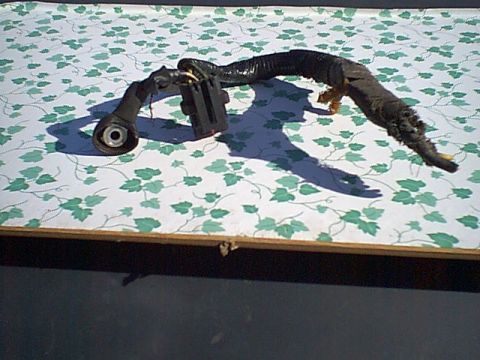
    there are a couple was to do the wiring. you can lookup Fireguy and his website and order everything you need or you can make your own.i co… (1983 Ford Bronco) Here is the harness that was on the 3G. i just cut it longer at the junk Yard. (1983 Ford Bronco) here is another view of stock harness. (1983 Ford Bronco)
  6. Step 6

    Build the harness from the stock pieces, discarding the unused wires, since the new setup uses 3 wires. michael collins soldered and heat shrank every connection.
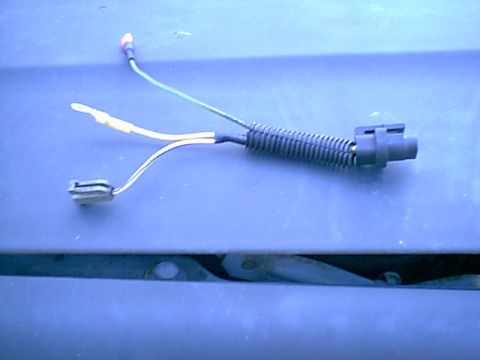
    Here is my home made harness. i tossed a couple of the wires in the stock harness. the new uses 3 wires i soldered and heat shrank all conn… (1983 Ford Bronco)
  7. Step 7

    Connect the harness and leave the ignition hot wire free until installation; when it senses 12V the alternator turns on. Run the white wire to the same location it used before and the yellow wire to the BAT+ post on the alternator.
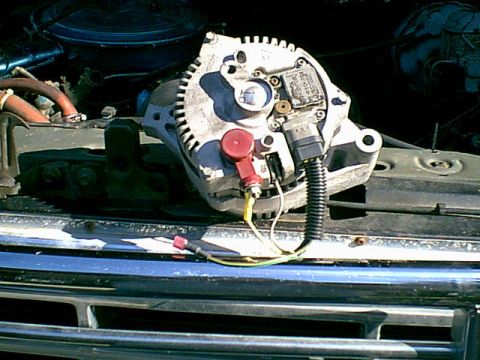
    Here the harness is all connected and ready for install. the wire not connected it the IGN hot or on wire, when it senses 12V the alt turns… (1983 Ford Bronco)
  8. Step 8

    Increase the charge cable size for the higher amp output and protect the circuit with a fuse or circuit breaker. michael collins chose a circuit breaker, which trips by popping its center lever out so it can be reset after the fault is fixed, rather than carry a spare fuse.
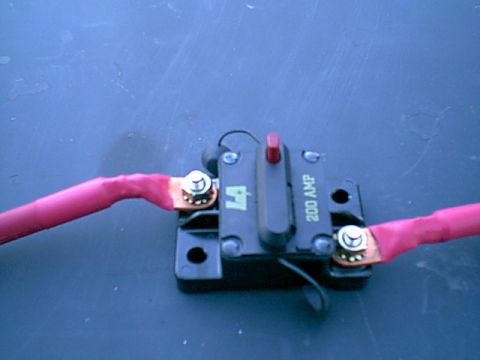
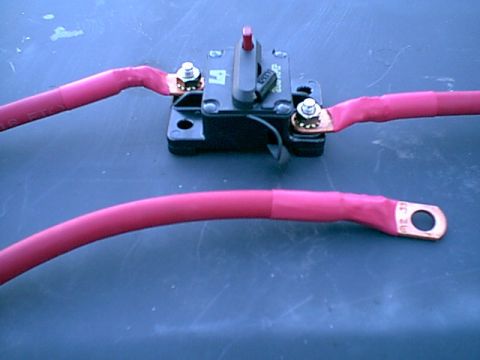
    Ok-next issue when pulling a higher amp output you need to increase the charge cables. i wouls suggest to install a fuse and or circuit bre… (1983 Ford Bronco) how this circuit breaker works when it gets tripped the lever pops out in the center. you just fix the issue and reset it and go. (1983 Ford Bronco)
  9. Step 9

    Run the new charge wire to the battery and a new wire from the battery to the starter relay, using 2 gauge welding wire, then make up the battery connection. michael collins sized it this way while planning for a second battery and a selector switch.
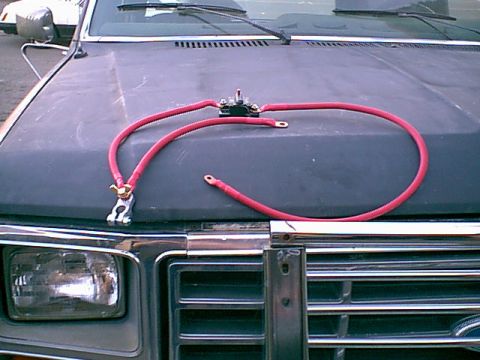
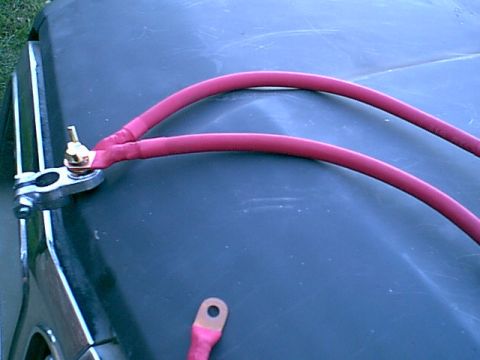
    Here are all the new wires. i planning on adding a second battery with the selector switc so i took the charge wire to the battery and a ne… (1983 Ford Bronco) Here is the connection for the battery. (1983 Ford Bronco)
  10. Step 10

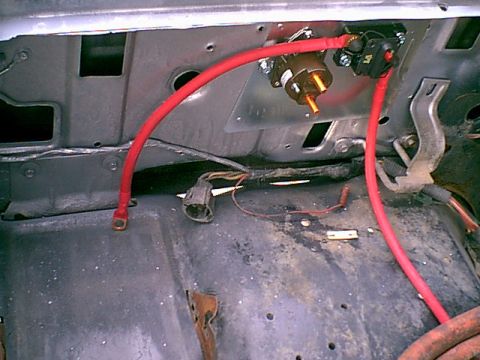
    Mount a newer relay and the circuit breaker on a removable power panel, then wire from the alternator BAT+ post to the circuit breaker and on to the battery. michael collins built the panel to come off quickly if the fender ever needs replacing.
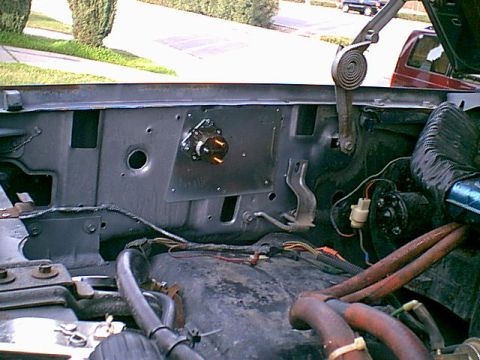
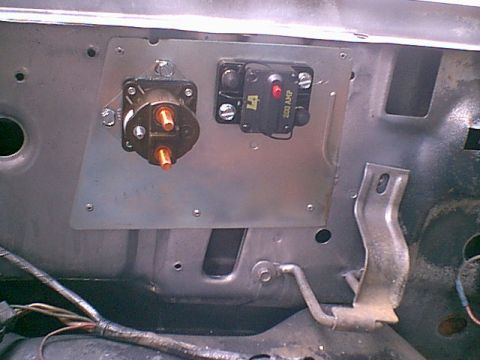
    I wanted to have a power panel i could pull off fast if or when i need to replace the fender. I got the newer relay and mounted it the new… (1983 Ford Bronco) Here i have added the circuit breaker. (1983 Ford Bronco) Now i am ready to start wiring this thing this is from the BAT+ alt post to the circuit breaker then to the battery.. (1983 Ford Bronco)
  11. Step 11

    Install the alternator on the 4.9 using the adjustable bar as the bottom bracket, positioned the way the 2G was installed, and connect the green and red 12V on wire to the green with red wire it ran to before.
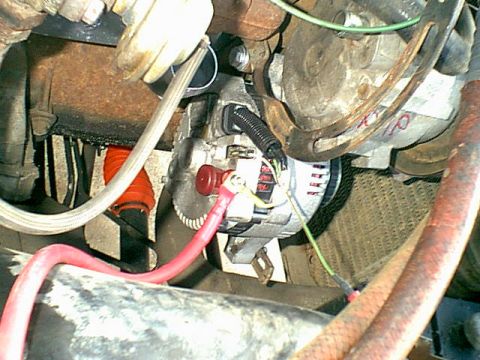
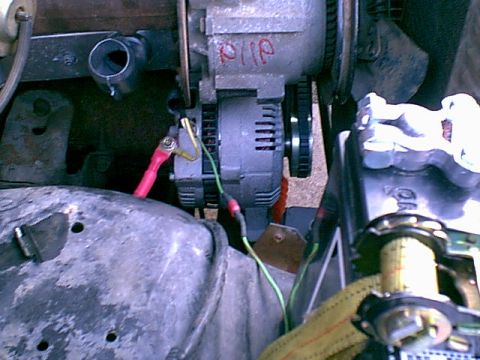
    on the 4.9 the bottom alt bracket was a adjustable bar i install the alt like the 2G was installed. the green and red is the 12V on wire. i… (1983 Ford Bronco) Here is a different view of the alt installed. (1983 Ford Bronco)
  12. Step 12

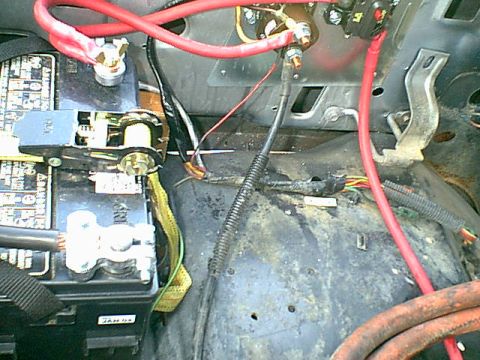
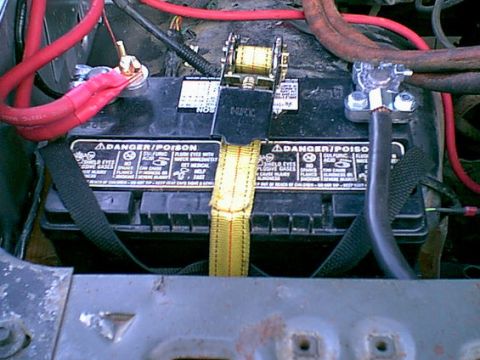
    Finish the connections at the battery and panel, leaving the bypass plug for the fuse block and interior power to be joined to the battery positive or the battery side of the relay. michael collins cut out that connector and wired it directly to a battery plus connection on top of the relay. The photos end at this last view of the battery connection.

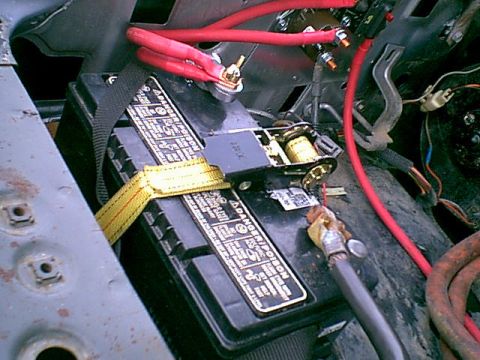
    Here are all the wires connected. the plug on the bottom that is open right now is the power bypass for the fuse block and inside power nee… (1983 Ford Bronco) another view of the battery and panel connections. (1983 Ford Bronco) i decided to chop out the connector and wire directly to a battery plus connection. you can see it on the top of the relay. (1983 Ford Bronco) Last look at the battery connection. like the hold down? (1983 Ford Bronco)

Some product links go to the supplier the owner bought from. SuperMotors does not earn a commission today; if that changes, this line will say so and creators will be paid from it.