Home/
Registry/
Ford/
Bronco/
1980–1986/
1985 Bronco/
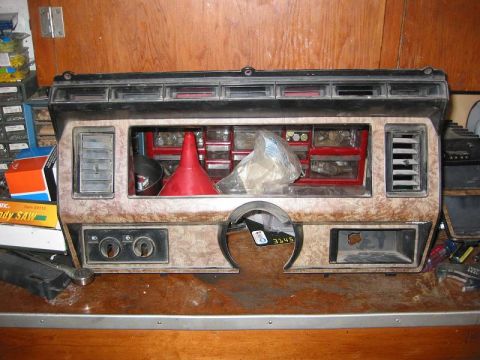
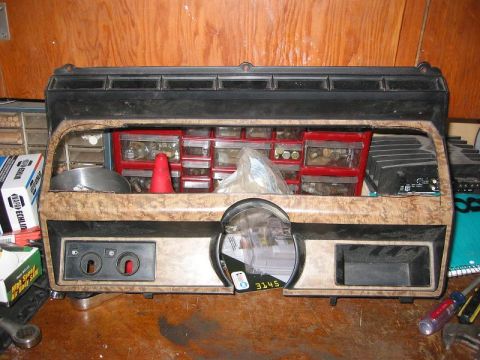
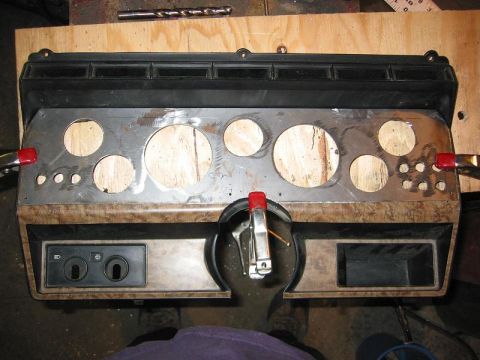
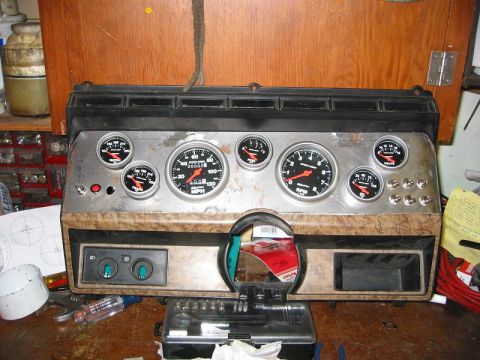
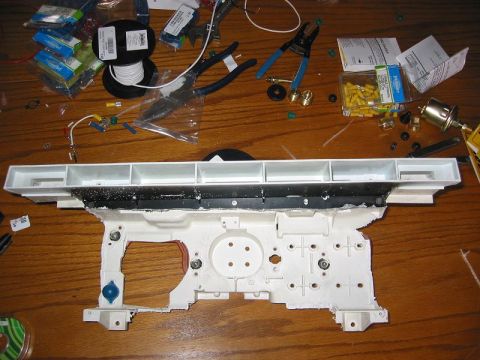
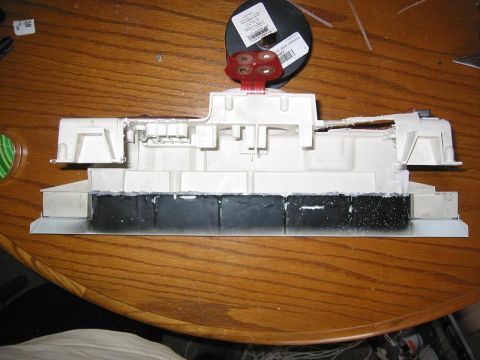
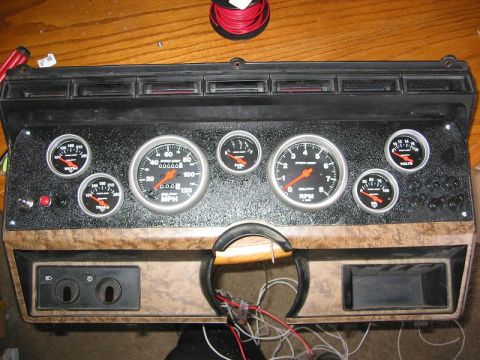
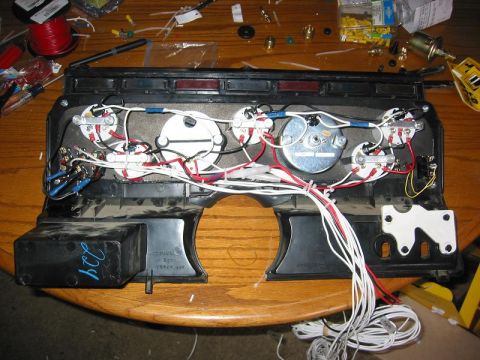
New Gauge Cluster - March 25, 2005
supermotors.net/registry/70/24064
Album section
New Gauge Cluster - March 25, 2005
From 1985 Ford Bronco — documented by Phillip Hemphill.
8 photos