How-to
1991 Ford Bronco Tailgate Rust Repair and Repaint
The rusted lower half of a Bronco tailgate was cut away, the shell was sand-blasted and sealed, and a new bottom panel was welded in with shop-made bottom pieces and torsion bar brackets. Jacque Strap then primed and painted the gate from spray cans mixed to the paint code and put it back on the truck.
-
Step 1
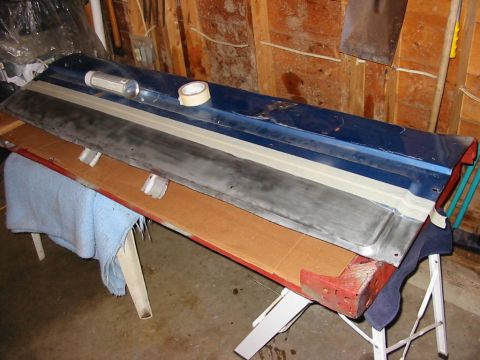
Cut away the rusty bottom half of the tailgate shell. Jacque Strap sand-blasted the inside of the shell and then coated the inside with primer and black paint while it was open from the bottom.
-
Step 2
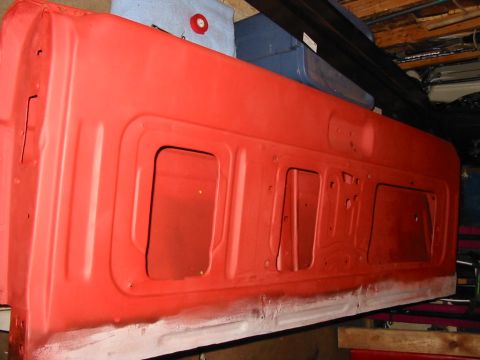
Prime the tailgate before the new panel goes on. Jacque Strap used red primer because it was on sale and planned 3 coats of paint anyway.
-
Step 3
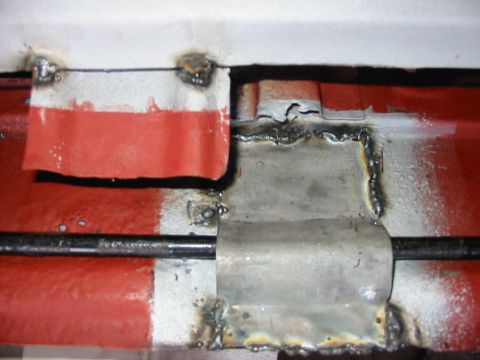
Fabricate brackets for the torsion bar. Jacque Strap made the brackets rather than buying them because the job was only meant to be a short-term repair, and notes the welds show that he was new to welding at the time.
-
Step 4
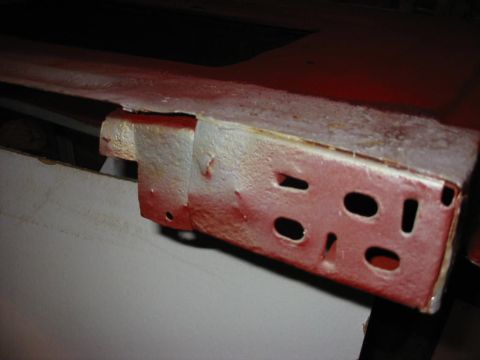
Leave the bottom-inside bracket in place instead of cutting it off, since it makes lining everything up much easier. Jacque Strap reports the rust visible here came from the freshly sand-blasted gate being left out in the rain by the person who was to do the welding.
-
Step 5
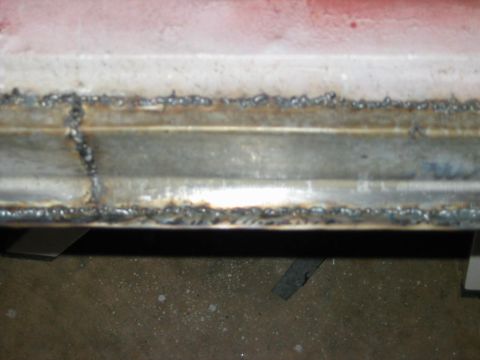
Make the 3 pieces that run along the bottom of the gate. Jacque Strap used tools in a machine shop to get them exact.
-
Step 6
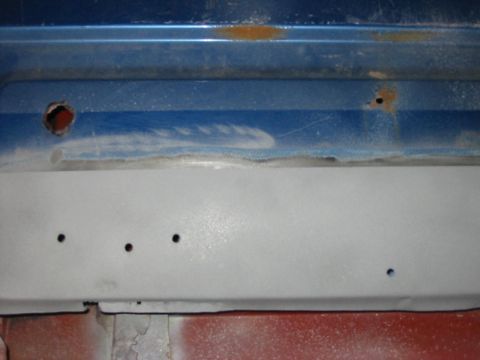
Leave a good amount of the old metal under the new skin to help line the panel up, and weld the new panel in. Jacque Strap used weld thru primer on the welds and reports it bubbled them and that he will not use it again.
-
Step 7
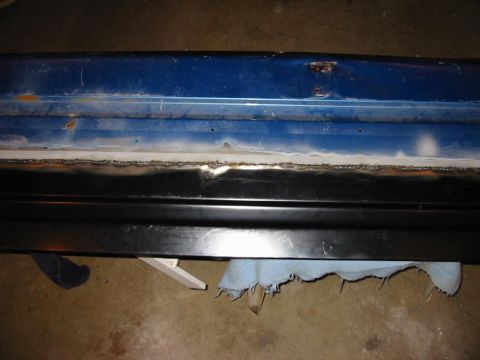
The new panel welded in place. Jacque Strap reminds readers that a new panel comes with black primer, which must be scraped off before welding.
-
Step 8
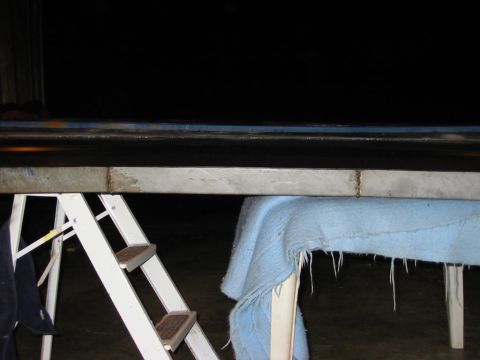
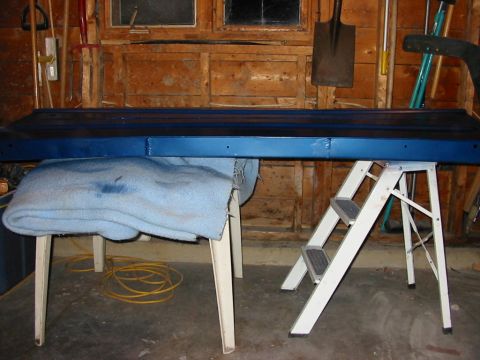
The view from the bottom of the gate. Jacque Strap put lots of drainage holes in afterwards.
-
Step 9
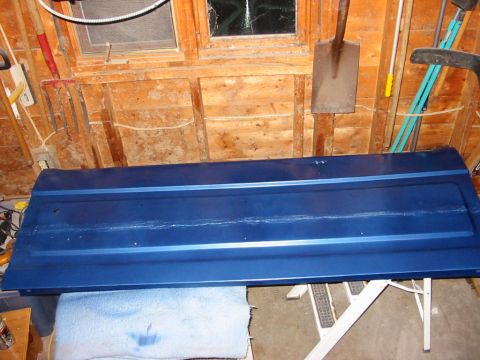
Paint the tailgate. Jacque Strap used spray cans mixed from the paint code at a local automotive paint shop.
-
Step 10
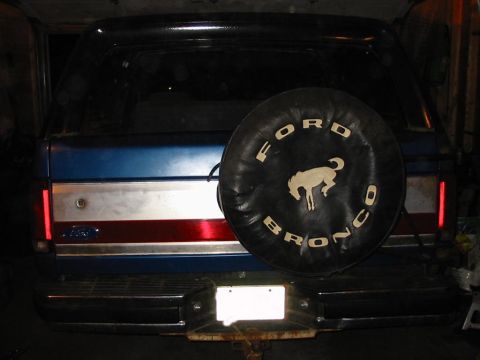
The photos end with the tailgate back on the truck. Jacque Strap reports the trim covers the weld and the paint match is near perfect.
Some product links go to the supplier the owner bought from. SuperMotors does not earn a commission today; if that changes, this line will say so and creators will be paid from it.