How-to
2000 Ford Excursion Hellwig Rear Sway Bar and Rancho Shock Install
A Hellwig rear anti-sway bar was installed on a 2000 Ford Excursion, with the factory rear shocks replaced at the same time. E. Long photographed the job in order because the kit instructions had no pictures, and chose Rancho RS9000 shocks for their adjustability.
-
Step 1
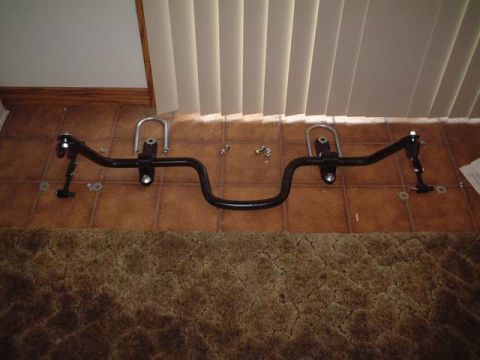
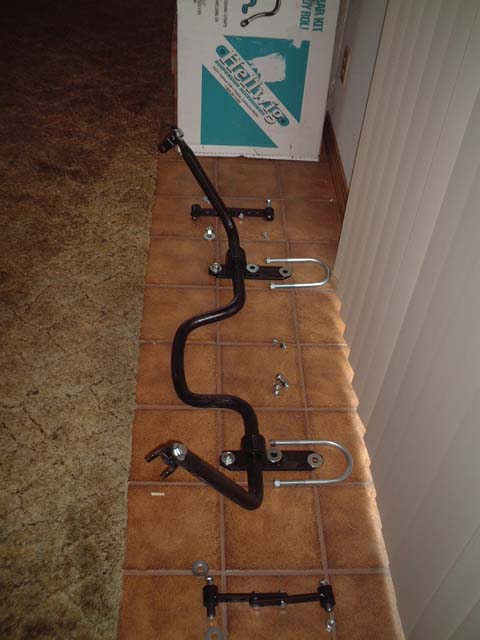
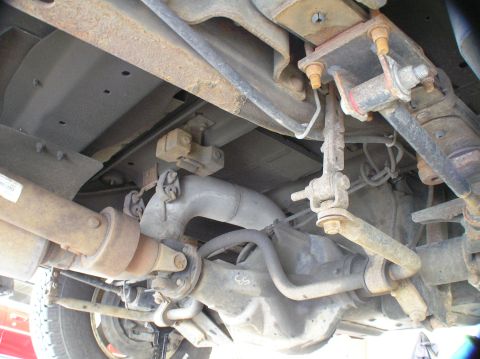
Lay the sway bar kit and the new shocks out and identify the parts before starting. Note that the big loop on the sway bar mounts above the rear differential housing; E. Long reports the Hellwig directions were hard to follow and photographed the install in order so the pictures can be used in place of them.
-
Step 2
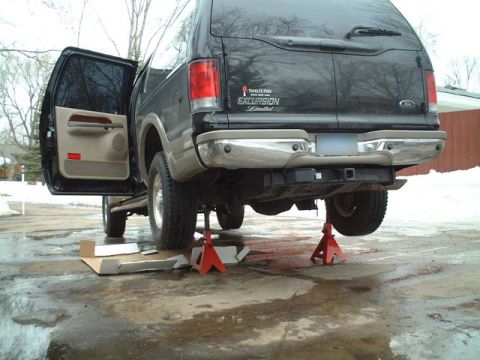
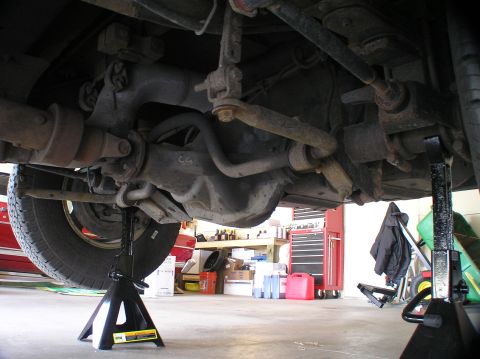
Jack the rear of the Excursion up and support it on tall jackstands rated for the weight of the vehicle. Do not work under the Excursion without jackstands supporting it.
-
Step 3
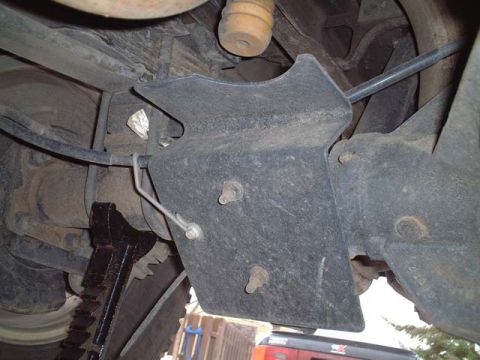
Before removing anything, note how the parking brake cable runs around the shock plate and which side of the plate it mounts on. E. Long had to refer back to these photos during reassembly, and warns that mounting the cable on the wrong side lets it wear against the plate.
-
Step 4
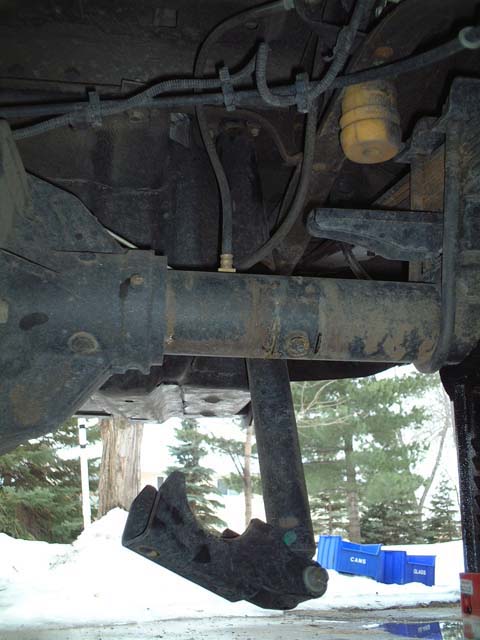
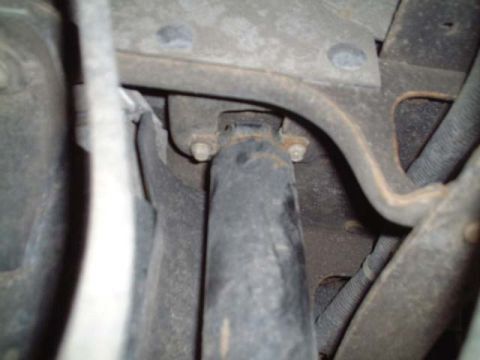
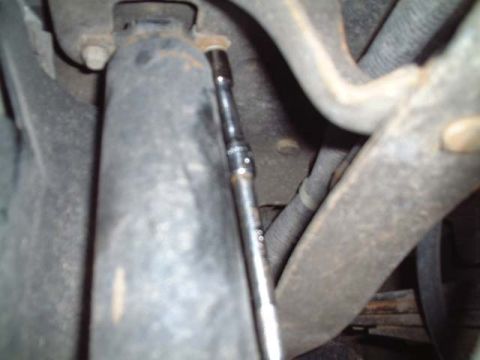
Unbolt the shock from the axle housing, then locate and remove the two bolts at the top of the shock. Use an extension on the ratchet, as the space is too tight for a hand and ratchet alone.
-
Step 5
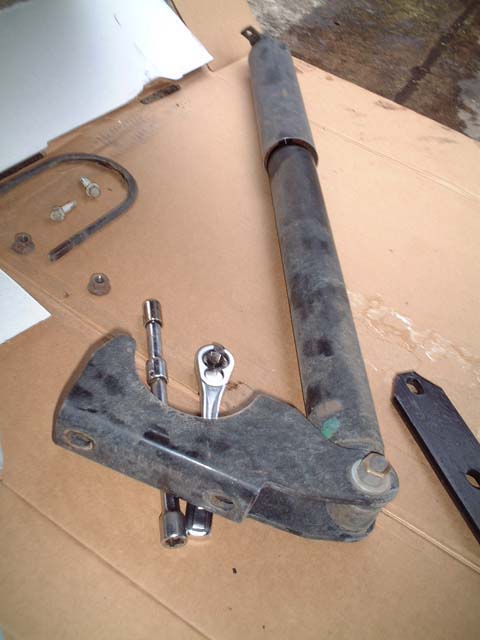
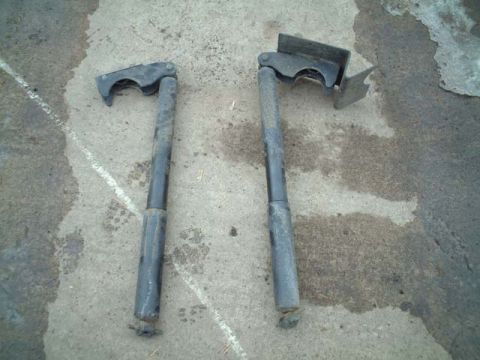
Pull the factory shock out of the vehicle and remove its bottom mount for reuse. Repeat on the other side so both shocks are out.
-
Step 6
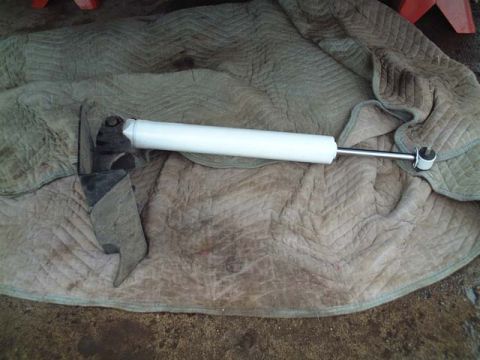
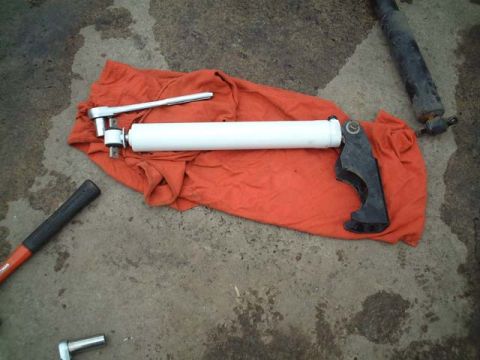
Install the reused bottom mount on the new shock. With adjustable shocks such as the Rancho RS9000s, position the adjustment dials so they can be reached from underneath the vehicle; E. Long kept the dials facing the rear.
-
Step 7
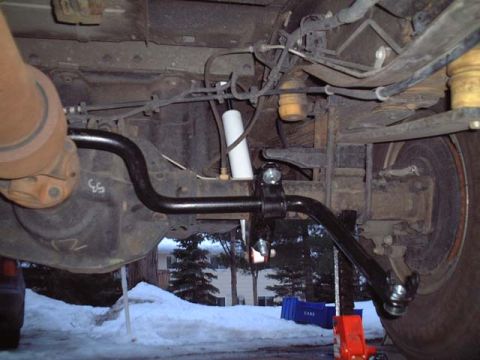
Mount the tops of the shocks first, then bolt the bottoms to the axle housing with the sway bar attached. E. Long reports the reinstallation can be done by one person and is fairly easy.
-
Step 8
Check the finished installation from underneath the Excursion. E. Long gives a total install time of 2 to 3 hours, done in wet, cold, snowy conditions.
-
Step 9
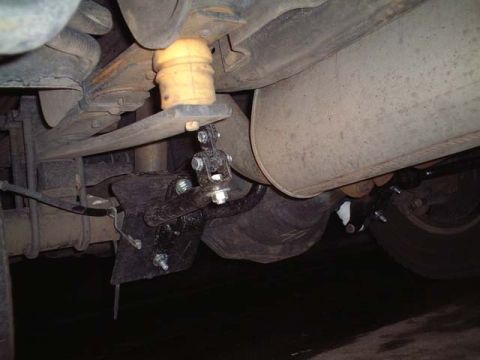
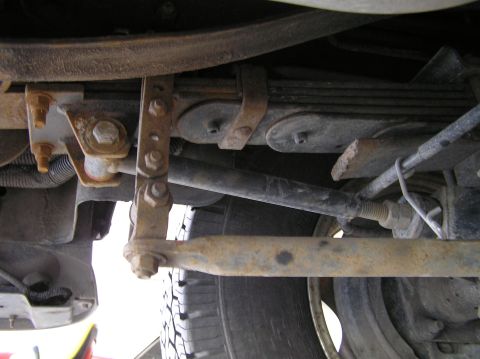
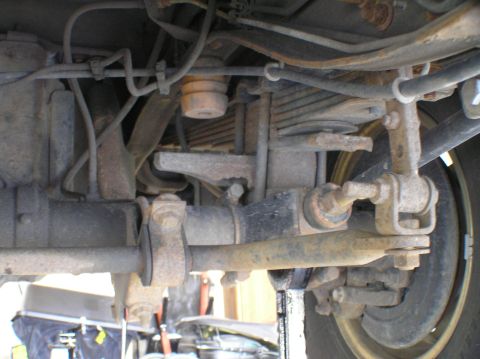
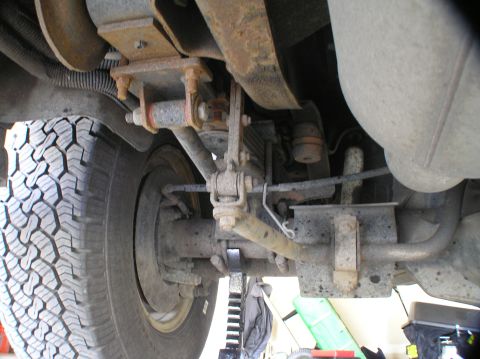
The album closes with later views of the installed hardware: the passenger side drop bracket, the driver side mount and the passenger side mount, which E. Long notes had been in place for over four years when the photos were taken. The photos end there.
Some product links go to the supplier the owner bought from. SuperMotors does not earn a commission today; if that changes, this line will say so and creators will be paid from it.