How-to
2000 Ford Excursion Dana 50 Front Hub Bearing Replacement
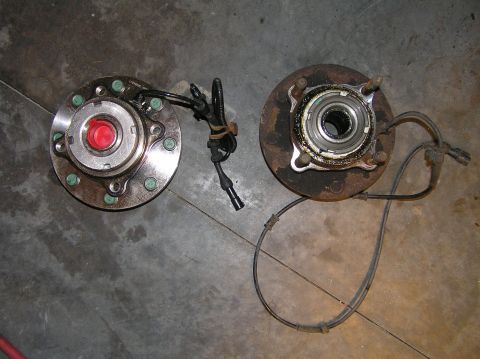
E. Long's 2000 Ford Excursion had play in the front passenger-side wheel from a worn hub bearing. Because the Dana 50 front axle bearings are not serviceable on their own, the whole hub assembly was replaced. The album shows the new and old assemblies, the studs and o-ring, the bare knuckle, and the owner's list of removal steps. It has no photos of the new assembly going on.
-
Step 1
E. Long traced a lot of play in the front passenger-side wheel to a worn bearing in the hub assembly and reports the swap is straightforward, with all components accessible in a home garage. The photo lays the new Dana 50 hub assembly beside the worn one. The listed tools are a floor jack, jack stand, air tools, a 21mm socket, an 8mm socket with a 3/8 inch ratchet, c-clip pliers and pliers.
-
Step 2
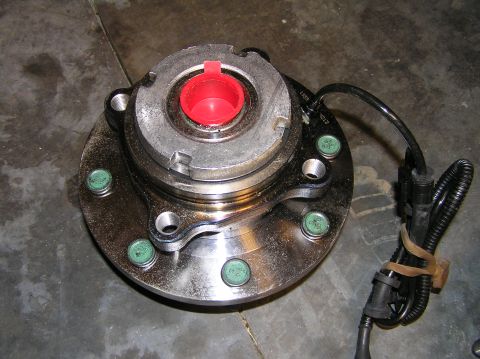
Have the two replacement parts on hand before disassembly: a Dana 50 hub assembly, Ford part # F81Z-1104-BH, and a yellow axle o-ring seal, part # F81Z-4A322-AA. E. Long notes that the front axle bearings in the Dana 50 are non-serviceable, so a failed bearing means buying the entire assembly, and that this part number is the ABS version with the ABS sensor wire included.
-
Step 3
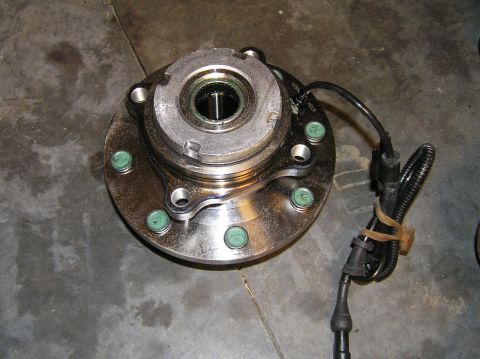
Remove the plastic plug from the new hub assembly.
-
Step 4
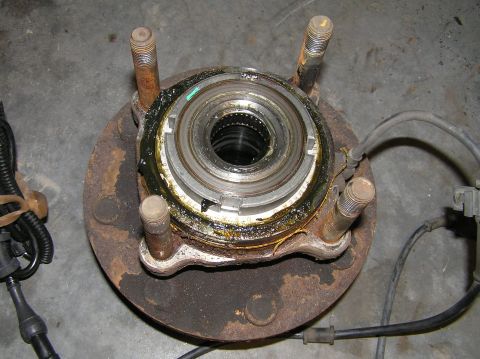
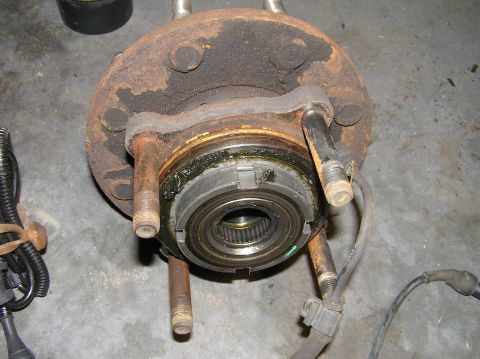
Note how the old assembly is held to the steering knuckle: four studs, threaded on each end, feed through the holes in the knuckle and take four nuts. To back a stud out, tighten two nuts against each other on the same end and turn the stud out.
-
Step 5
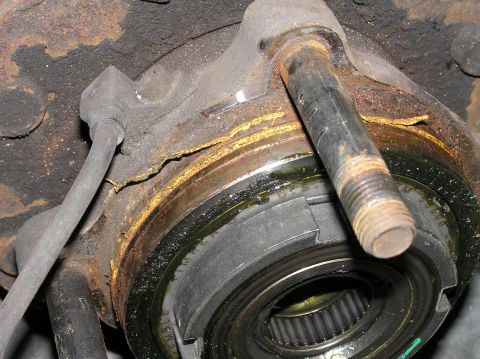
Inspect the yellow o-ring, part # F81Z-4A322-AA, once the assembly is off. E. Long found it shredded and advises planning ahead for a new one rather than expecting to reuse it.
-
Step 6
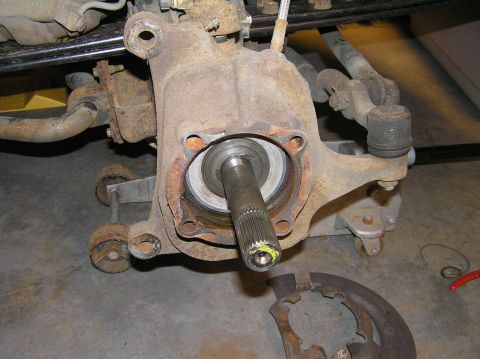
With the wheel, caliper, old hub assembly and brake dust shield all removed, the front passenger knuckle is left bare with the axle shaft sticking out.
-
Step 7
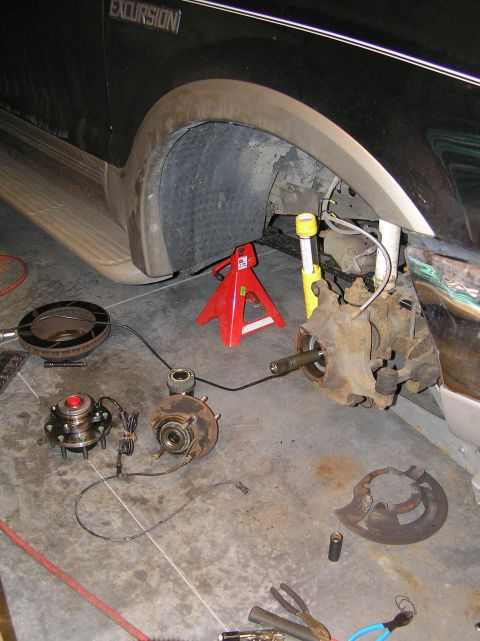
E. Long's removal order for the hub: remove the retaining c-clip from the hub, pull the hub off the Dana 50 front axle, remove the axle c-clip, then remove the three washers from the axle. Remove the nuts on the back of the hub assembly and disconnect the ABS line by following it back to the plug on the inside of the fender.
-
Step 8
Tap and pry the old hub assembly loose. For the new one, E. Long says to get a new yellow o-ring and reports the entire swap takes 60 to 90 minutes.
-
Step 9
The album's photos end here, with no images of the reassembly.
Some product links go to the supplier the owner bought from. SuperMotors does not earn a commission today; if that changes, this line will say so and creators will be paid from it.