SuperMotors SuperMotors SUPERMOTORS Search: try “orange Bronco on 35s”
Home/ Lincoln/ Town Car/ 1990-1997/ “Mileage Master”/ How-to

How-to

1990 Lincoln Town Car Mustang Shorty Header Install

1990 Lincoln Town Car · Swap · Hard

Documented by SuperMotors from Sixlitre’s photos

The stock exhaust manifolds on a 1990 Lincoln Town Car were removed and replaced with PaceSetter Mustang shorty headers. Because the headers arrived without O2 sensor bungs and the Y-pipe did not line up, bungs were marked, drilled and welded in, and the headpipes were spread to meet the new flanges.

  1. Step 1

    Remove the brass nuts from the headpipe studs to separate the headpipes from the old manifolds. Sixlitre had installed these nuts on new studs two years earlier.
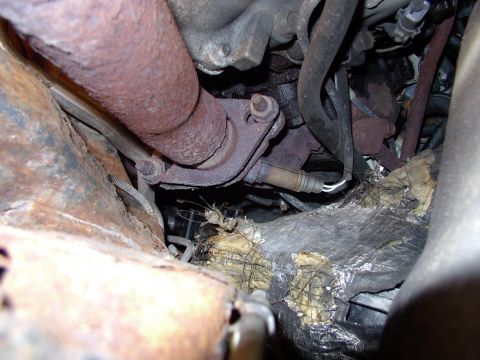
    Step 1: Remove the brass nuts from the headpipe studs to separate the headpipes from the old manifolds. Sixlitre had
  2. Step 2

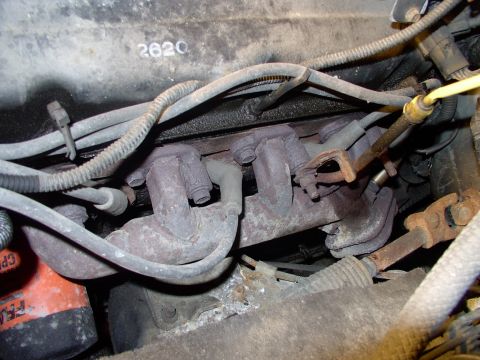
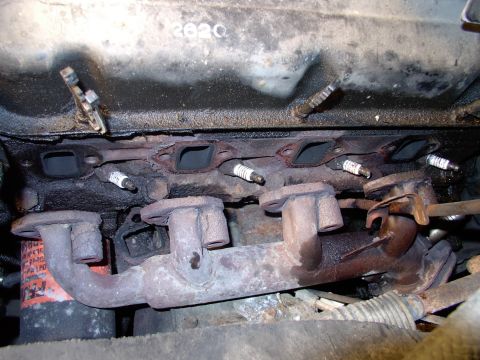
    Start on the driver's side, which is the less obstructed of the two. Unbolt and free the cast manifold, noting that the oil dipstick tube bracket will have to be re-secured later.
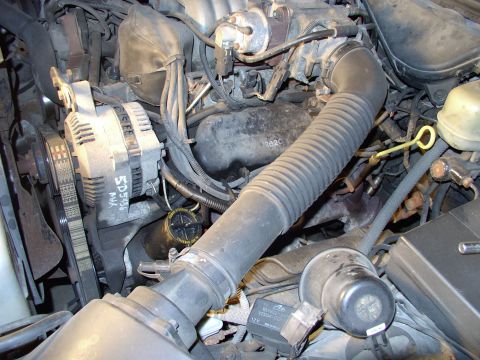
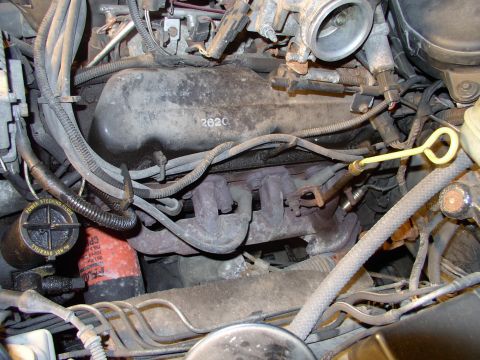
    Step 2: Start on the driver's side, which is the less obstructed of the two. Unbolt and free the cast manifold, noting (photo 1 of 4) Step 2: Start on the driver's side, which is the less obstructed of the two. Unbolt and free the cast manifold, noting (photo 2 of 4) Step 2: Start on the driver's side, which is the less obstructed of the two. Unbolt and free the cast manifold, noting (photo 3 of 4) Step 2: Start on the driver's side, which is the less obstructed of the two. Unbolt and free the cast manifold, noting (photo 4 of 4)
  3. Step 3

    Pull the loosened manifold forward to gain room and disconnect the O2 sensor. Scrape the old gasket material off the exposed head surface.
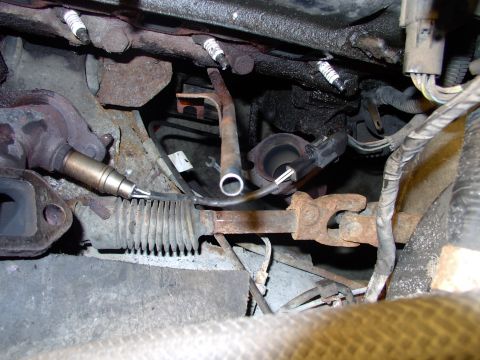
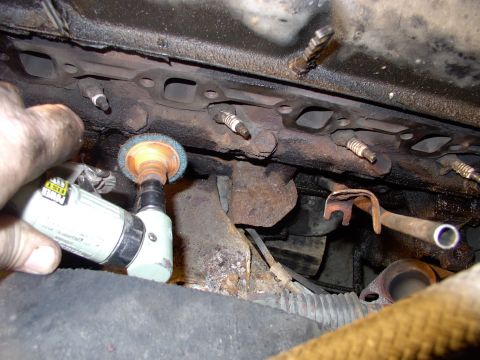
    Step 3: Pull the loosened manifold forward to gain room and disconnect the O2 sensor. Scrape the old gasket material (photo 1 of 2) Step 3: Pull the loosened manifold forward to gain room and disconnect the O2 sensor. Scrape the old gasket material (photo 2 of 2)
  4. Step 4

    Trial fit the Mustang shorty header against the head. Two bolts are enough to hold it in place for the check.
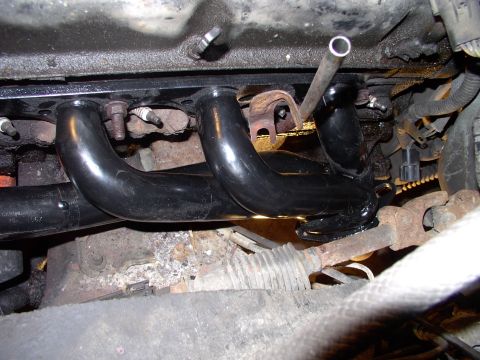
    Step 4: Trial fit the Mustang shorty header against the head. Two bolts are enough to hold it in place for the check.
  5. Step 5

    Move to the passenger's side, where the manifold is buried under additional tubing. Sixlitre soaked the fasteners with PB Blaster and used the same forward-pull trick to reach the O2 sensor on this side.
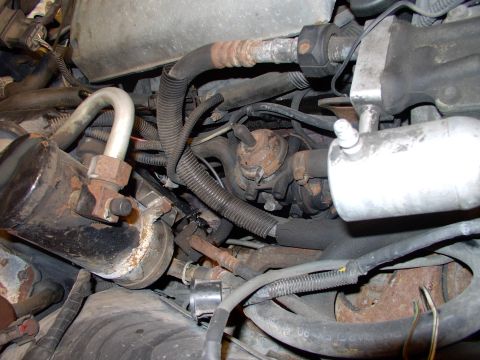
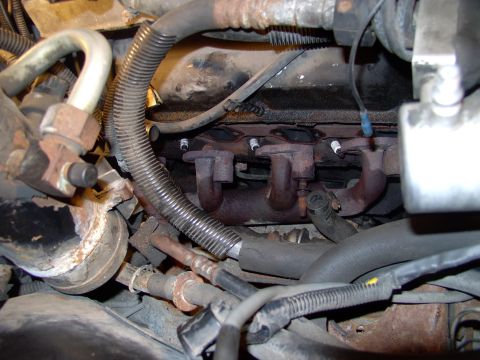
    Step 5: Move to the passenger's side, where the manifold is buried under additional tubing. Sixlitre soaked the (photo 1 of 2) Step 5: Move to the passenger's side, where the manifold is buried under additional tubing. Sixlitre soaked the (photo 2 of 2)
  6. Step 6

    Trial fit the passenger's side header as well. Mark the headpipe with a tire pen to show the direction it must be bent outward, since it sits close to the shorty header's ball flange.
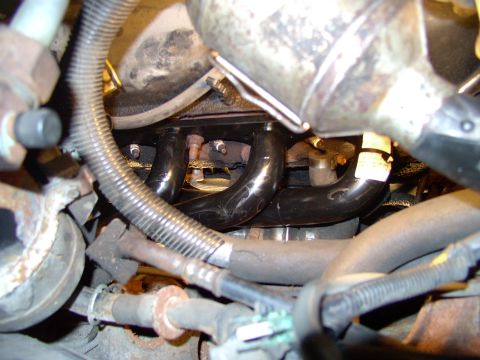
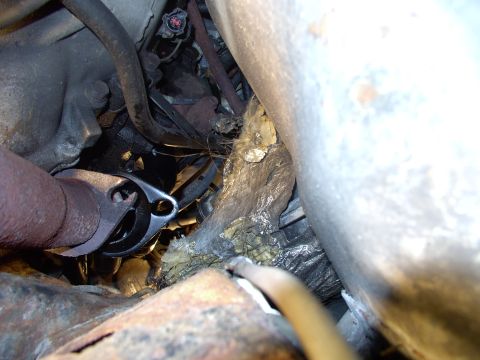
    Step 6: Trial fit the passenger's side header as well. Mark the headpipe with a tire pen to show the direction it must (photo 1 of 2) Step 6: Trial fit the passenger's side header as well. Mark the headpipe with a tire pen to show the direction it must (photo 2 of 2)
  7. Step 7

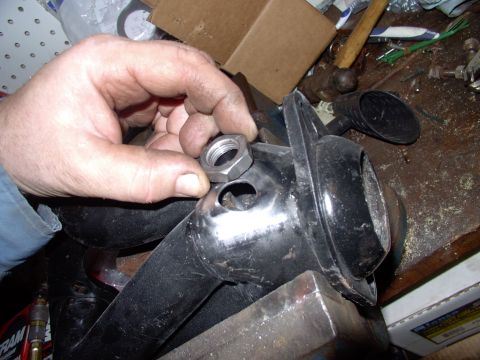
    Mark the spot for the O2 sensor bung on each header with the tire marker, above the ball flange. Drill a hole at the mark and enlarge it with a die grinder and stone, then test fit the bung and nut. Sixlitre notes the headers shipped without bungs, and points out that Mustang bung positions might not have suited a Town Car anyway.
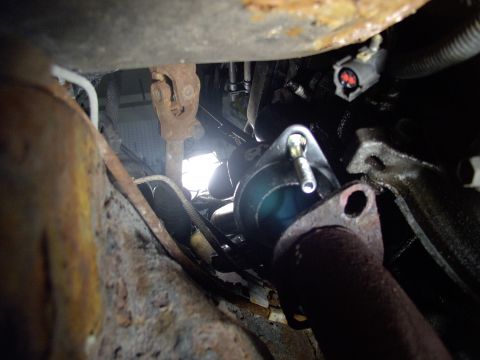
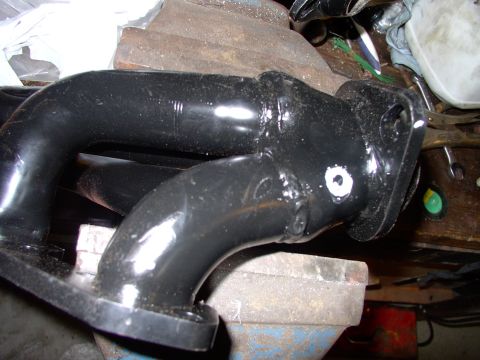
    Step 7: Mark the spot for the O2 sensor bung on each header with the tire marker, above the ball flange. Drill a hole (photo 1 of 3) Step 7: Mark the spot for the O2 sensor bung on each header with the tire marker, above the ball flange. Drill a hole (photo 2 of 3) Step 7: Mark the spot for the O2 sensor bung on each header with the tire marker, above the ball flange. Drill a hole (photo 3 of 3)
  8. Step 8

    Have a welding shop weld a bung into each header, then coat the welded area with high heat paint. Clean the O2 sensor heads gently with a fine wire brush and bolt them into the new headers. Sixlitre reused both sensors because they were less than two years old.
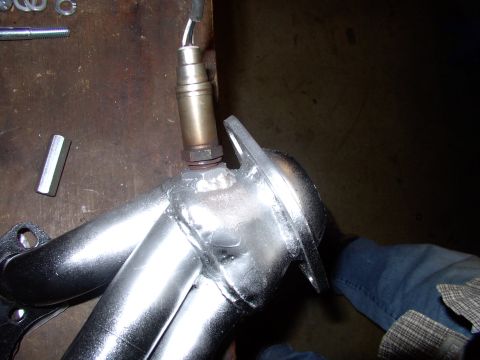
    Step 8: Have a welding shop weld a bung into each header, then coat the welded area with high heat paint. Clean the O2
  9. Step 9

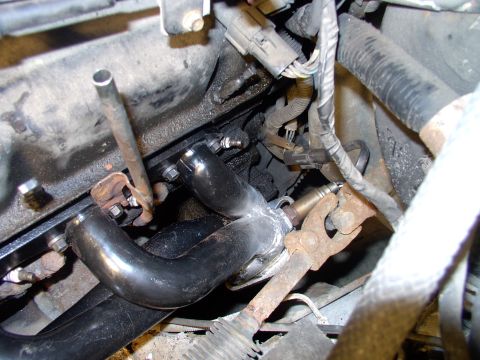
    Bolt the headers to the heads and bend the oil dipstick tube tab until it seats properly. Reconnect the O2 sensor wiring. Sixlitre reports the PaceSetter headers actually improve spark plug access on this engine.
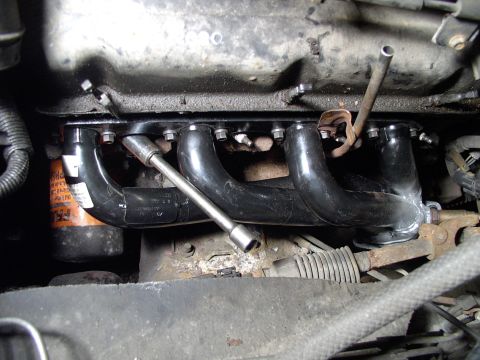
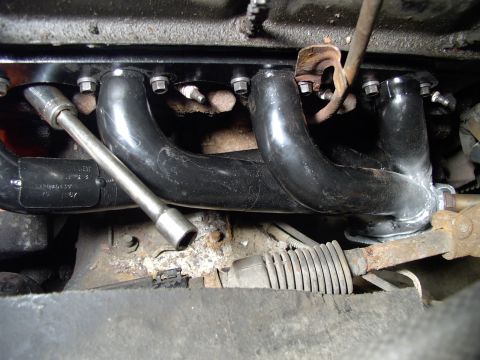
    Step 9: Bolt the headers to the heads and bend the oil dipstick tube tab until it seats properly. Reconnect the O2 (photo 1 of 3) Step 9: Bolt the headers to the heads and bend the oil dipstick tube tab until it seats properly. Reconnect the O2 (photo 2 of 3) Step 9: Bolt the headers to the heads and bend the oil dipstick tube tab until it seats properly. Reconnect the O2 (photo 3 of 3)
  10. Step 10

    Spread the two headpipes away from each other to meet the header flanges; Sixlitre found the Y-pipe about 1 1/8 inches too narrow and bent it gently three times with an old shovel handle jammed down one pipe until it bolted up. The photos end here, with the Y-pipe connected.
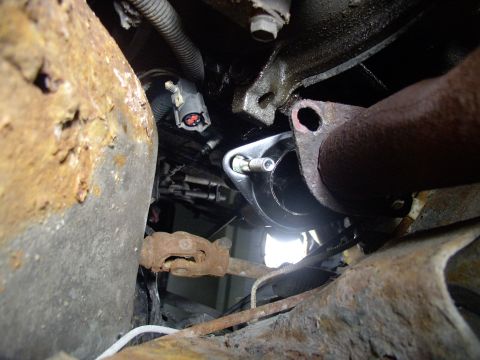
    Step 10: Spread the two headpipes away from each other to meet the header flanges; Sixlitre found the Y-pipe about 1

Some product links go to the supplier the owner bought from. SuperMotors does not earn a commission today; if that changes, this line will say so and creators will be paid from it.