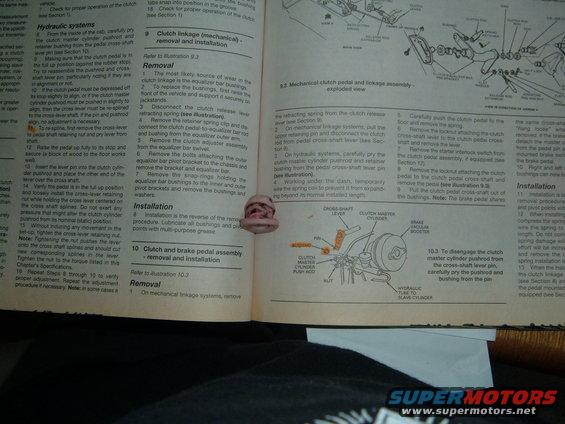
A page from a vehicle repair manual details clutch linkage and pedal assembly procedures.
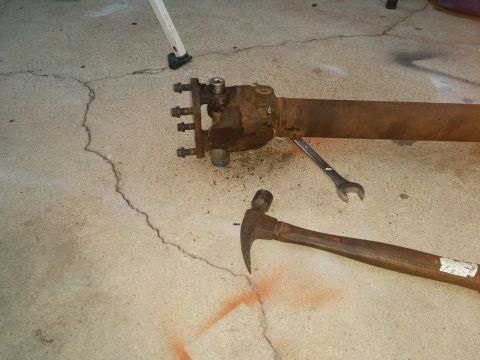
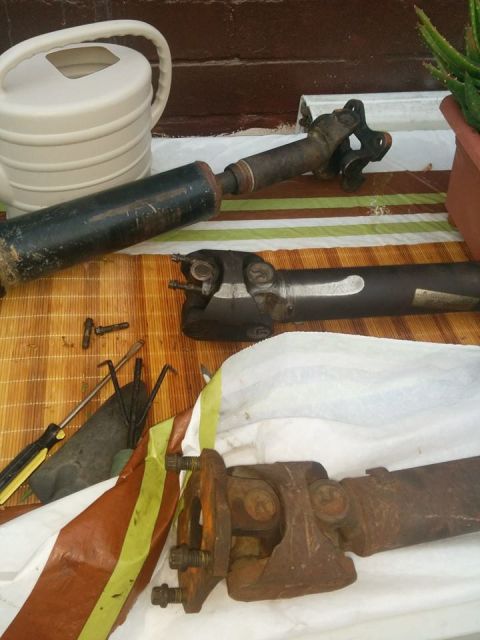
. . or. n J to posmon m m. , i . > ct! tabs snap m n E" W M r Wmmwmdm 18 Check Torproper Operamfoh { Mon 1) (see Section 1) 0 Lunch {we ~ I y . j \ r' _ "misidewmecabmarefyaz 9 Clutch linkage (mechanical lie amen master cylinde' Sugsna removal and installatiOn from the 06d mm pin (see mags; clutch pedal is in Refer zo IllustrazfonN 3 M" i: WW (393m: the rubber stir: Removal Try to romantic the WSW?" gig/Gare 1 The most hkely sow ~ , shaft 9'71,me "9mg ' crutch linkage is tho aqua Wormt- of! 2 To replace the bust- 19 nmampedalmu'sftz: m: master front of the vehvcle .3de SUQQUH . a] n. or > . F , _ ,a. instep ng be pushed I. shghUy to Javkstands W cyanoerpush 3 Disconnncr th c) t, 1 1 ,f - r Lit .3 r a r) t agar align cross-lever mustbe reswmed V . . _ _ _ _L]Se 56; m I V the the - rod retractmg sprmg (see :Hustrahon) 47 U 4 . mmmw shalt. . "the pm andpush 4 Remove the relay , me, an 1 (the .9691. madj. rstsremove the Gross-Ever connect the dutch p Q a ram 7 11 To MSP'tne and lever from and bushmg from U75 eque ' we? or? r , F swam shaftratammg nut pry 5 Remove the clutch r00 12 < > I , from the equalizer bar man s . Raise thepedal up fully to rts stop and - 3 On m1? (a biock of wood to the oor works 6 Remove 1m mm m equalizer bar pvvot br > V wd hrs-hm: mm the Ieverpin into the clutch cyiin- remove the breaker a. (:69 illCrsrr 7 Remove t 9 Sr damedmwacetmotherendofthe . . Mmmmga, equahzer bar bus, m 14 Verify the pedal is in the full up position pivot brackets and r m and toosety install the cross-Fever retaining washers. " , mnwhskholdi Maossteveroenleredon . M the cross shaggwtines. Do not exert any Installat/on treasure that might alter the clutch cyiinder 8 :nstatlatvom rs to m pustvod from its nonnal (static) posmOn. procedure. Lubnca: 15 Without inducing any movement m the :9 set-apt tighten the cross4ever retaining nut. , , "0191 Hardening the nu! pushes the /ever \N ~ 7 ,4 cam the cross Shasp/ines and should cut 10 Clutch and brake pe 'a! assembly , I 7 191 m corresponding splines in the lever. - removal and instalf Tighten the nut to the torque listed in this Owersspedcauons, . , . f o F? r 1 r - , J y' ,5 990931 SW95 8 through 10 to verify eertorlusvrst/on G. mo ,3er TM we cross caremlty' proper adiustmem Repeat the adrusrmem REMOVal WHWNMsInmmsesa 1 On mechenlcav in" > _ "v 3
Comments
More from this build


No comments yet.