Home/
Registry/
Ford/
Bronco/
1987-1991/
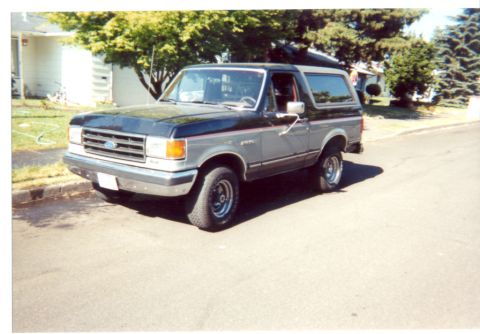
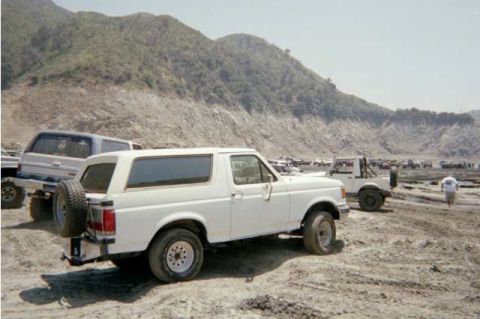
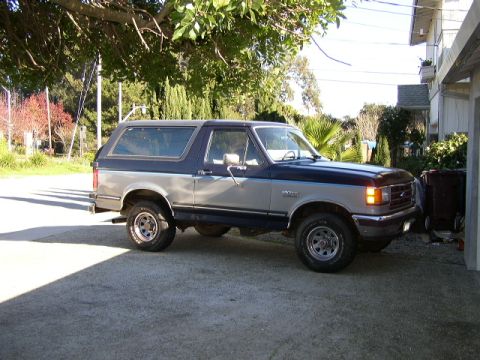
1989 Ford Bronco/
Photo
supermotors.net/registry/media/269096

This diagram illustrates the process of bleeding a wheel cylinder as part of brake maintenance.
BRAKES c. Sequence for Bleeding Wheel Cylinders It is advisable to bleed one wheel cylinder at a time to avoid getting uid level in reservoir dangerously low. The correct sequence of bleed- ing is left front, right front, left rear, right rear. This sequence expels air from the lines and wheel cylinders nearest to the master cylinder rst, and eliminates the possibility that air in a line close to the master cylinder may enter a line farther away after it has been bled. CAUTION: Do not perform bleeding opera- tion while any brake drum is removed. Figure 7-bsludlng wrml Cyllndev d. Bleeding Wheel Cylinder Without Pressure Tank 1. Fill master cylinder (subpar. a, above). 2. Remove screw and attach Brake Bleeder Tube J 628% to wheel cylinder bleeder valve. Place lower end of bleeder tube in a clean glass jar. Unscrew bleeder valve 34 of a turn, using Bleeder Wrench J 627. See gure 8-6. 3. Depress brake pedal a full stroke, then allow pedal to return slowly to released position. Allowing pedal to return quickly may draw air into system. Continue operating pedal in this manner until uid ows from bleeder tube into glass jar in a solid stream that is free of air bubbles, then close the bleeder valve securely. Remove bleeder tube and install screw in valve. 4. Frequently check master cylinder to make sure that it contains uid. Approximately 1/2 pint of uid is required to bleed each wheel cyl inder. Allowing reservoir to be emptied will cause air to be drawn into hydraulic system. 5. When bleeding operation is completed at all wheel cylinders Where needed, make sure that SERVICE 9-] 3 uid level is 1A1" to 1 below top of master cylin- der ller opening then install ller cap nut and gasket. 6. Discard the brake uid deposited in glass jar (luring bleeding operation. It is poor econ- omy to attempt to clean uid that has once been used. 2. Bleeding Wheel Cylinder with Pressure Yank IMPORTANT: When using a pressure tank, air bubbles may form in the tank and enter the brake hydraulic system. To avoid this, observe the following points when handling a pressure tank: (1) Do not shake or agitate the pressure tank after air pressure has been added or is being added. (2) Allow pressure tank to stand in one position as much as possible, and bring air hose over to tank when adding head of air. (3) Make certain the valves on the pressure tank lines are not defective allowing air to be sucked in when Iluid passes through the lines. (4) Pres. sure tank should be kept at least 1A, full of uid to avoid air bubbles forming. (5) If pressure tank is full of air bubbles, release air pressure and those bubbles will increase in size and be forced to top of uid, and escape. 1. Thoroughly clean master cylinder ller cap nut and surrounding area. then remove cap nut. 2. Make sure that pressure tank is at least 1/3 full of specied brake uid, that hose and master cylinder reservoir are lled with uid, then attach hose to master cylinder ller opening. 3. Remove screw and attach Brake Bleeder Tube J-628A to wheel cylinder bleeder valvel Place lower end of bleeder tube in a clean glass jar. Unscrew bleeder Valve 34 of a turn, using Bleeder Wrench J 627. See gure 9-6. 4. Open pressure tank hose valve to apply uid to master cylinder under pressure that does not exceed 35 pounds. Too much pressure may blow out the expansion plug in master cyl- inder. It is not necessary to pump the brake pedal when using pressure tank. 5. When uid ows from bleeder tube into glass jar in a solid stream that is free of air bubbles, that particular cylinder and line are bled; tighten bleeder valve securely, remove bleeder tube and install screw in bleeder valve. 6. When bleeding operation is completed at all wheel cylinders where needed, make sure that uid level is 1/3 to 1 below top of master cylinder ller opening then install ller cap nut and gasket.
Comments
More from this build


No comments yet.