Home/
Registry/
Mercury/
Grand Marquis/
1992-1997/
1997 Mercury Grand Marquis/
Photo
supermotors.net/registry/media/458814
Step 6: Follow all of the spark plug wires back from each cyl…
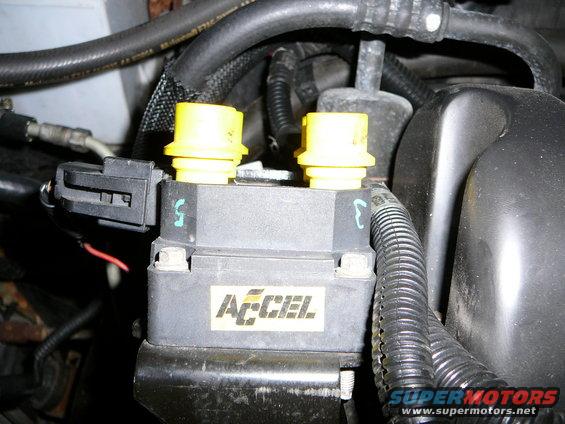
Step 6:
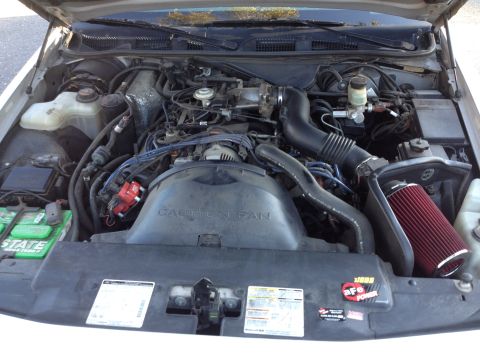
Follow all of the spark plug wires back from each cylinder and label the coilpack locations. Also mark the top of the plug boot at the coilpack towers. We will be removing all spark plug wires at once along with all of the seperators still intact and the alternator bracket all as one unit.
After you label the plug wire locations, remove the 3 8mm bolts in the alternator bracket. Set bots aside but do not lose.
You may now unplug all spark plug wires from the spark plugs and coilpacks. DO NOT TRY TO REMOVE THE PLUG WIRE ASSEMBLY UNTIL AFTER THE NEXT STEP.
Is this accurate? Sign in to help verify it.
Comments
More from this build
No comments yet.