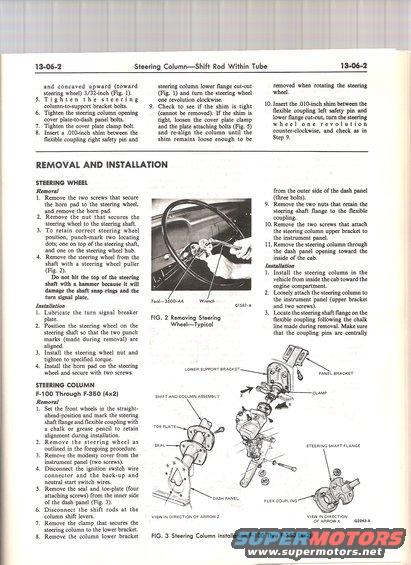
This diagram illustrates the removal and installation process for the steering column assembly in Ford F-100 through F-350 trucks.
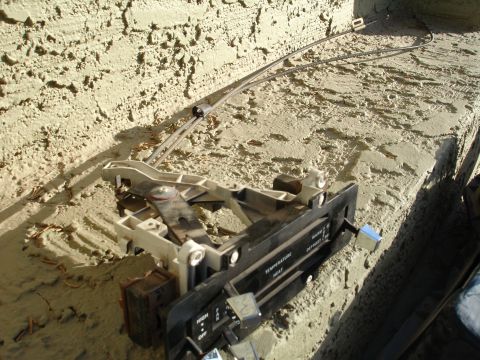
13-06-2 Steering ColumnShift Rod Within Tube I 3-06-2 and concaved upward (toward steering wheel) 3/32-inch (Fig. 1). steering column lower ange cut-out (Fig. l) and turn the steering wheel removed when rotating the steering wheel. 5.Tighten the steering onerevolutionclockwise. . . column-to-support bracket bolts. 9. Check to see if the shim is tight 10' Insert {he 19mm shim between the 6. Tighten the steering column opening (cannot be removed). If the shim is ex1ble COUleg left safety pin a. cover plate-to-dash panel bolts. tight, loosen the cover plate clamp lower ange cut-out, turn the .61! 7. Tighten the cover plate clamp bolt. and the plate attaching bolts (Fig. 5) W h e e 1 o n e r e v o l u t 1 O. 8. Insert a .010-inch shim between the and realign the column until the counterclockwrse, and check as m exible coupling right safety pin and shim remains loose enough to be Step 9. REMOVAL AND INSTALLATION STEERING WHEEL Removal 1. Remove the two screws that secure the horn pad to the steering wheel, and remove the horn pad. Remove the nut that secures the steering wheel to the steering shaft. To retain correct steering wheel position, punch-mark two locating dots; one on top of the steering shaft, and one on the steering wheel hub. from the outer side of the dash panel (three bolts). 9. Remove the two nuts that retain the steering shaft ange to the exible coupling. 10. Remove the two screws that attach the steering column upper bracket to the instrument panel. 11. Remove the steering column through the dash panel opening toward the 4. Remove the steering wheel from the inside of the cab. shaft with a steering wheel puller Insmaon (Flg- 2)- . ' 1. Install the steering column in the Do not hit the top of the steering vehicle from inside the cab toward the shaft With a hammer because it WIII engine compartment. damage the shaft snap nngs and the 2. Loosely attach the steering column to turn 531 plate. Toolaaoo-AA wmnch the instrument panel (upper bracket Installation GISH-A and two screws). 1. Lubricate the turn signal breaker . . 3. Locate the steering shaft ange on the plate. 6- 2 Removtng 599 exible coupling following the chalk 2. Position the steering wheel on the WheelTypical line made during removal. Make sure steering shaft so that the two punch that the coupling pins are centrally marks (made during removal) are aligned. 3. Install the steering wheel nut and tighten to specied torque. 4. Install the horn pad on the steering wheel and secure with two screws. STEERING COLUMN F-100 Through F-350 (4x2) Removal 1. Set the front wheels in the straight- ahead-position and mark the steering shaft ange and exible coupling with a chalk or grease pencil to retain alignment during installation. Remove the steering wheel as outlined in the foregoing procedure. Remove the modesty cover from the instrument panel (two screws). Disconnect the ignition switch wire connector and the back~up and neutral start switch wires. . Remove the seal and toe-plate (four attaching screws) from the inner side of the dash panel (Fig. 3). Disconnect the shift rods at the column shift levers. Remove the clamp that secures the steering column to the lower bracket. Remove the column lower bracket LOWER SUPPORT BRACKEY PANEL BRACKET CLAMP SHIFT AND COLUMN ASSEMBLY TOE PLATE STEERING SHAFT FLANGE DASH PANEL FLEX COUPLING VIEW IN DIRECTION OF ARROW x (32243.1: VIEWIN DIRECTION OF ARROWZ FIG. 3 Steering Column Installation F-IOO Thru F-350 (4x2)
Comments
More from this build


No comments yet.