Ford Bronco Steering Column Removal & Installation - Shift Rod Within Tube 13-06-3
Reference · 1975-1979 F-150All 5 service procedures


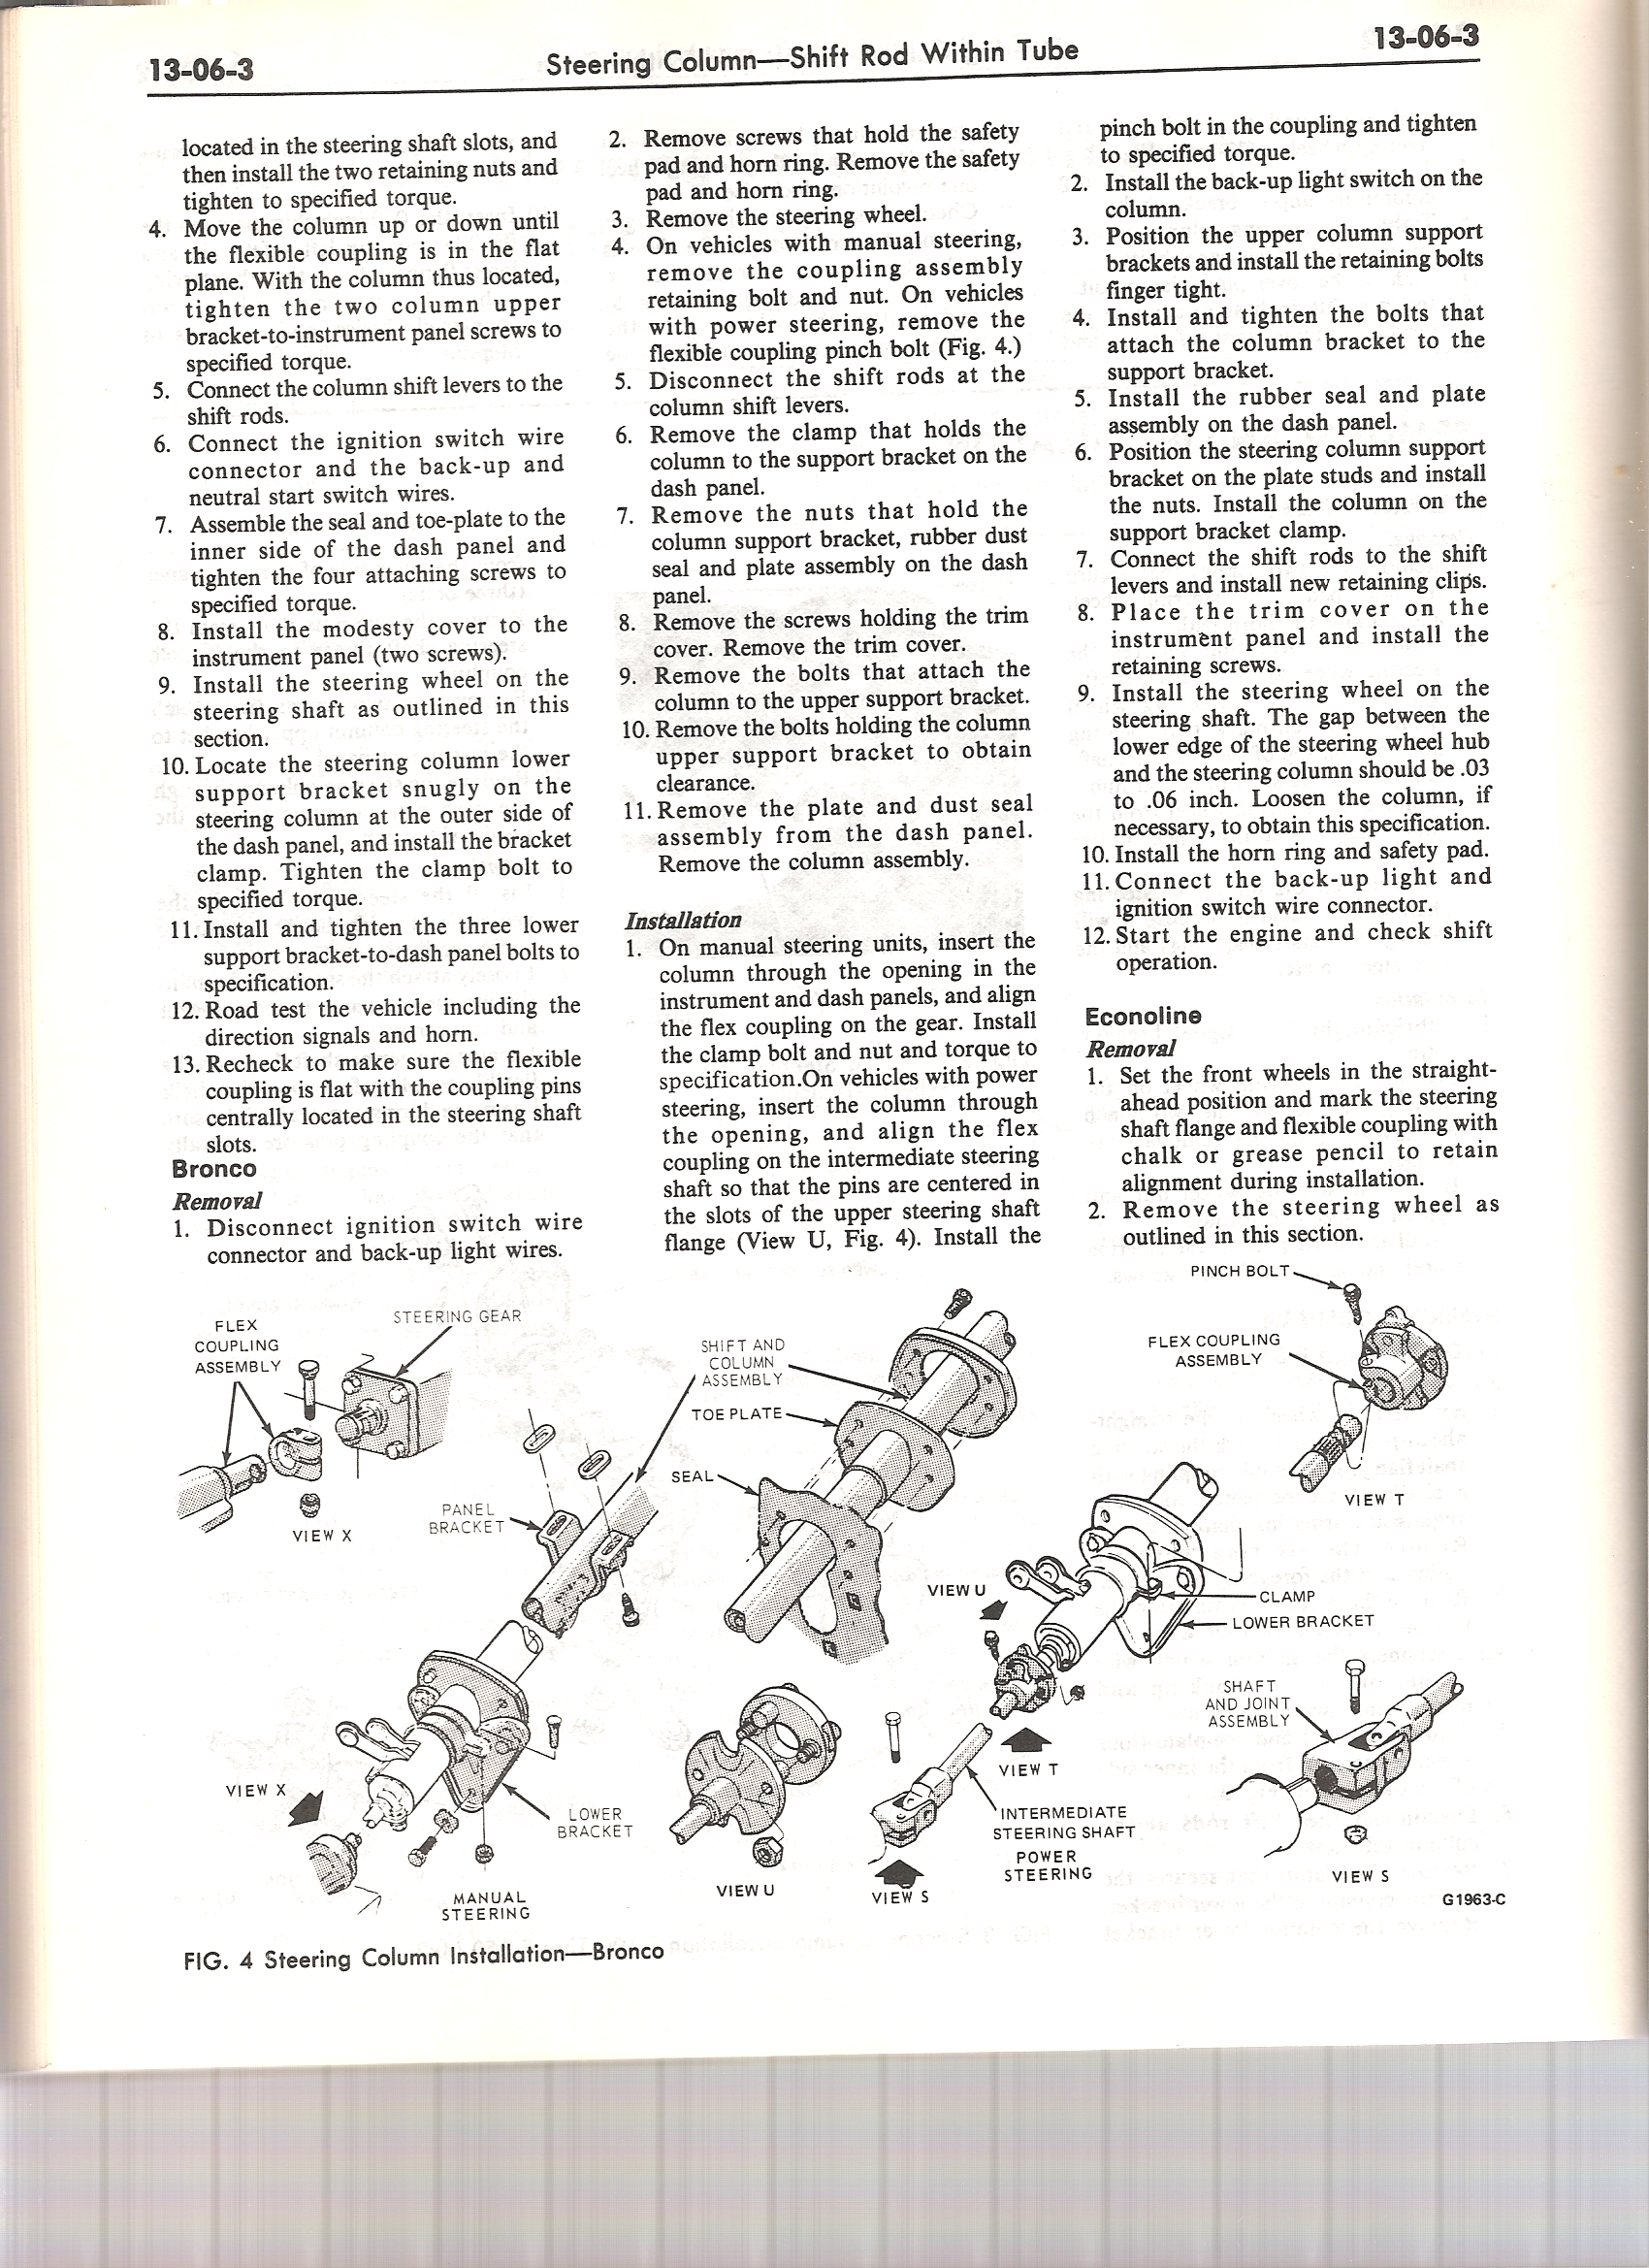
Ford service-manual page 13-06-3 covering steering-column installation: torquing flexible-coupling retaining nuts and bracket screws to spec, reconnecting shift levers, ignition switch and back-up/neutral start wiring, then road test.
Part of 1975-1979 Ford F-150 Service Procedures
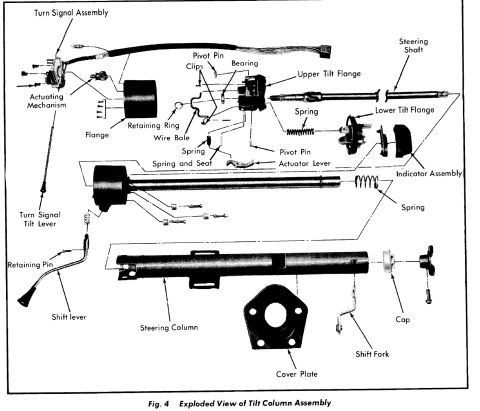
This is page 13-06-3 of a Ford shop manual covering "Steering Column: Shift Rod Within Tube" service procedures. The left column completes an installation procedure (steps 4-13) for a steering column, covering aligning the flexible coupling, connecting shift levers and ignition/back-up wiring, installing the seal, toe-plate, modesty cover, steering wheel, and lower support bracket, followed by a road test. The center and right columns give the complete Bronco steering column removal procedure (11 steps) and installation procedure (12 steps), including both manual and power steering variants, wiring reconnection, and the specification that the gap between the steering wheel hub and column should be.03 to.06 inch. The page ends with the start of the Econoline removal procedure (steps 1-2), which involves marking the steering shaft flange and flexible coupling with chalk to preserve alignment. The lower half of the page contains Fig. 4, an exploded illustration of the Bronco steering column installation with labeled components: flex coupling assembly, steering gear, panel bracket, shift and column assembly, toe plate, seal, pinch bolt, clamp, lower bracket, intermediate steering shaft (power steering), and shaft and joint assembly, shown in Views X, U, T, and S. Illustration reference number G1963-C.
Is this accurate? Sign in to help verify it.
Frequently asked questions
- How do I remove the steering column on a Ford Bronco?
- Disconnect the ignition switch wire connector and back-up light wires, remove the safety pad, horn ring, and steering wheel, remove the coupling retaining bolt/nut (manual steering) or flexible coupling pinch bolt (power steering), disconnect the shift rods at the column shift levers, remove the clamp and the nuts holding the column support bracket, rubber dust seal and plate assembly, remove the trim cover and upper support bracket bolts, then remove the plate and dust seal assembly and the column assembly.
- What is the specified gap between the steering wheel hub and the steering column on the Bronco?
- The gap between the lower edge of the steering wheel hub and the steering column should be .03 to .06 inch. Loosen the column if necessary to obtain this specification.
- How is the flex coupling aligned when installing a Bronco power steering column?
- Insert the column through the opening and align the flex coupling on the intermediate steering shaft so that the pins are centered in the slots of the upper steering shaft flange (View U, Fig. 4), then install the pinch bolt in the coupling and tighten to specified torque.
- What should be done before removing an Econoline steering column?
- Set the front wheels in the straight-ahead position and mark the steering shaft flange and flexible coupling with chalk or grease pencil to retain alignment during installation, then remove the steering wheel as outlined in the section.
- What components are shown in the Bronco steering column installation diagram (Fig. 4)?
- The figure shows the flex coupling assembly, steering gear, panel bracket, shift and column assembly, toe plate, seal, pinch bolt, clamp, lower bracket, intermediate steering shaft (power steering), and shaft and joint assembly, in Views X, U, T, and S.

No comments yet.