Inline fuel filter with orange caps and metal bracket, next to a…

odd pics 2009View all 76


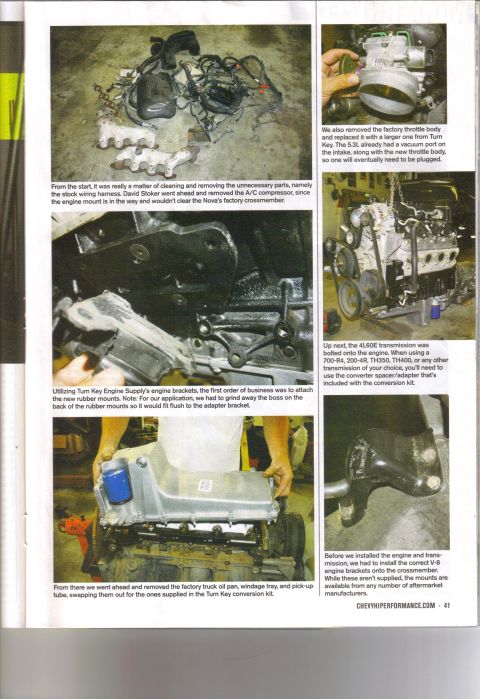
Close-up views of engine parts and fuel system components, detailing installation and repair processes.
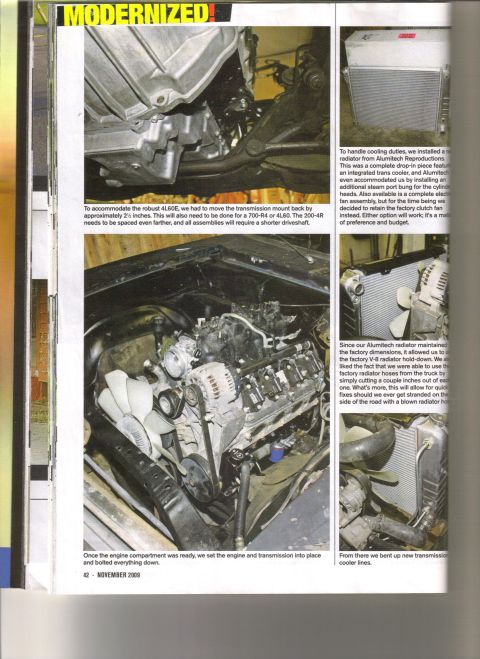
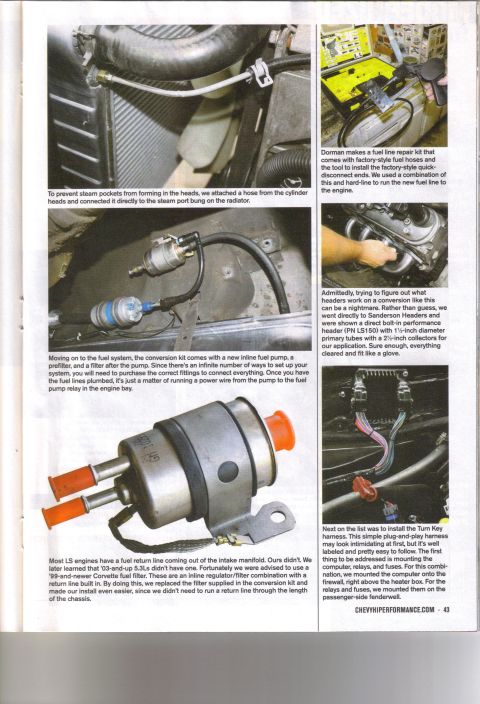
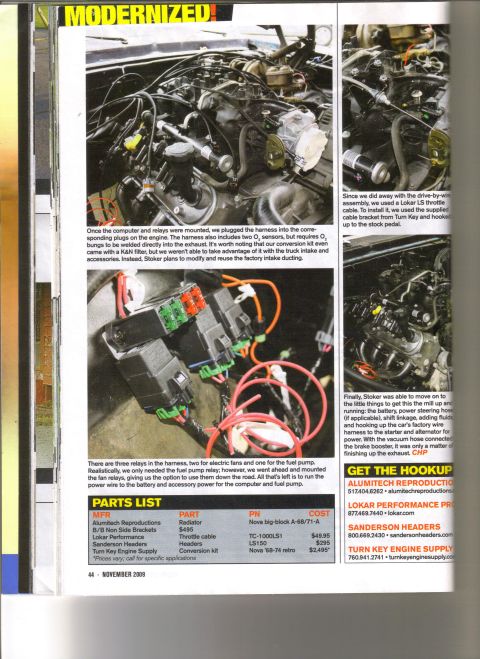
To prevent steam pockets from forming in the heads, we attached a hose from the cylinder heads and connected it directly to the steam port bung on the radiator. Moving on to the fuel system, the conversion kit comes with a new inline fuel pump, a prefilter, and a filter after the pump. Since theres an infinite number of ways to set up your system, you will need to purchase the correct fittings to connect everything. Once you have the fuel lines plumbed, its just a matter of running a power wire from the pump to the fuel pump relay in the engine bay. Most LS engines have a fuel return line coming out of the intake manifold. Ours didnt. We later learned that 03-and-up 5.3Ls didnt have one. Fortunately we were advised to use a 99-and-newer Corvette fuel filter. These are an inline regulator/filter combination with a retum line built in. By doing this, we replaced the filter supplied in the conversion kit and made our install even easier. since we didnt need to run a return line through the length of the chassis. Dorman makes a fuel line repair kit that comes with factory-style fuel hoses and the tool to install the factory-style quick- disconnect ends. We used a combination of this and hard-line to run the new fuel line to the engine. Admittedly, trying to figure out what headers work on a conversion like this can be a nightmare. Rather than guess, we went directly to Sanderson Headers and were shown a direct bolt-in performance header (PN LS150) with 1/2-inch diameter primary tubes with a 2/z-inch collectors for our application. Sure enough, everything cleared and fit like a glove. Next on the list was to install the Turn Key harness. This simple plug-and-play harness may look intimidating at first. but its well labeled and pretty easy to follow. The first thing to be addressed is mounting the computer, relays, and fuses. For this combi- nation, we mounted the computer onto the firewall, right above the heater box. For the relays and fuses, we mounted them on the passenger-side fendervvell. CHEVYHIPEHFURMANGEIEOM - 43
Is this accurate? Sign in to help verify it.
No comments yet.