Home/
Registry/
Ford/
Bronco/
1992-1996/
1993 Ford Bronco/
Photo
supermotors.net/registry/media/907903
Instructions for rear radius arm bracket removal and installation, with accompanying figures.
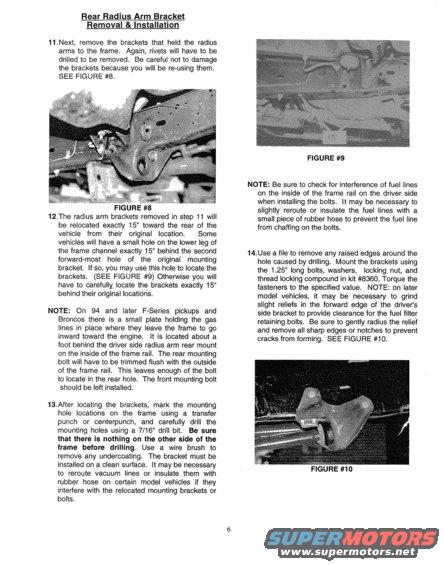
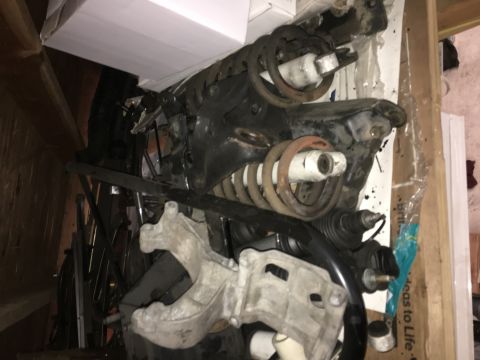
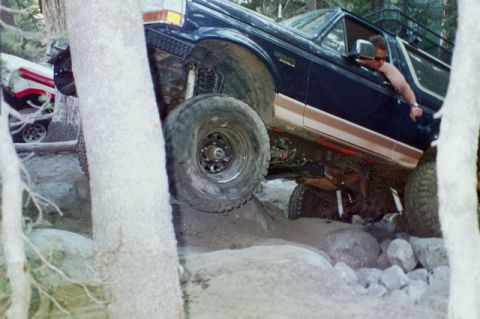
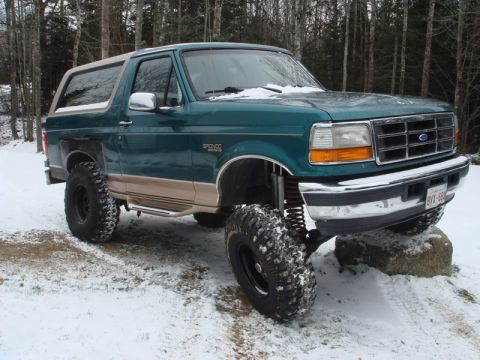
Rear Radius Arm Bracket Removal & Installation 11.Next, remove the brackets that held the radius arms to the frame. Again, rivets will have to be drilled to be removed. Be careful not to damage the brackets because you will be re-using them. SEE FIGURE #8. FIGURE #8 12.The radius arm brackets removed in step 11 will be relocated exactly 15" toward the rear of the vehicle from their original location. Some vehicles will have a small hole on the lower leg of the frame channel exactly 15" behind the second iorward~most hole of the original mounting bracket. if so, you may use this hole to locate the brackets. (SEE FIGURE #9) Otherwise you will have to carefully. locate the brackets exactly 15 behind their original locations. NOTE: On 94 and later FSeries pickups and Broncos there is a small plate holding the gas lines in place where they leave the frame to go inward toward the engine. It is located about a foot behind the driver side radius arm rear mount on the inside of the frame rail. The rear mounting bolt will have to be trimmed flush with the outside of the frame rail. This leaves enough of the bolt to locate in the rear hole. The front mounting bolt should be left installed. 13.After locating the brackets, mark the mounting hole locations on the frame using a transfer punch or centerpunch, and carefully drill the mounting holes using a 7/16 drill bit. Be sure that there is nothing on the other side of the frame before drilling. Use a wire brush to remove any undercoating. The bracket must be installed on a clean surface. it may be necessary to reroute vacuum lines or insulate them with rubber hose on certain model vehicles if they interfere with the relocated mounting brackets or bolts. FIGURE #9 NOTE: Be sure to check for interference of fuel lines on the inside of the frame rail on the driver side when installing the bolts. It may be necessary to slightly reroute or insulate the fuel lines with a small piece of rubber hose to prevent the fuel line from chatting on the bolts. 14.Use a file to remove any raised edges around the hole caused by drilling. Mount the brackets using the 1.25" long bolts, washers, locking nut, and thread locking compound in kit #8360. Torque the fasteners to the specified value. NOTE: on later model vehicles, it may be necessary to grind slight reliefs in the forward edge of the drivers side bracket to provide clearance for the fuel filter retaining bolts. Be sure to gently radius the relief and remove all sharp edges or notches to prevent cracks from forming. SEE FlGURE #10. FIGURE #10
Comments
More from this build
No comments yet.