KI
Member profile
Kingfish999
★ Featured Builder
1,465 photos
5 vehicles
member since 2012
Palm Harbor, FL, U.S.A.
Featured build

The most-documented ride in the garage
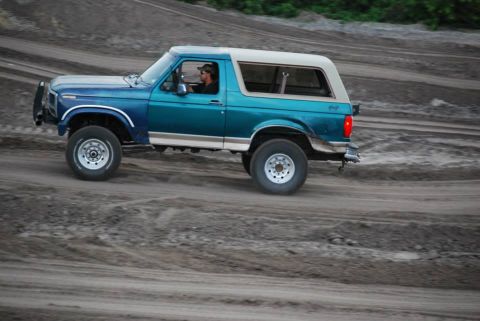
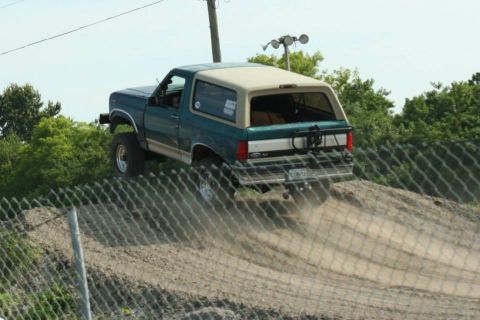
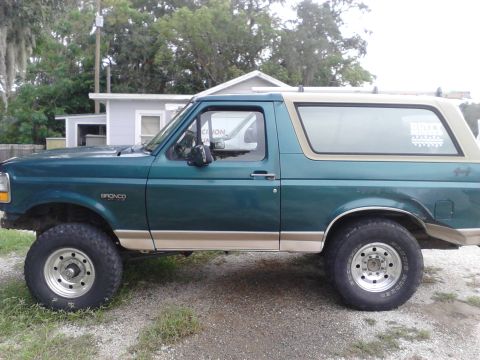
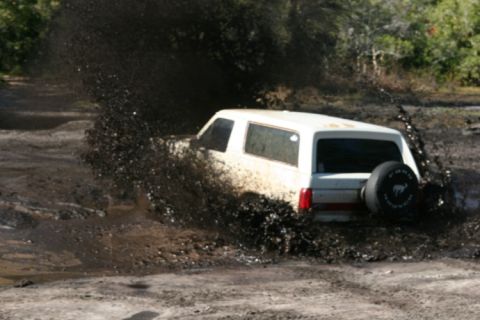
1996 Ford Bronco“B3”
422photos
13.6k+views
2012documented since
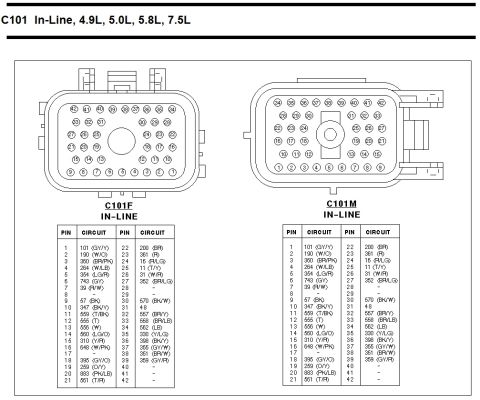
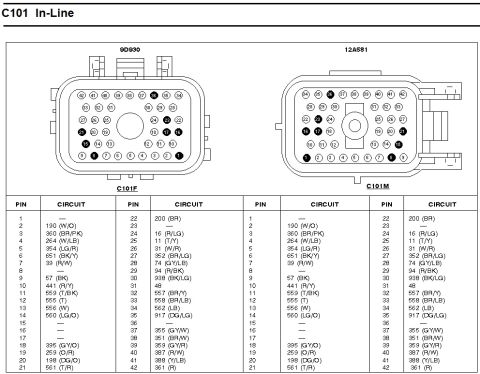
Documented across 31 albums — Various work & more.
The garage · 5
Kingfish999’s vehicles on the registry.
Album highlights
The biggest stories in Kingfish999’s garage.
Documenting since 2012
Photos added per year.
From the albums
One shot from each of the big albums.
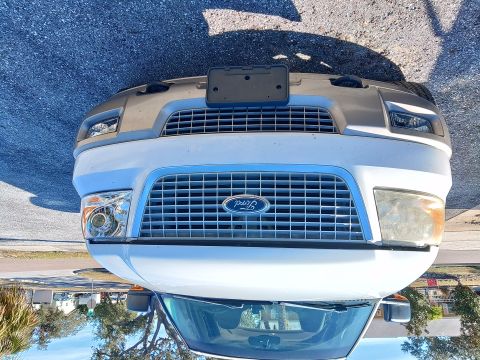
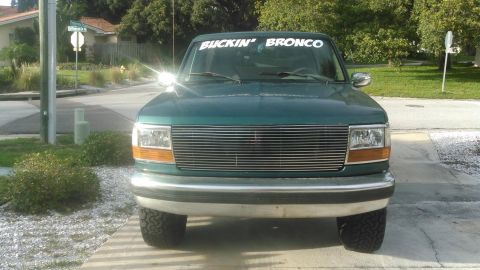
![Various work - original grille heres the aftermarket grille for comparison [url=http://www.supermotors.net/registry/media/1060638] htt…](/thumb/1060637-480.jpg)